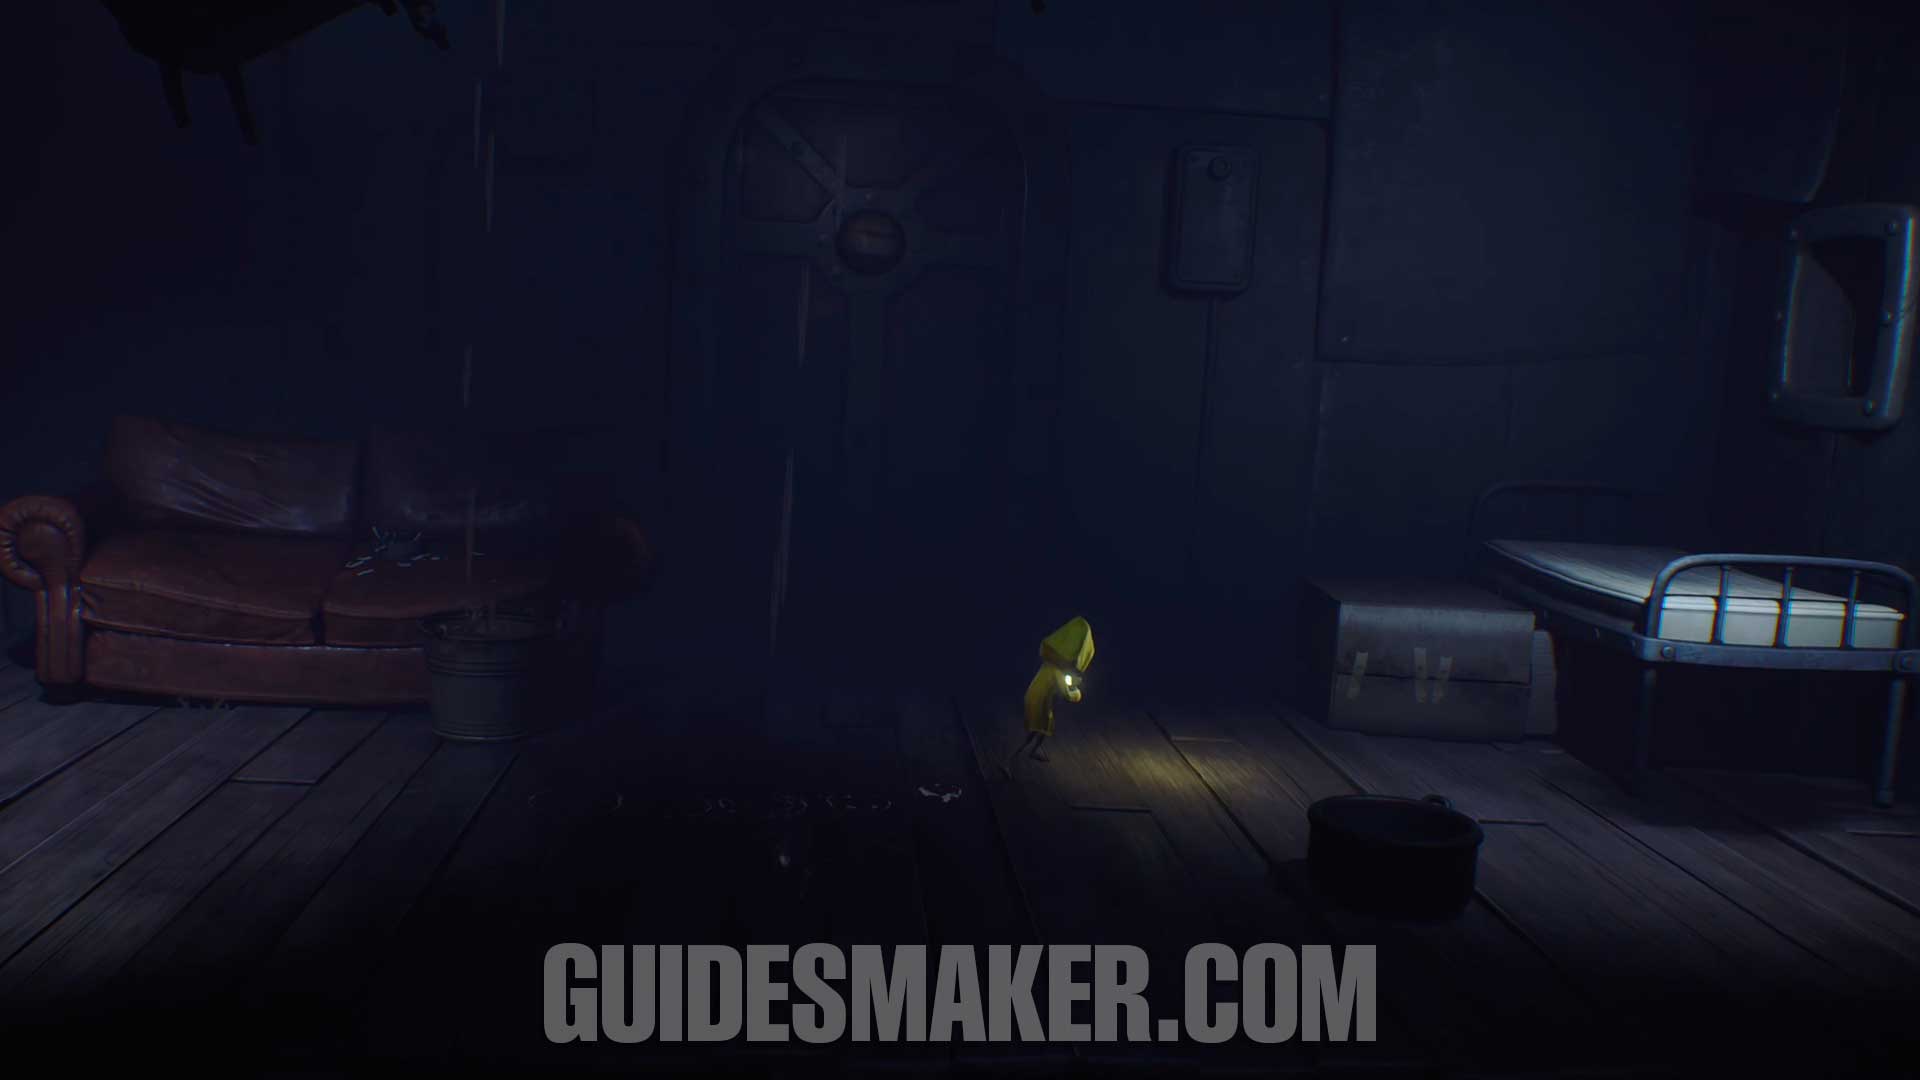
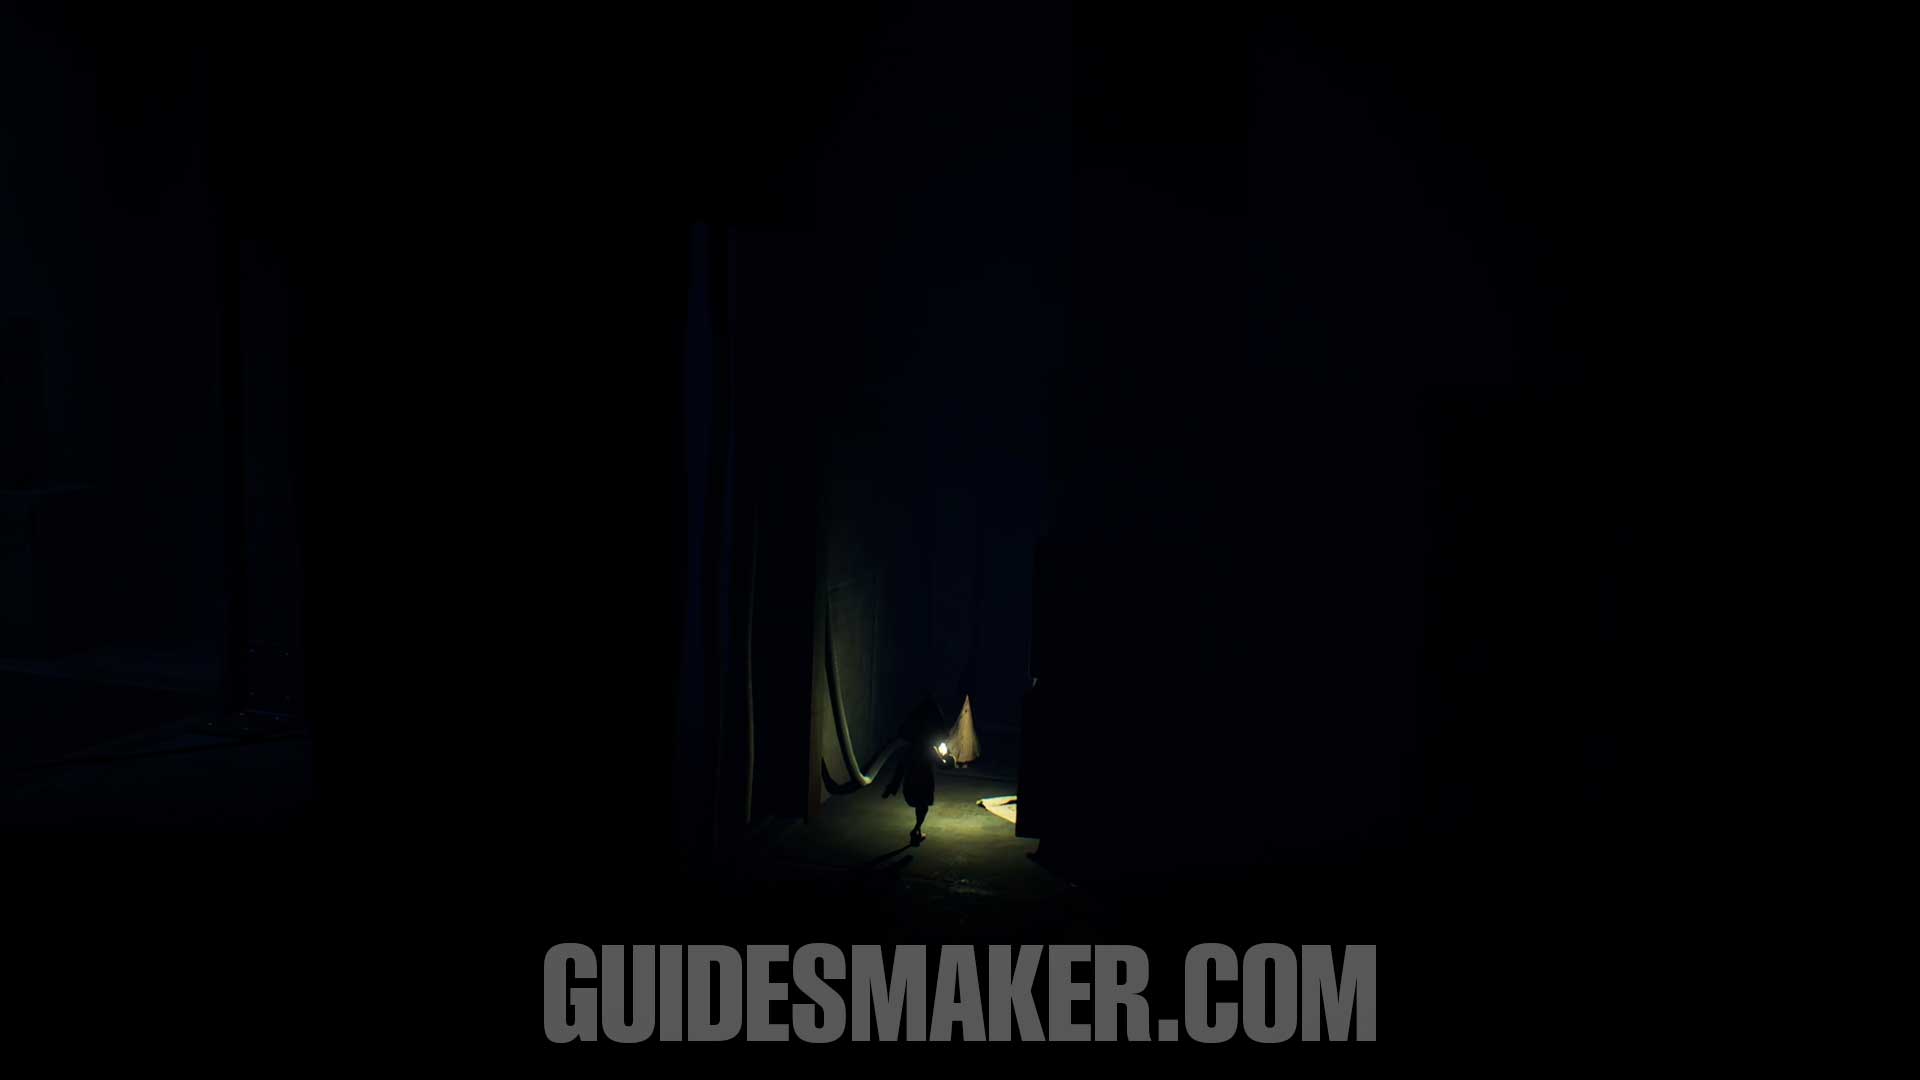
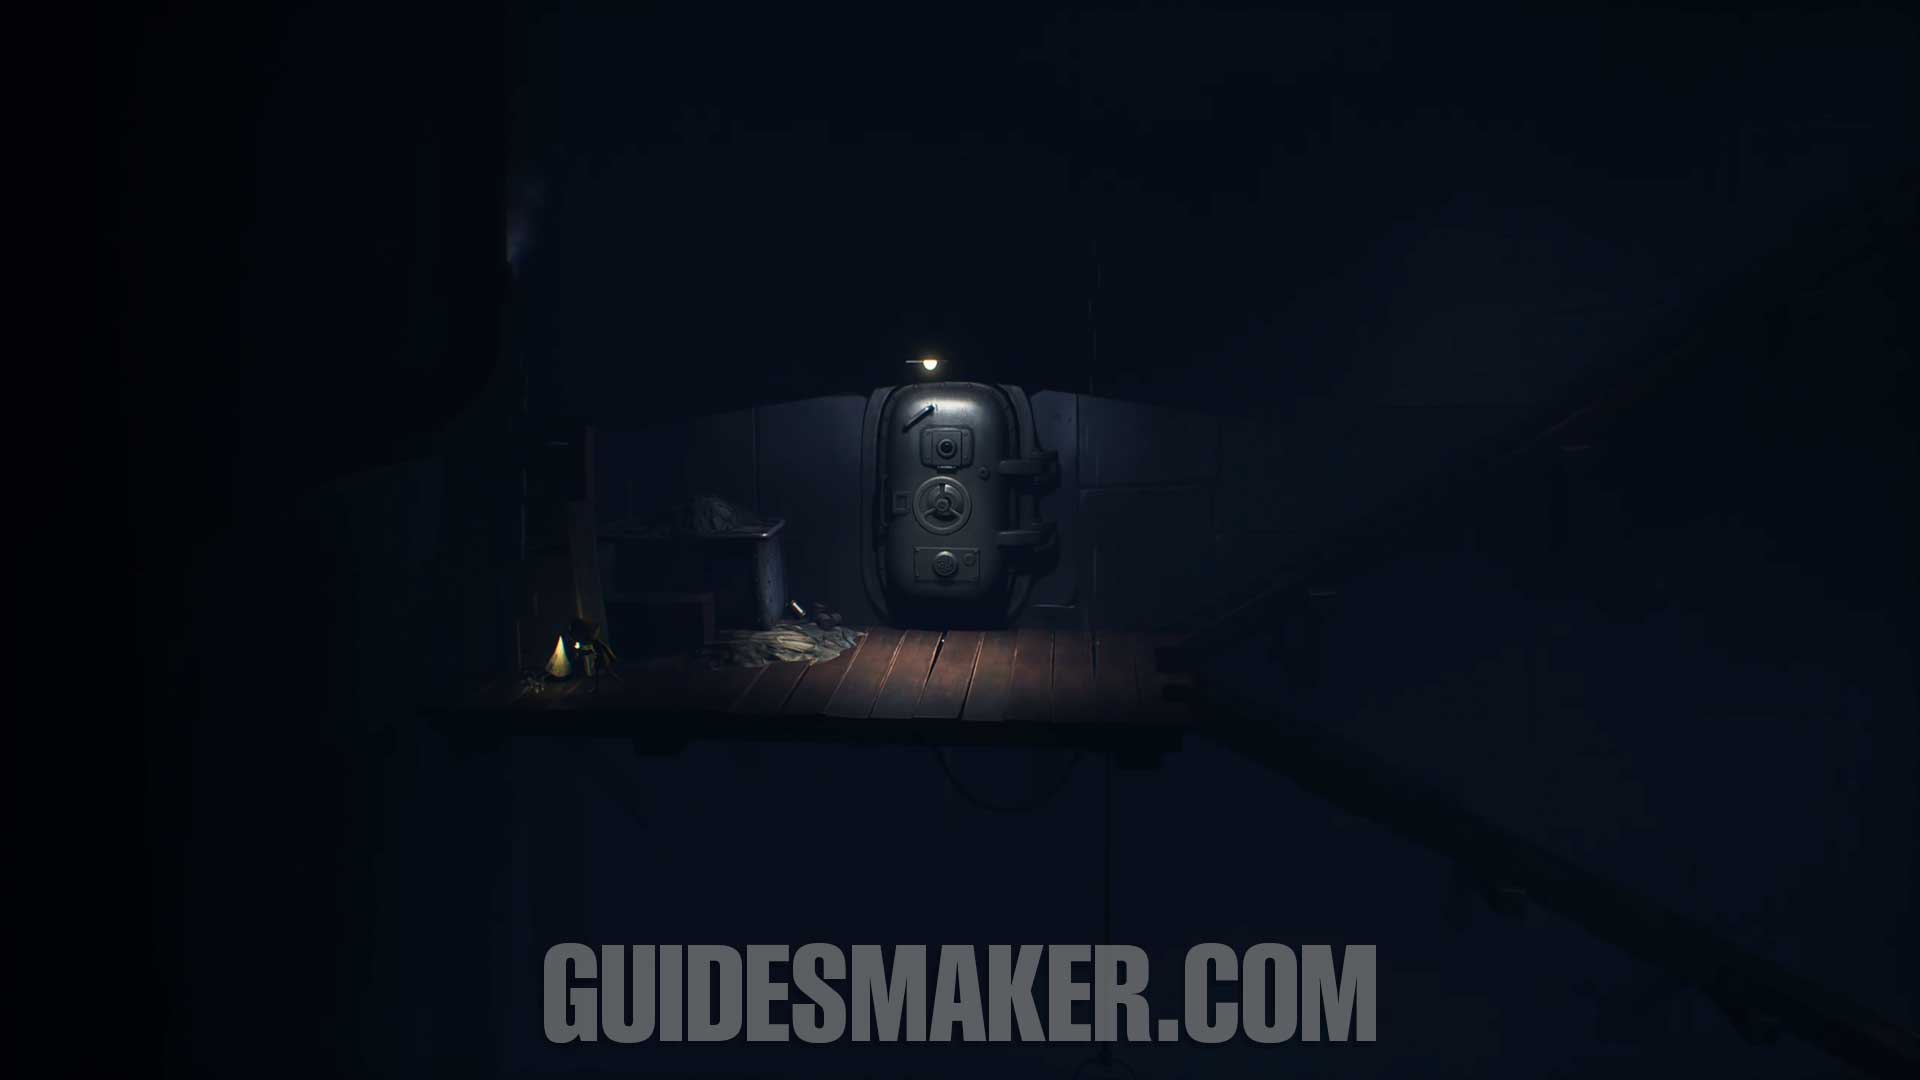
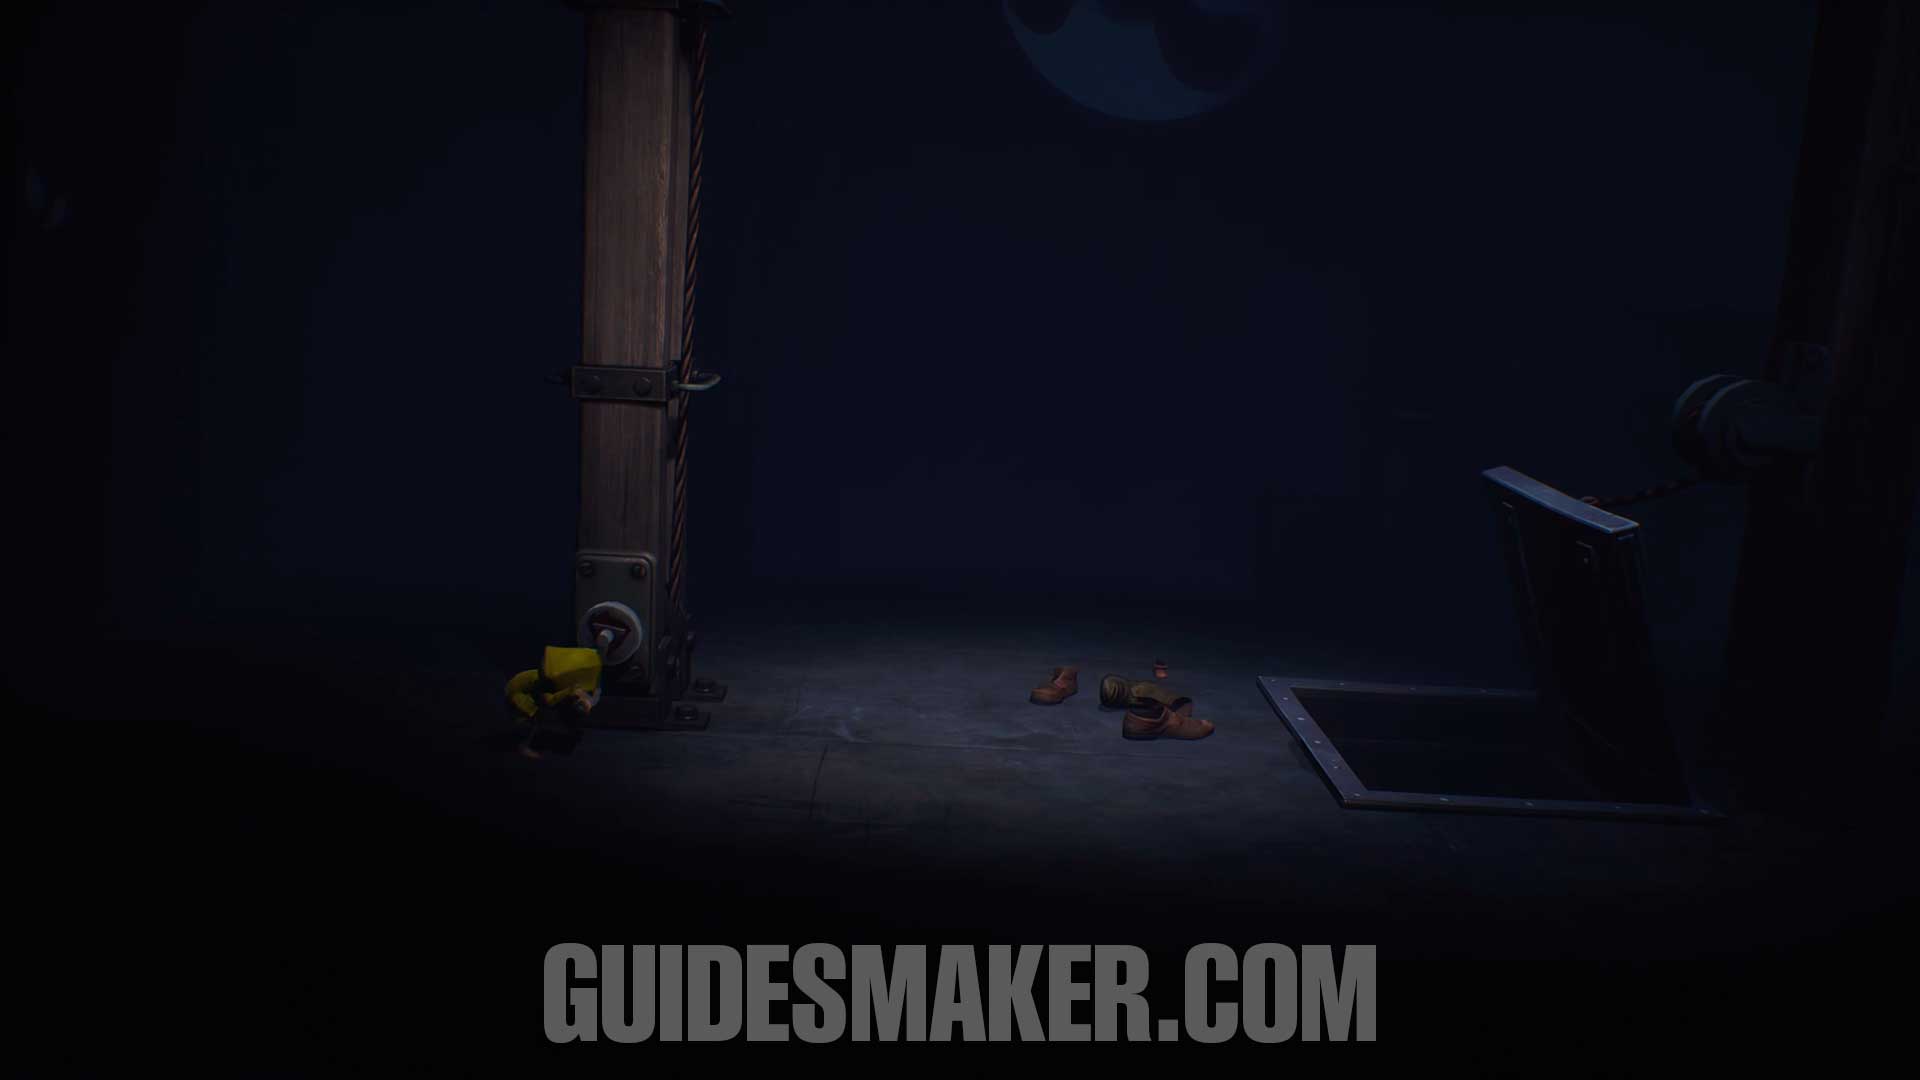
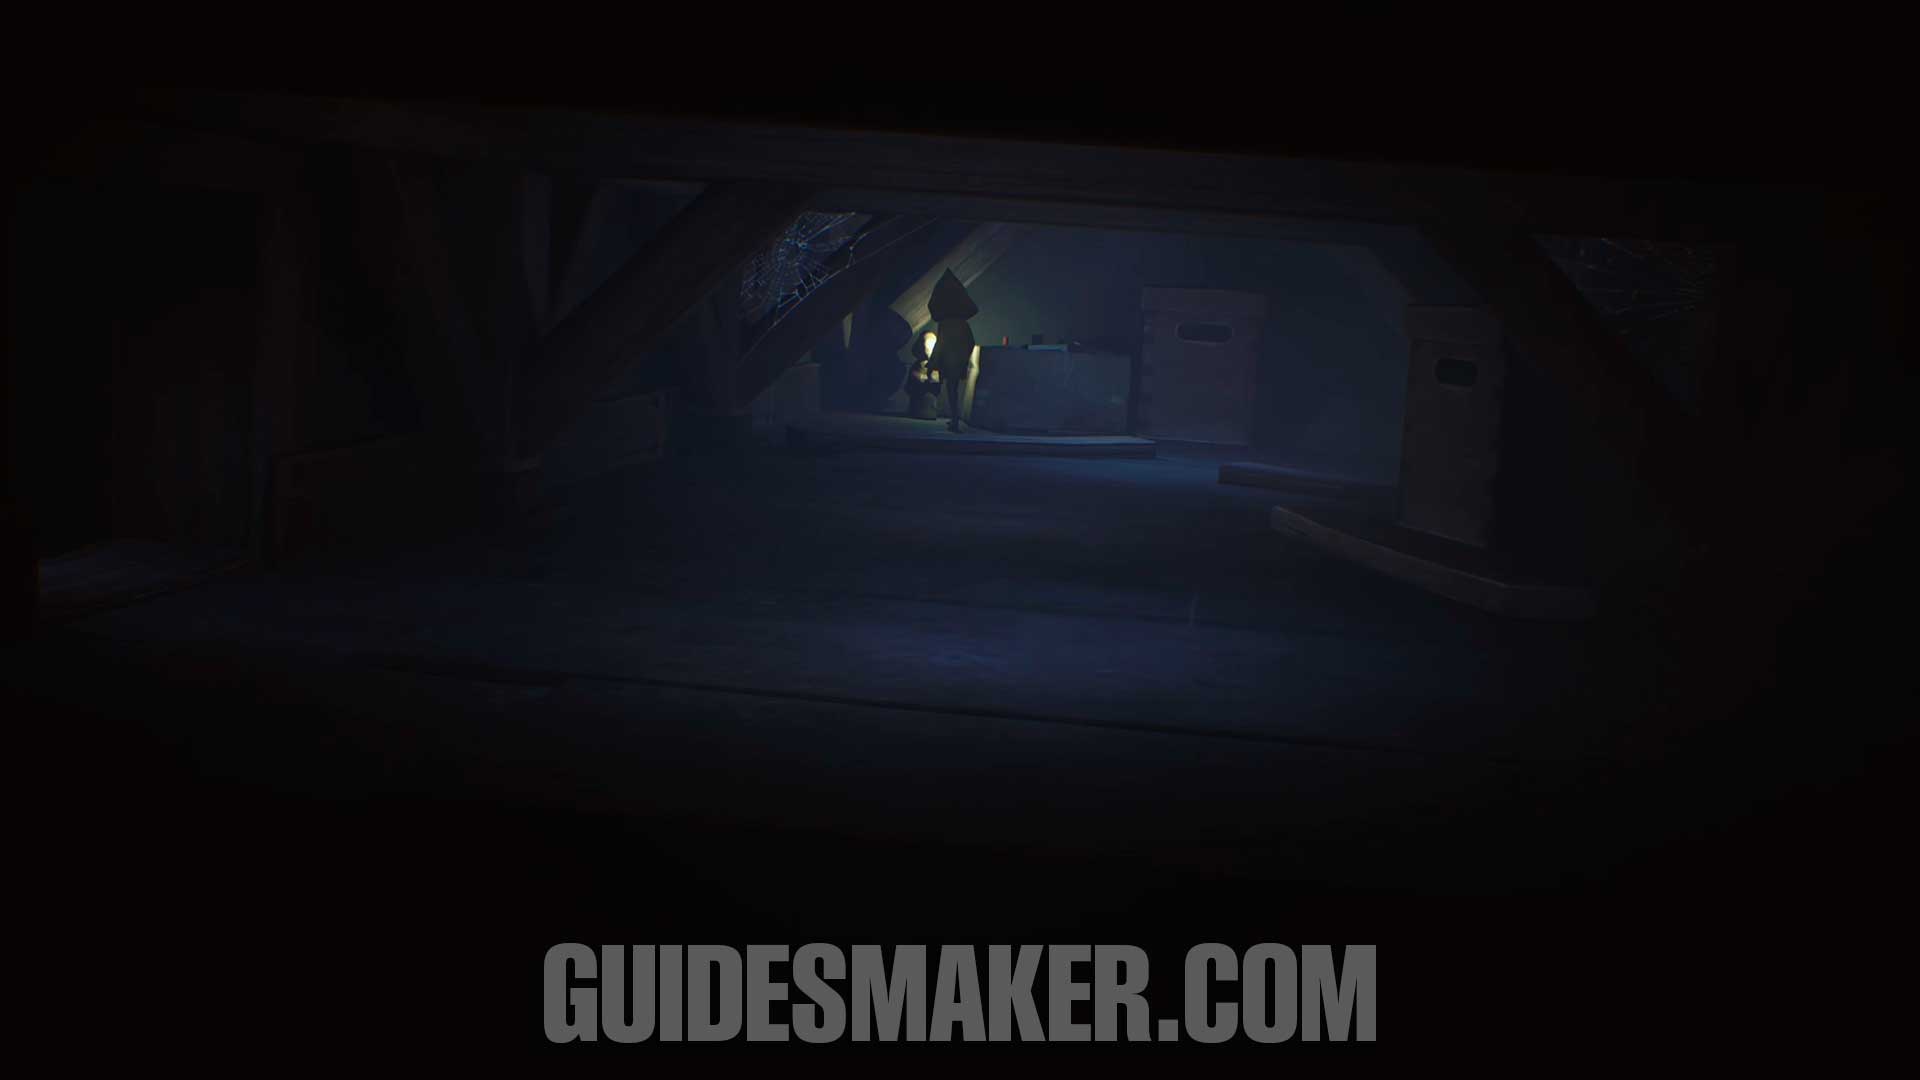
At the beginning of Chapter 1, before passing through the vents.
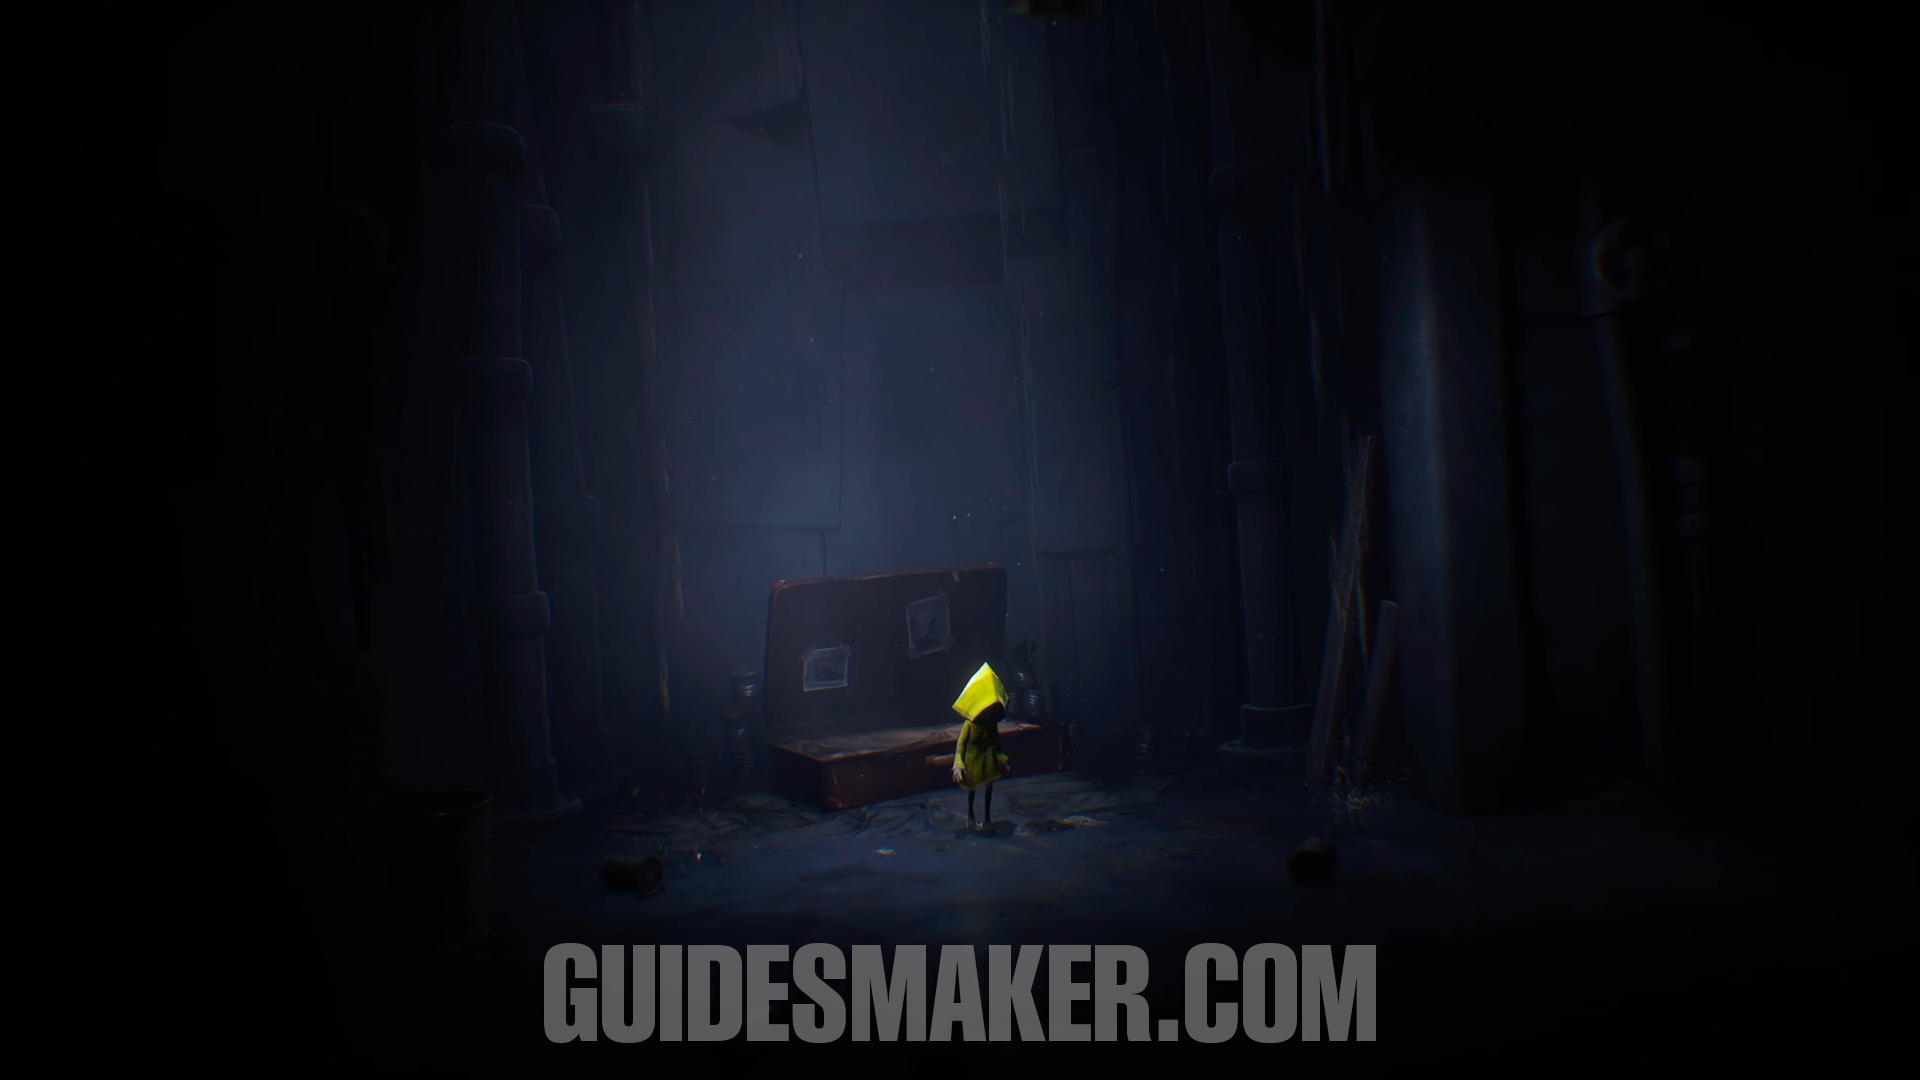
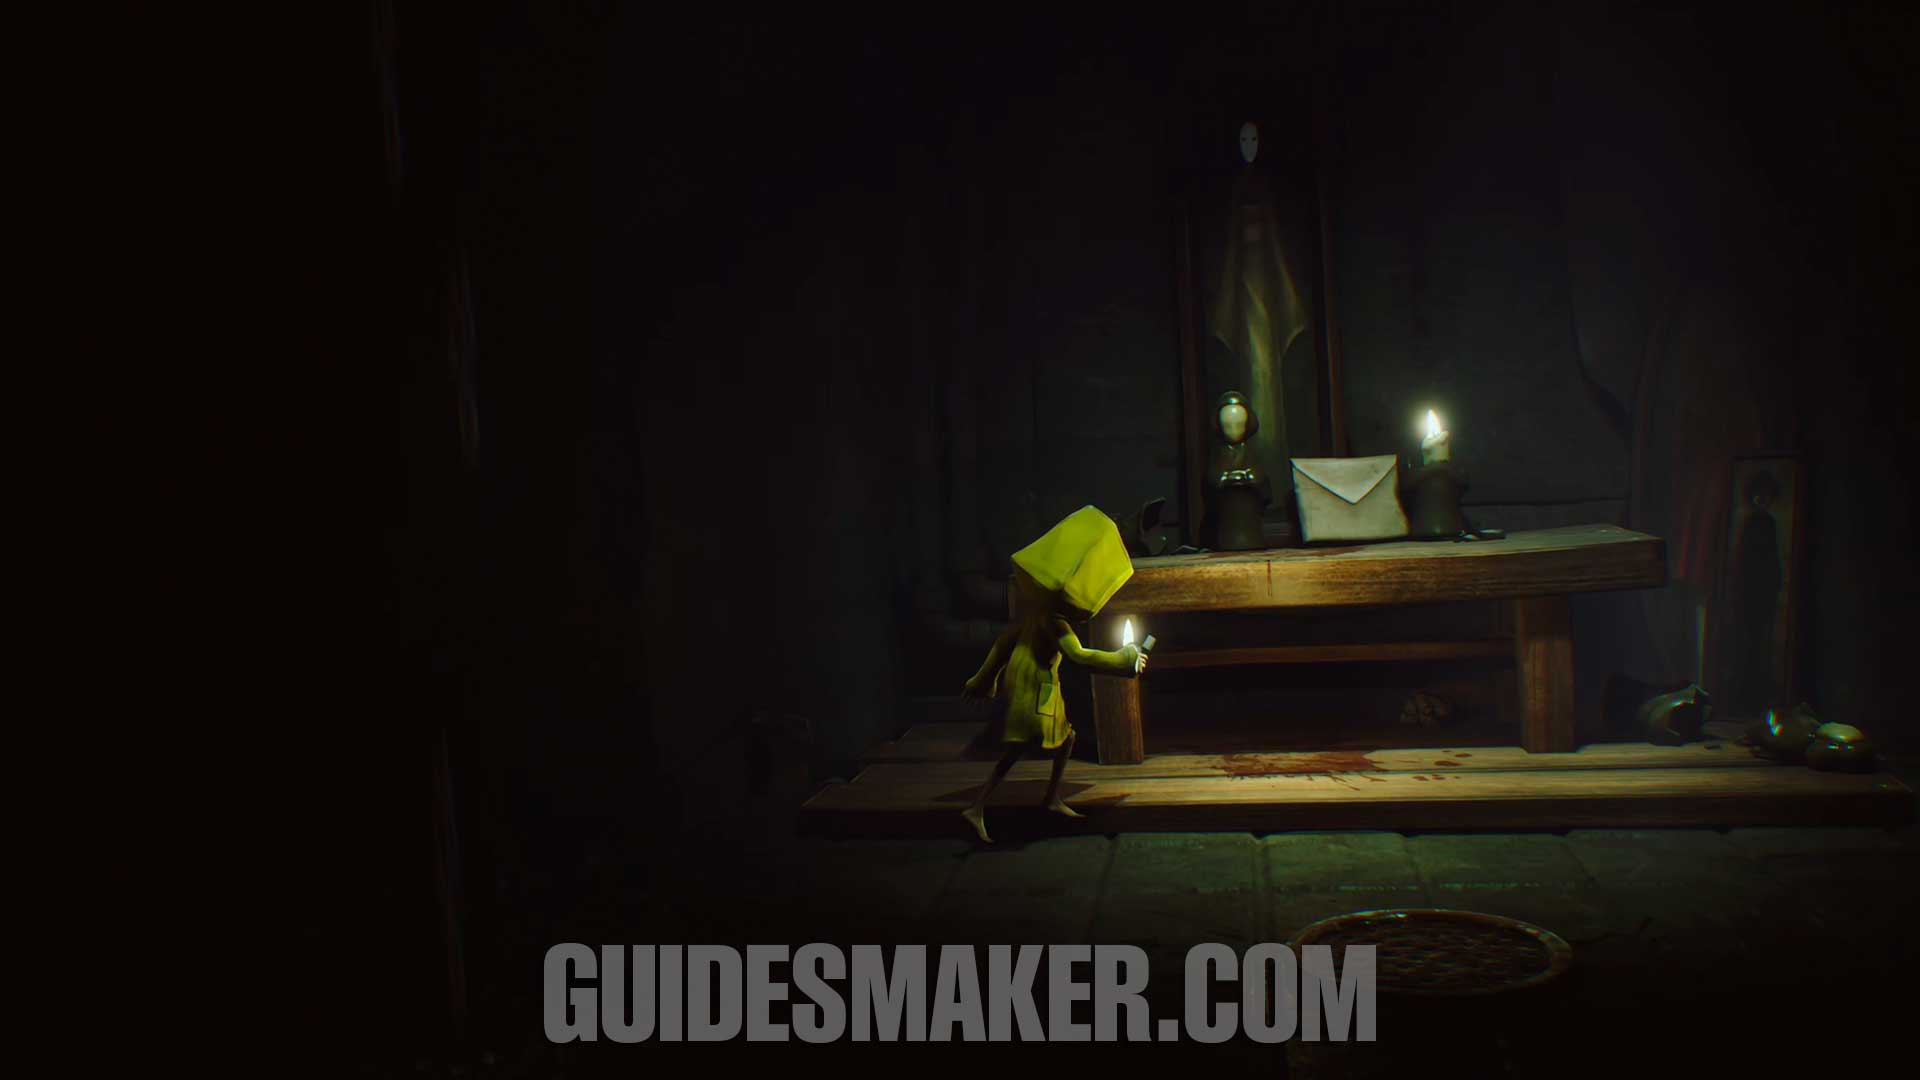
Statue #1
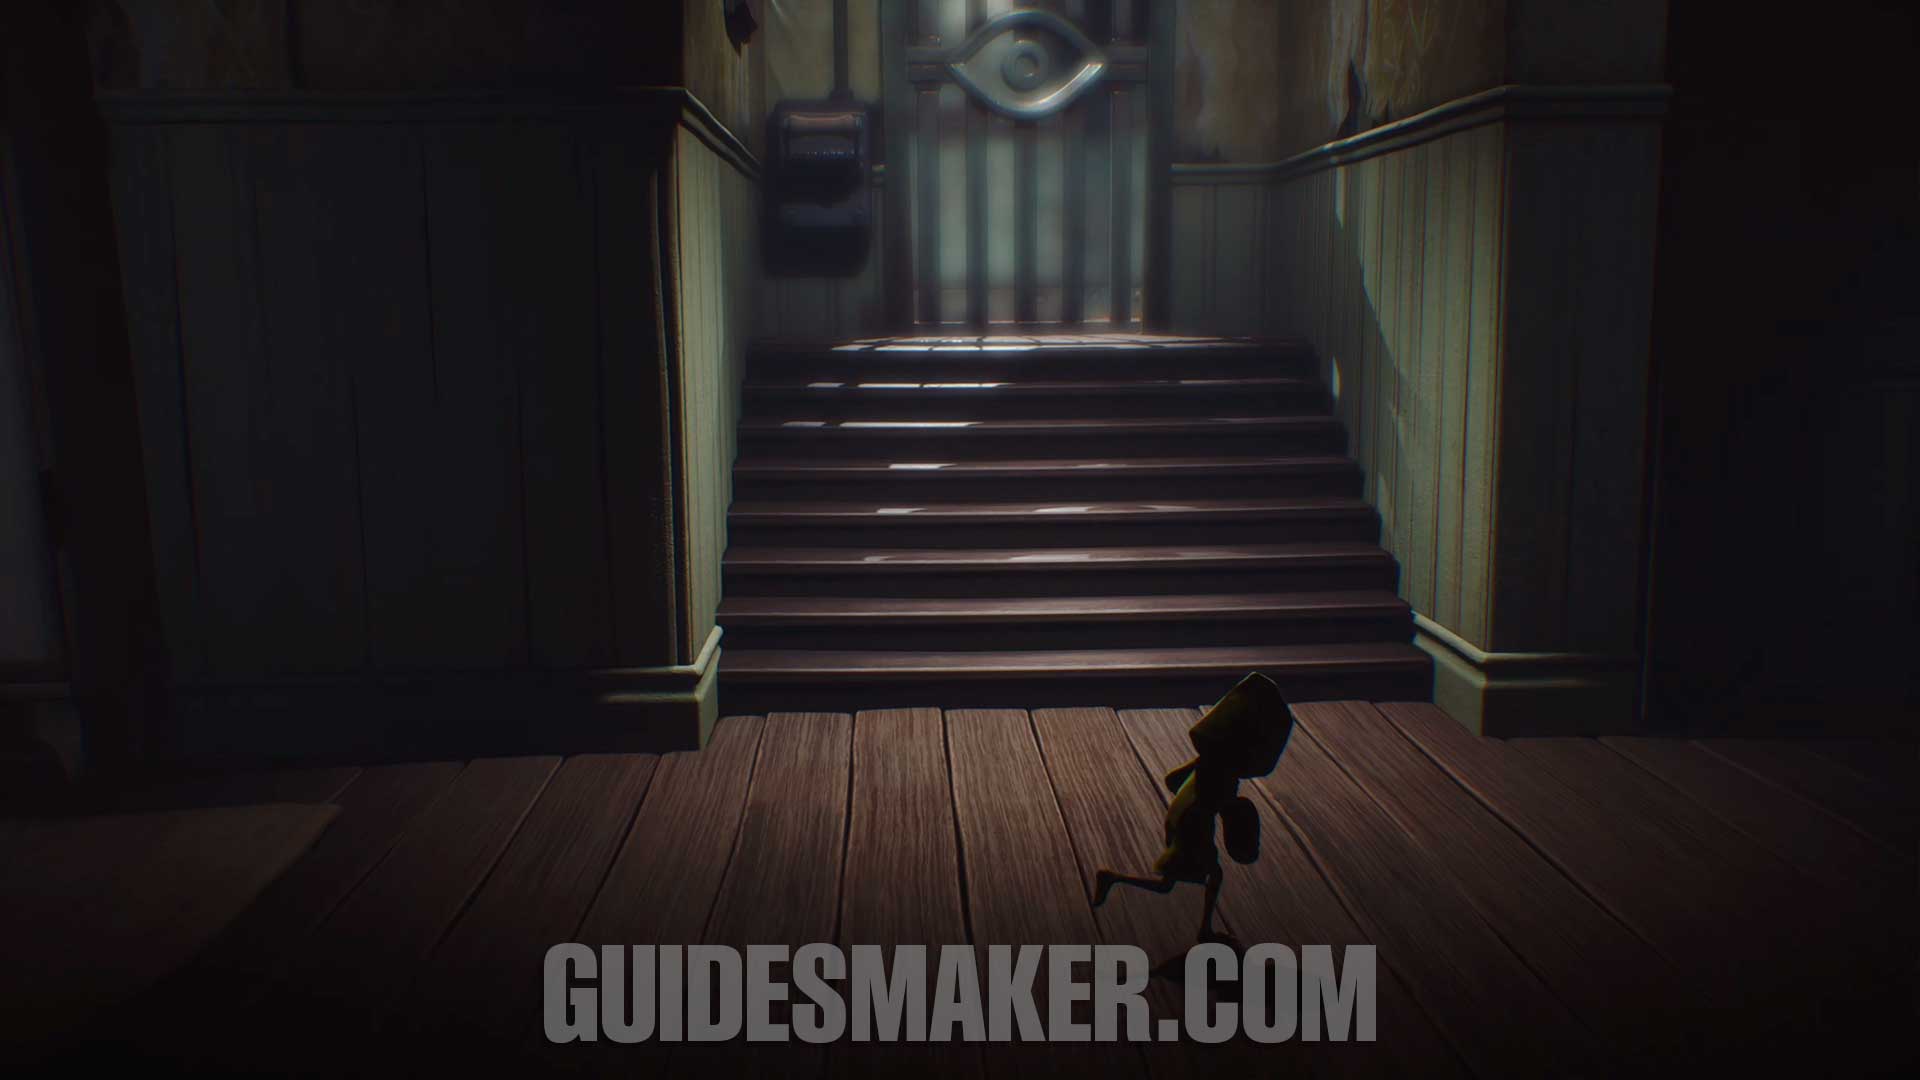
After climbing the large staircase
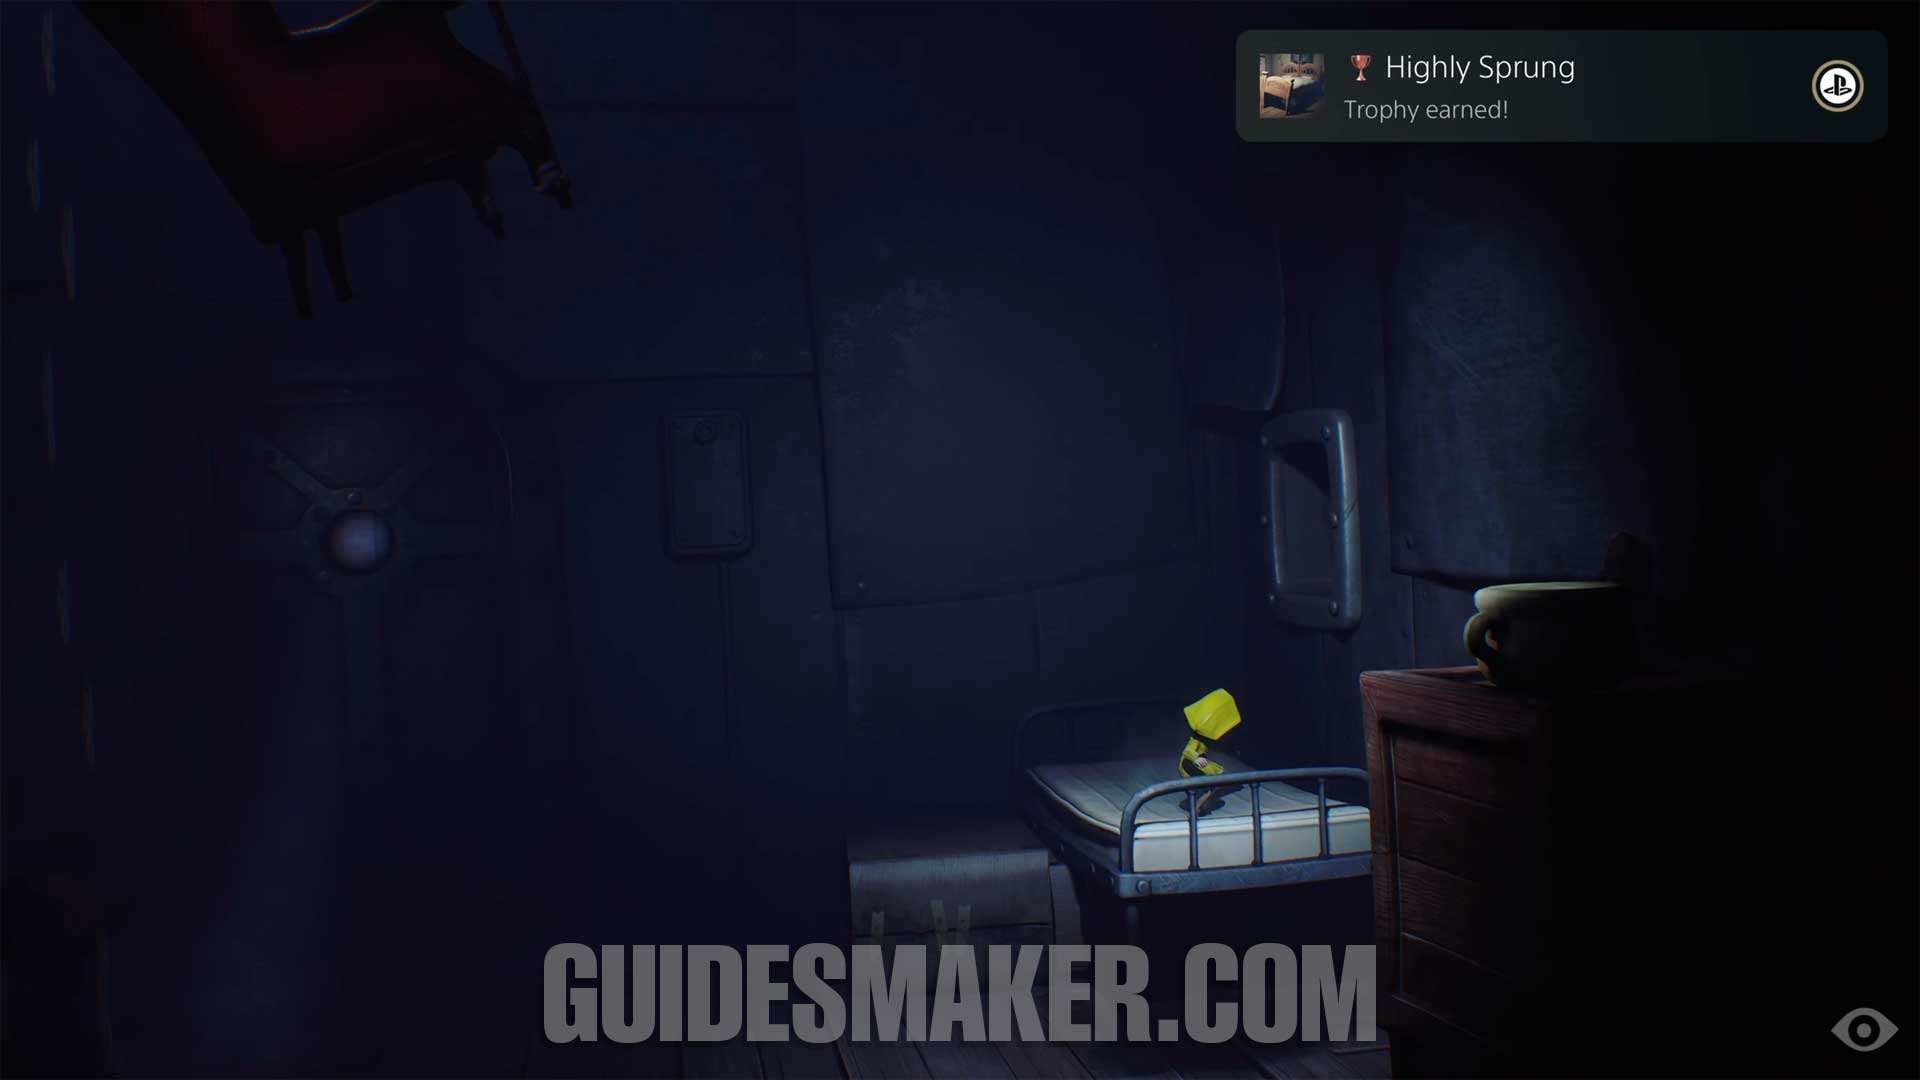
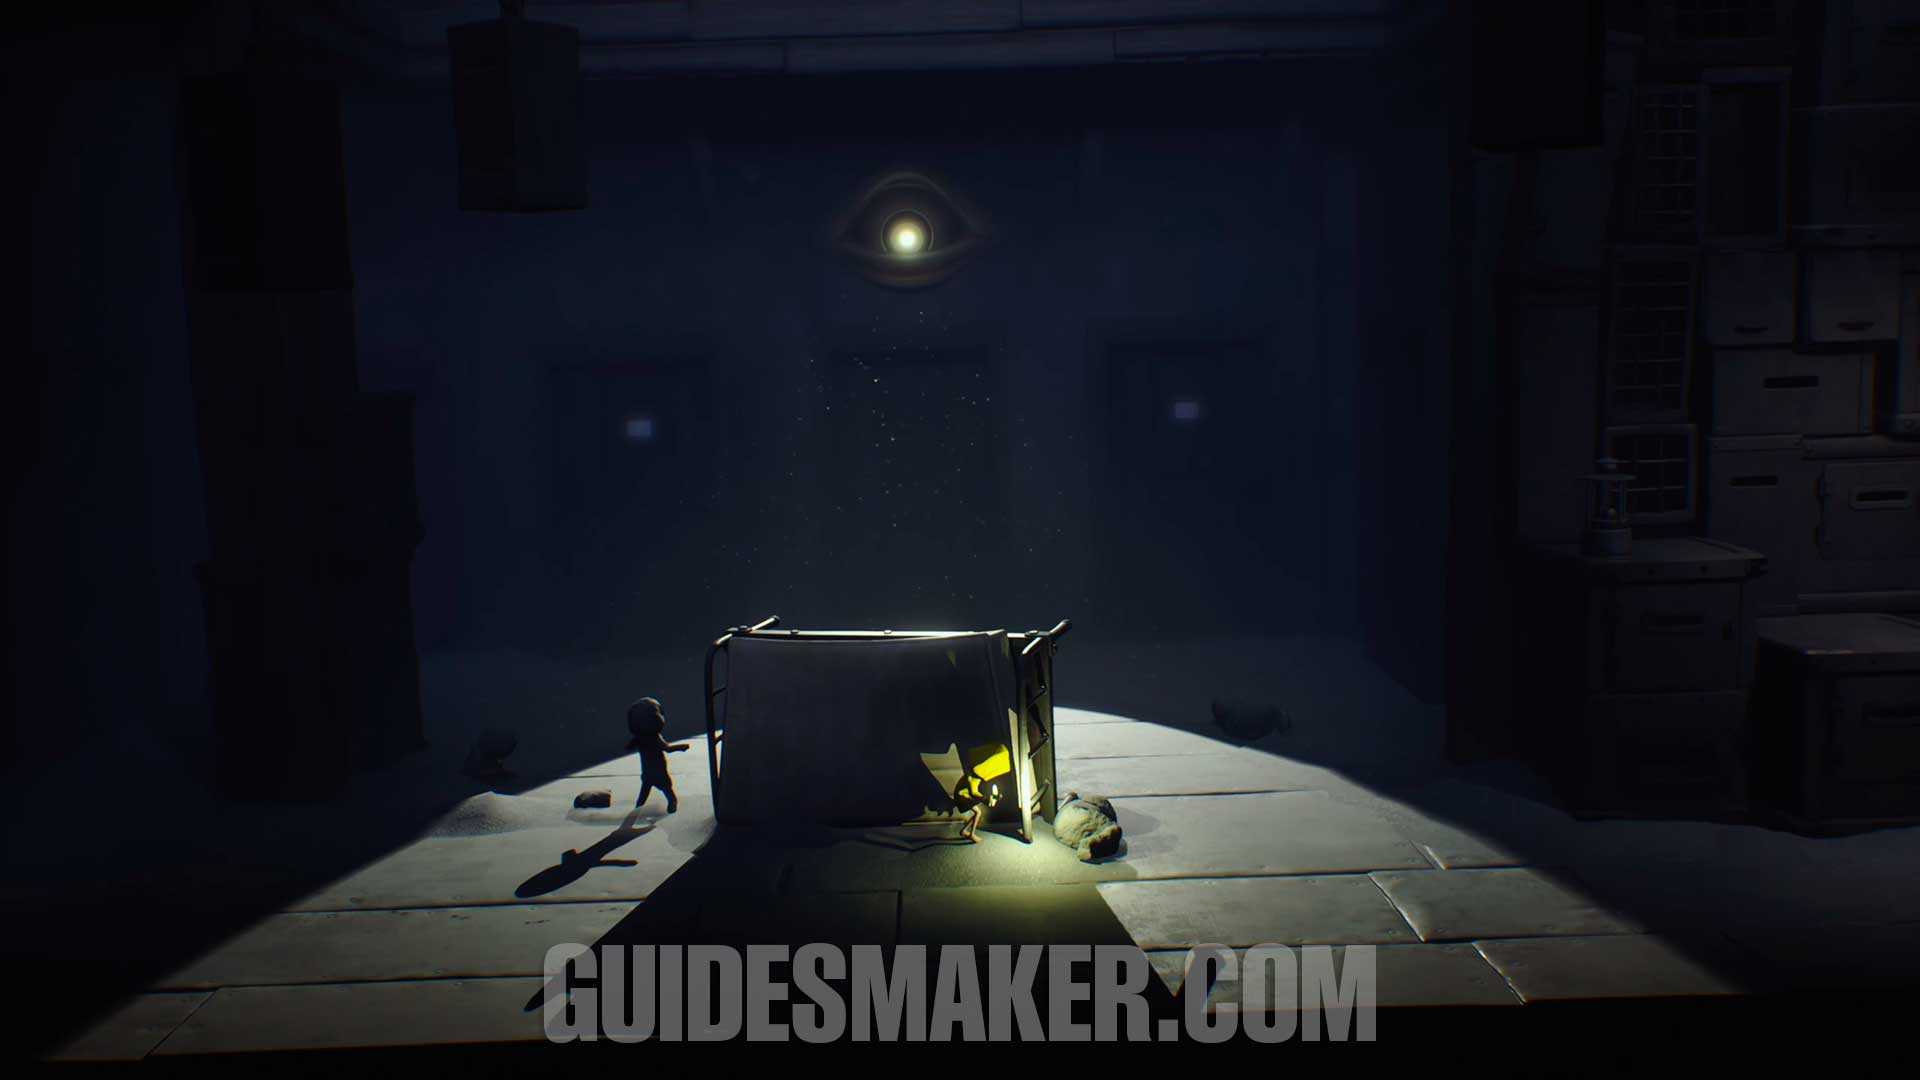
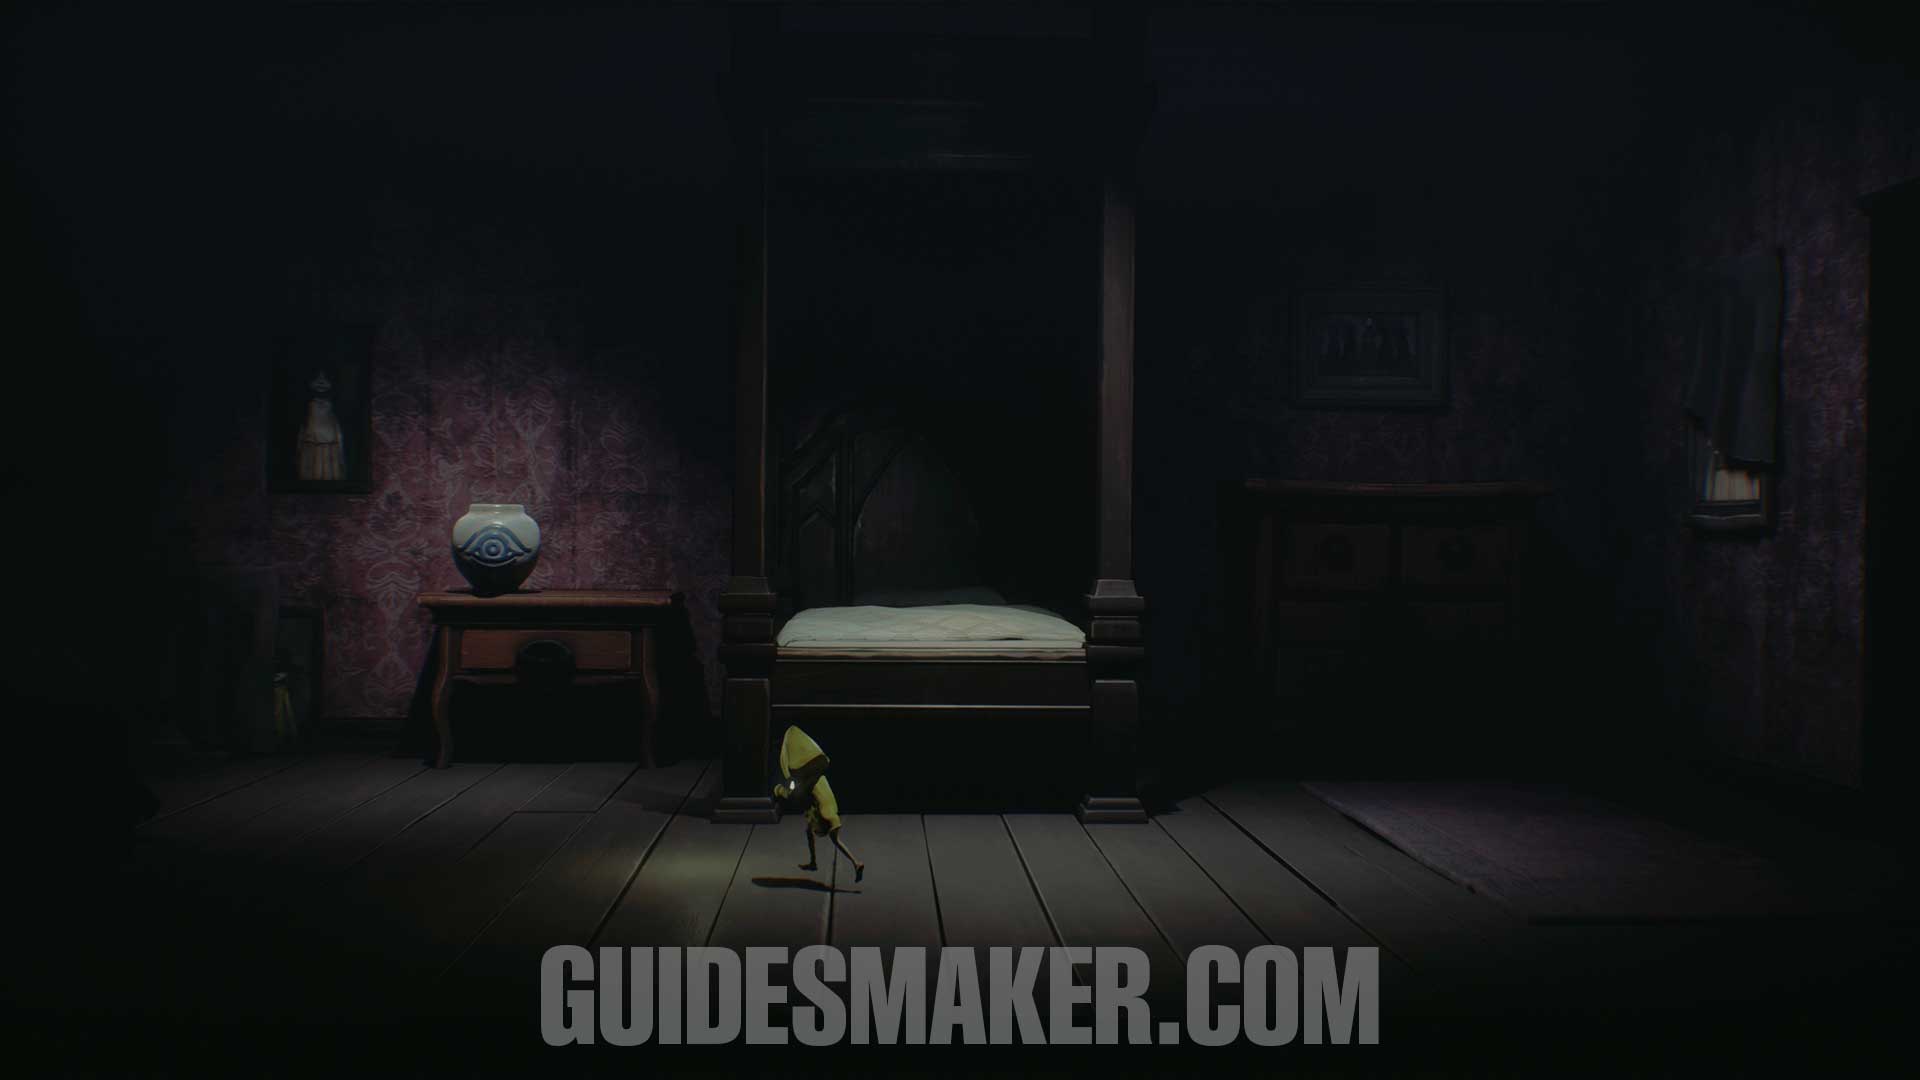
Trophy: Highly Sprung
After breaking the statue, proceed forward and keep jumping on the bed to obtain this trophy.
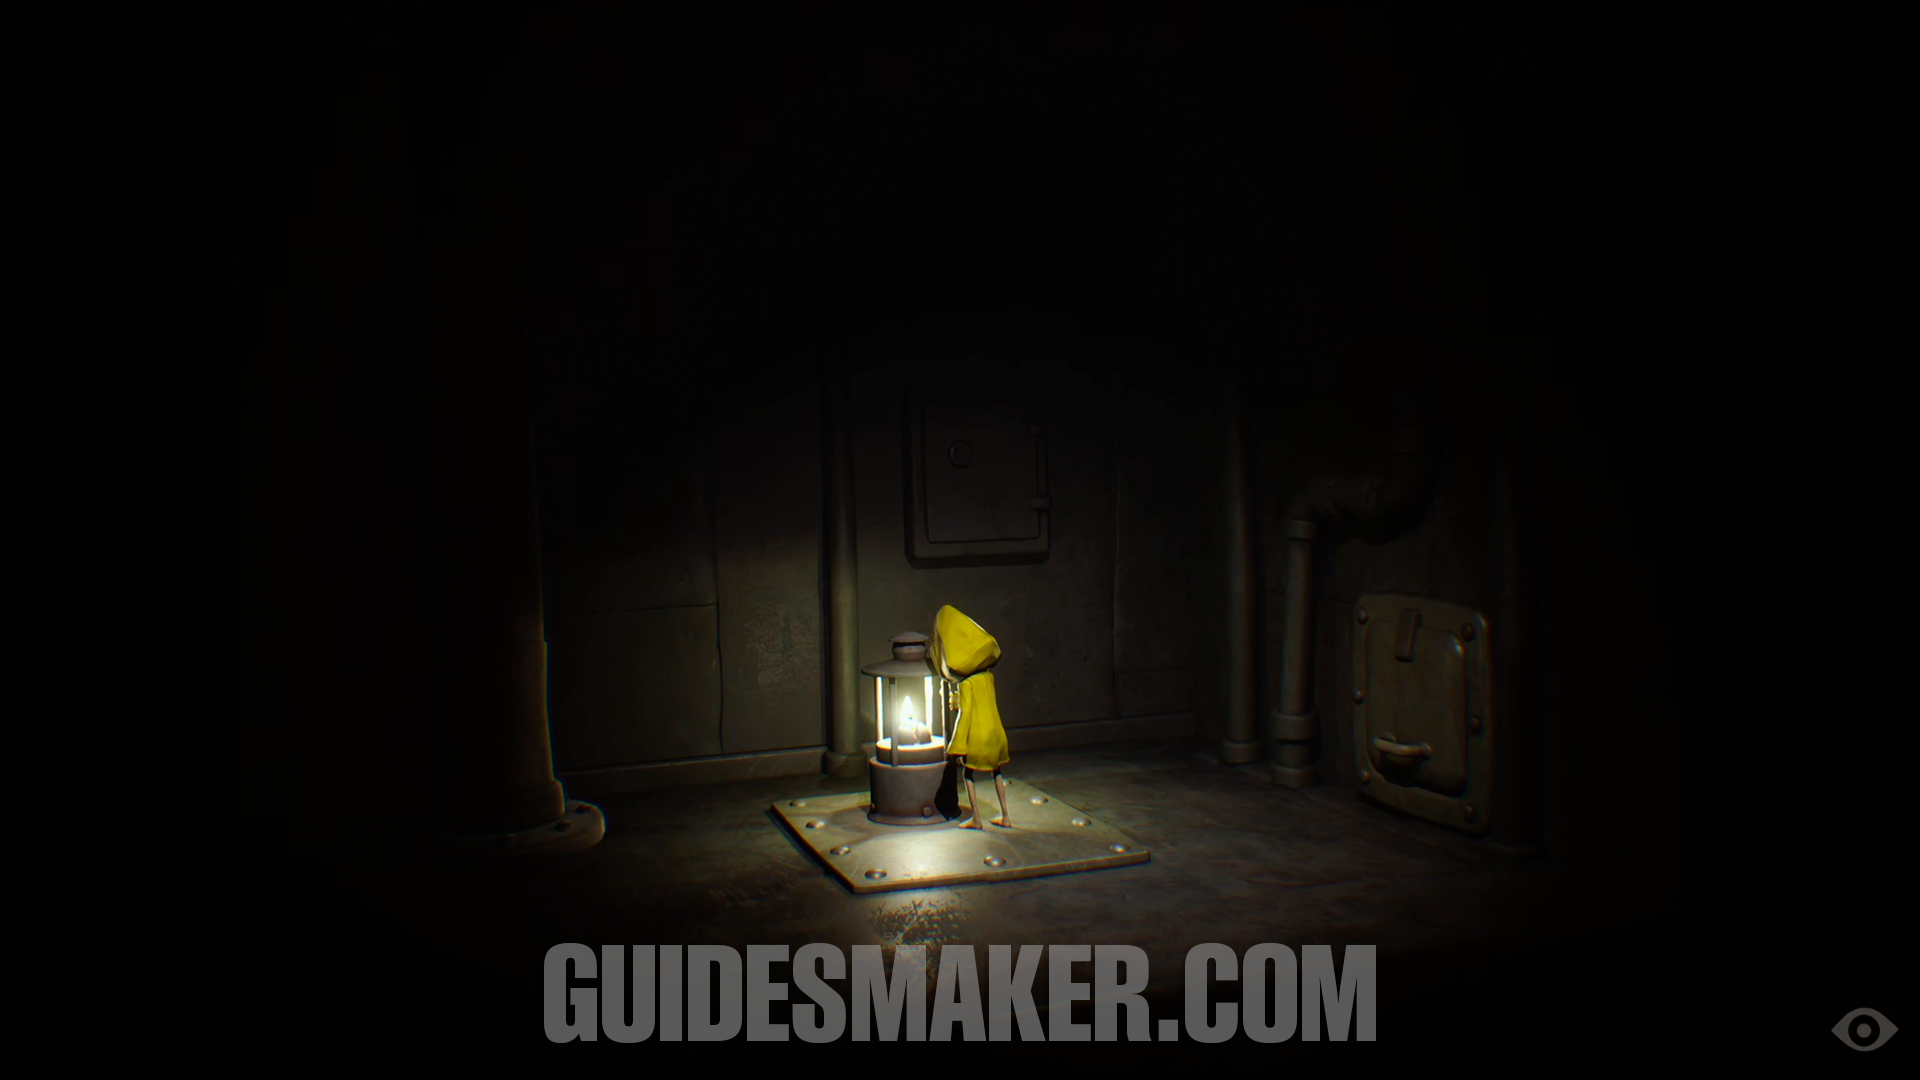
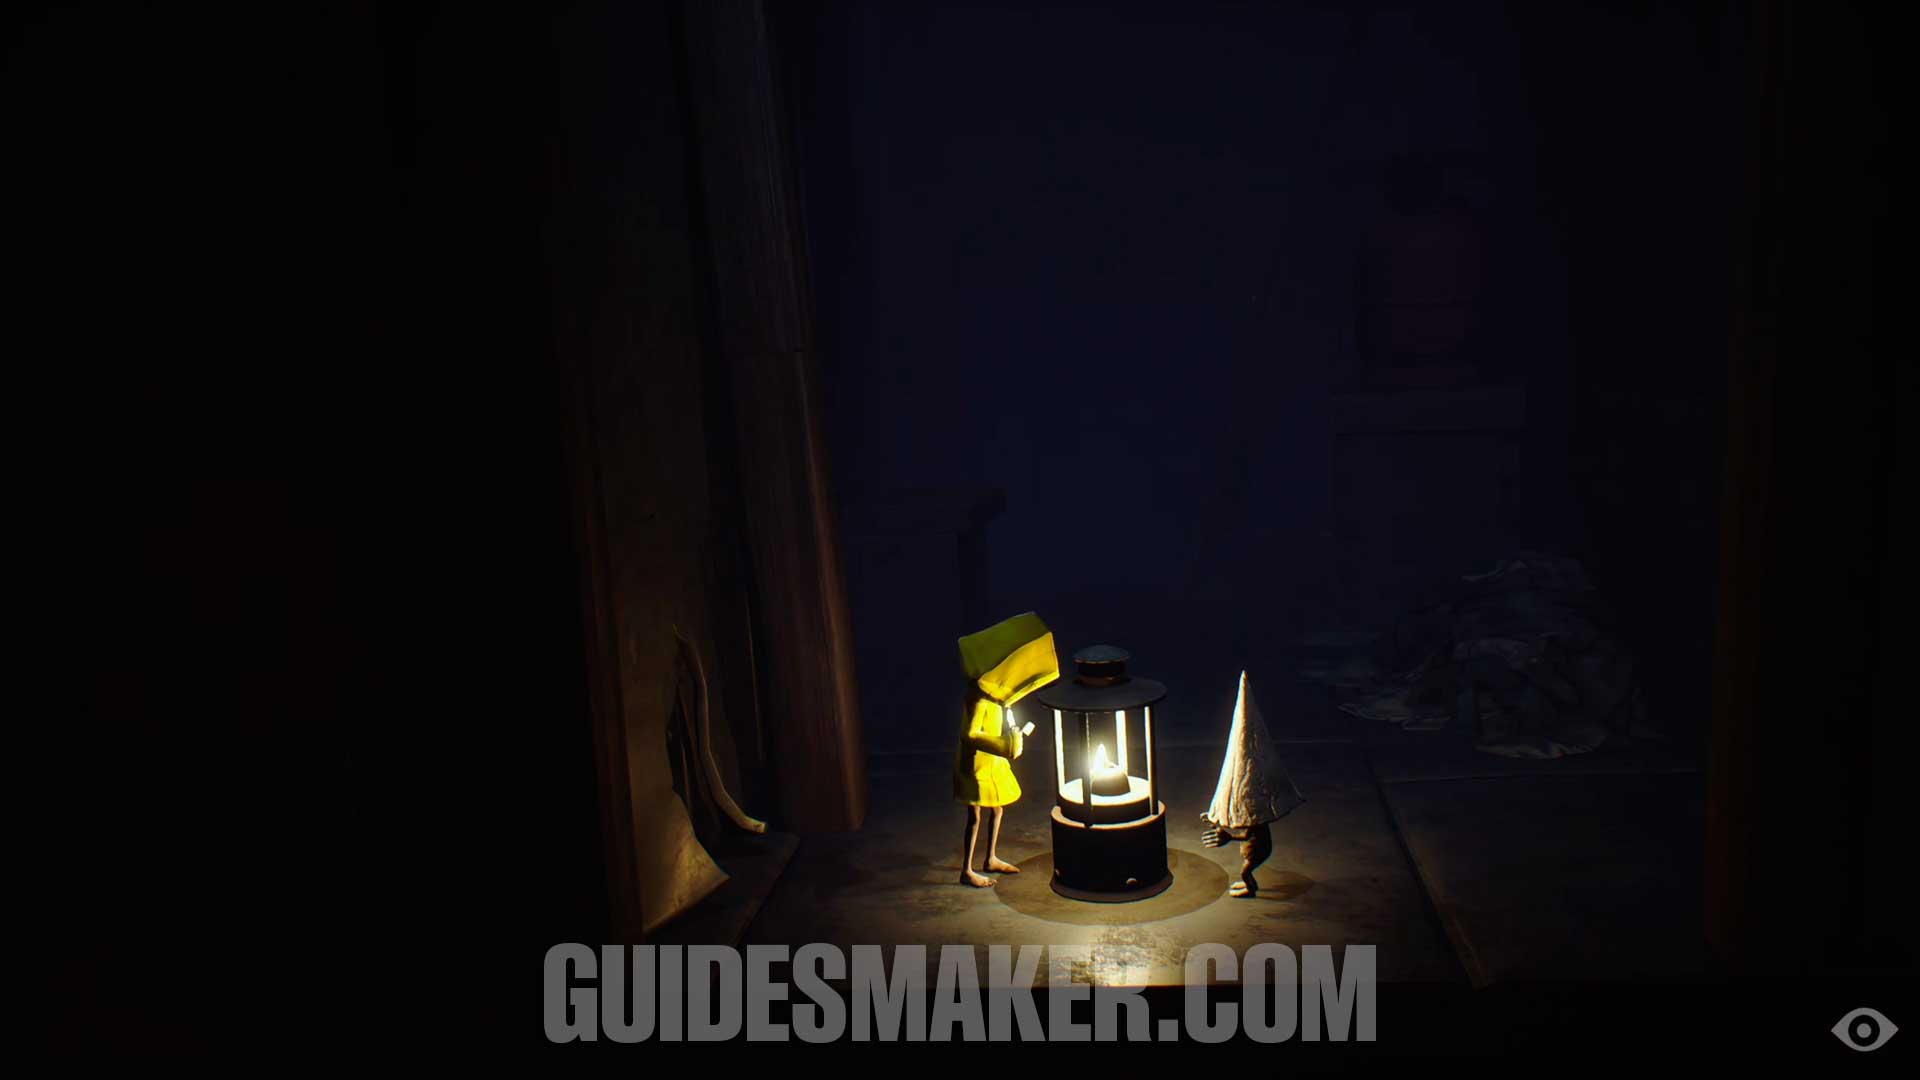
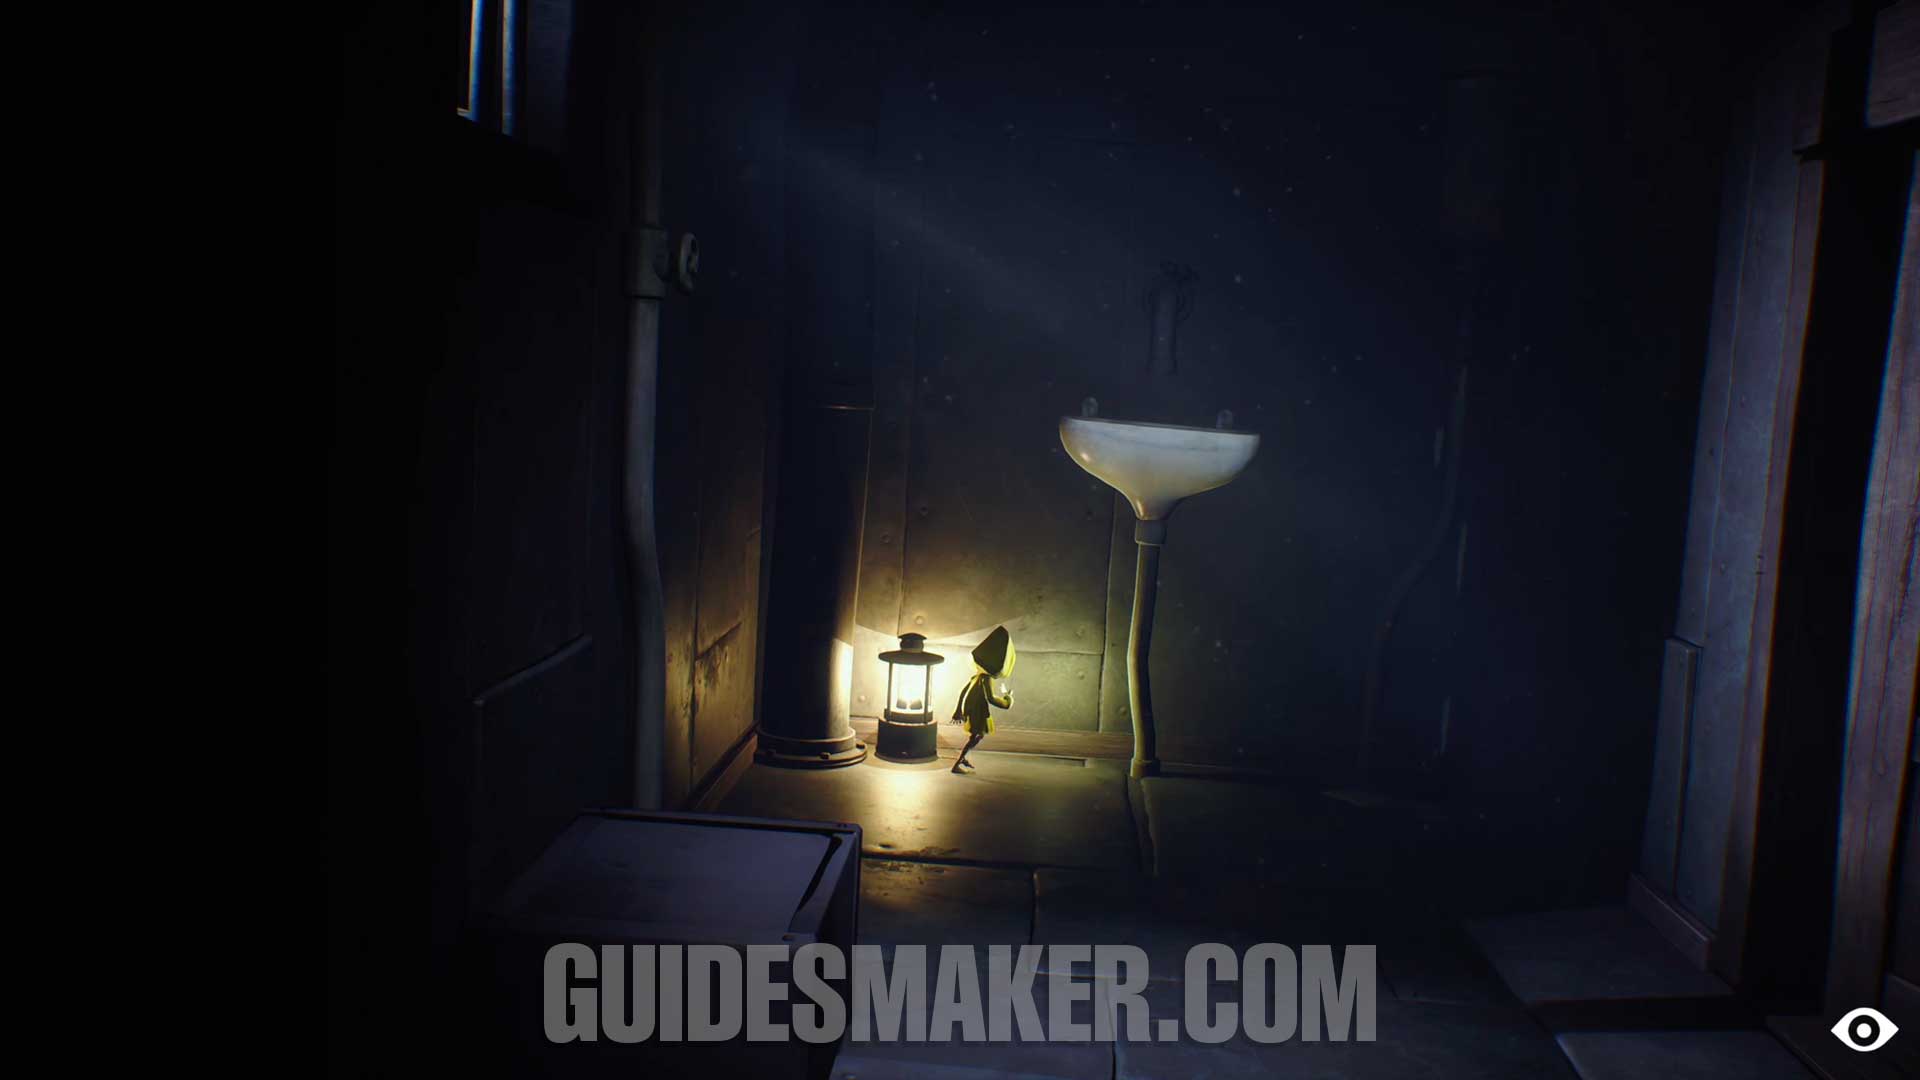
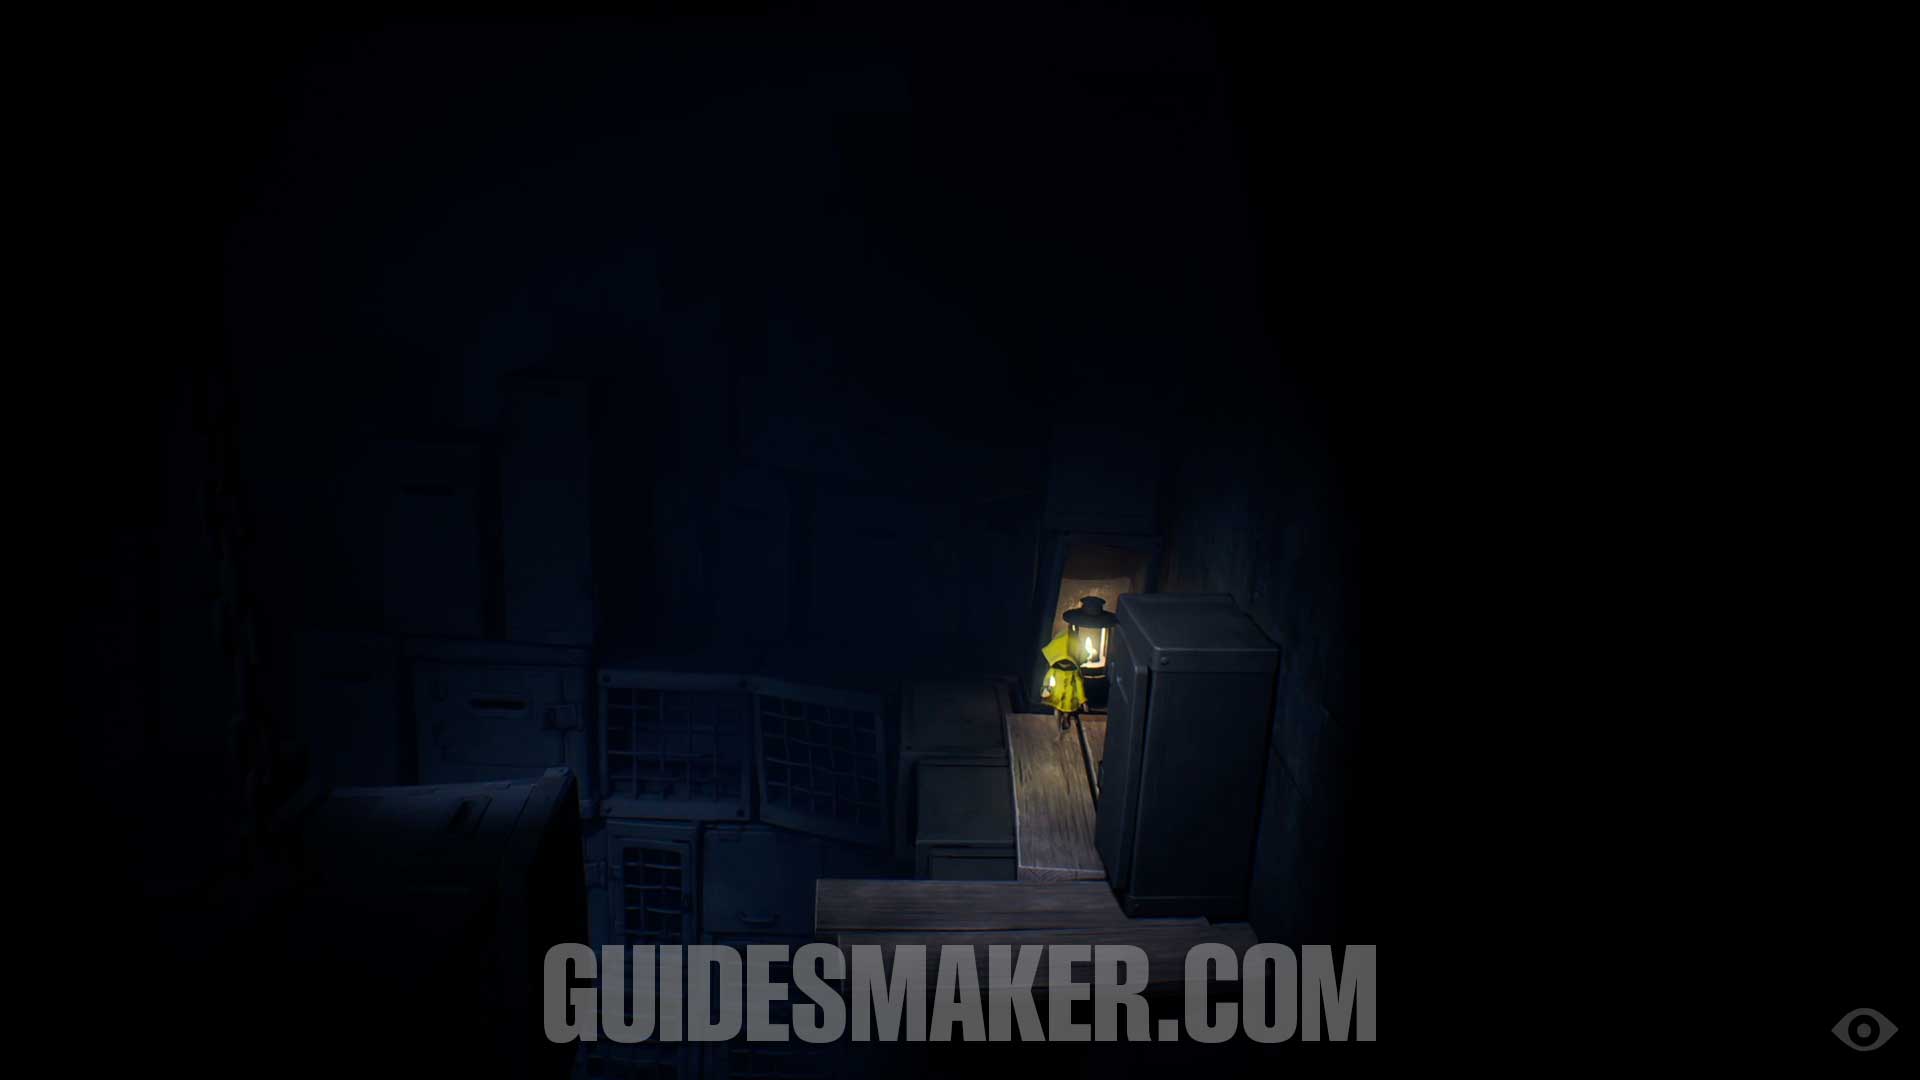
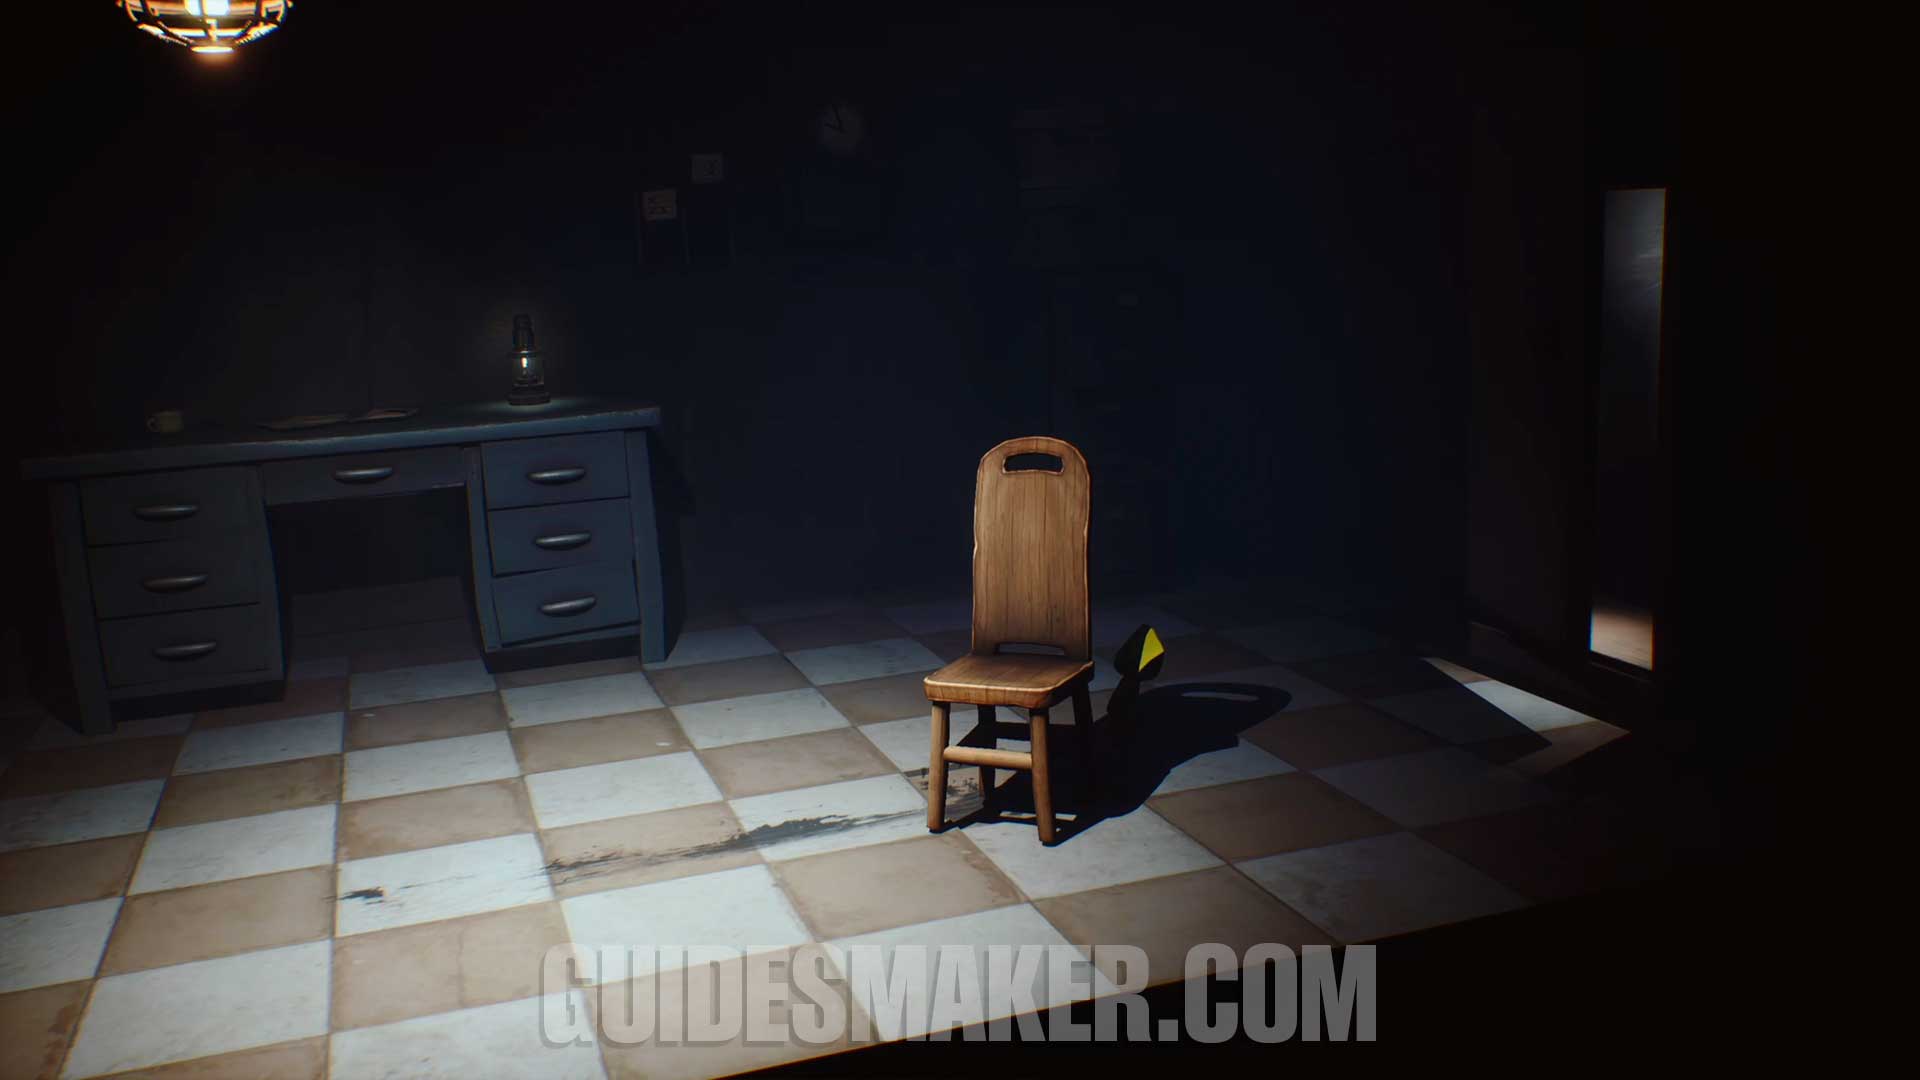
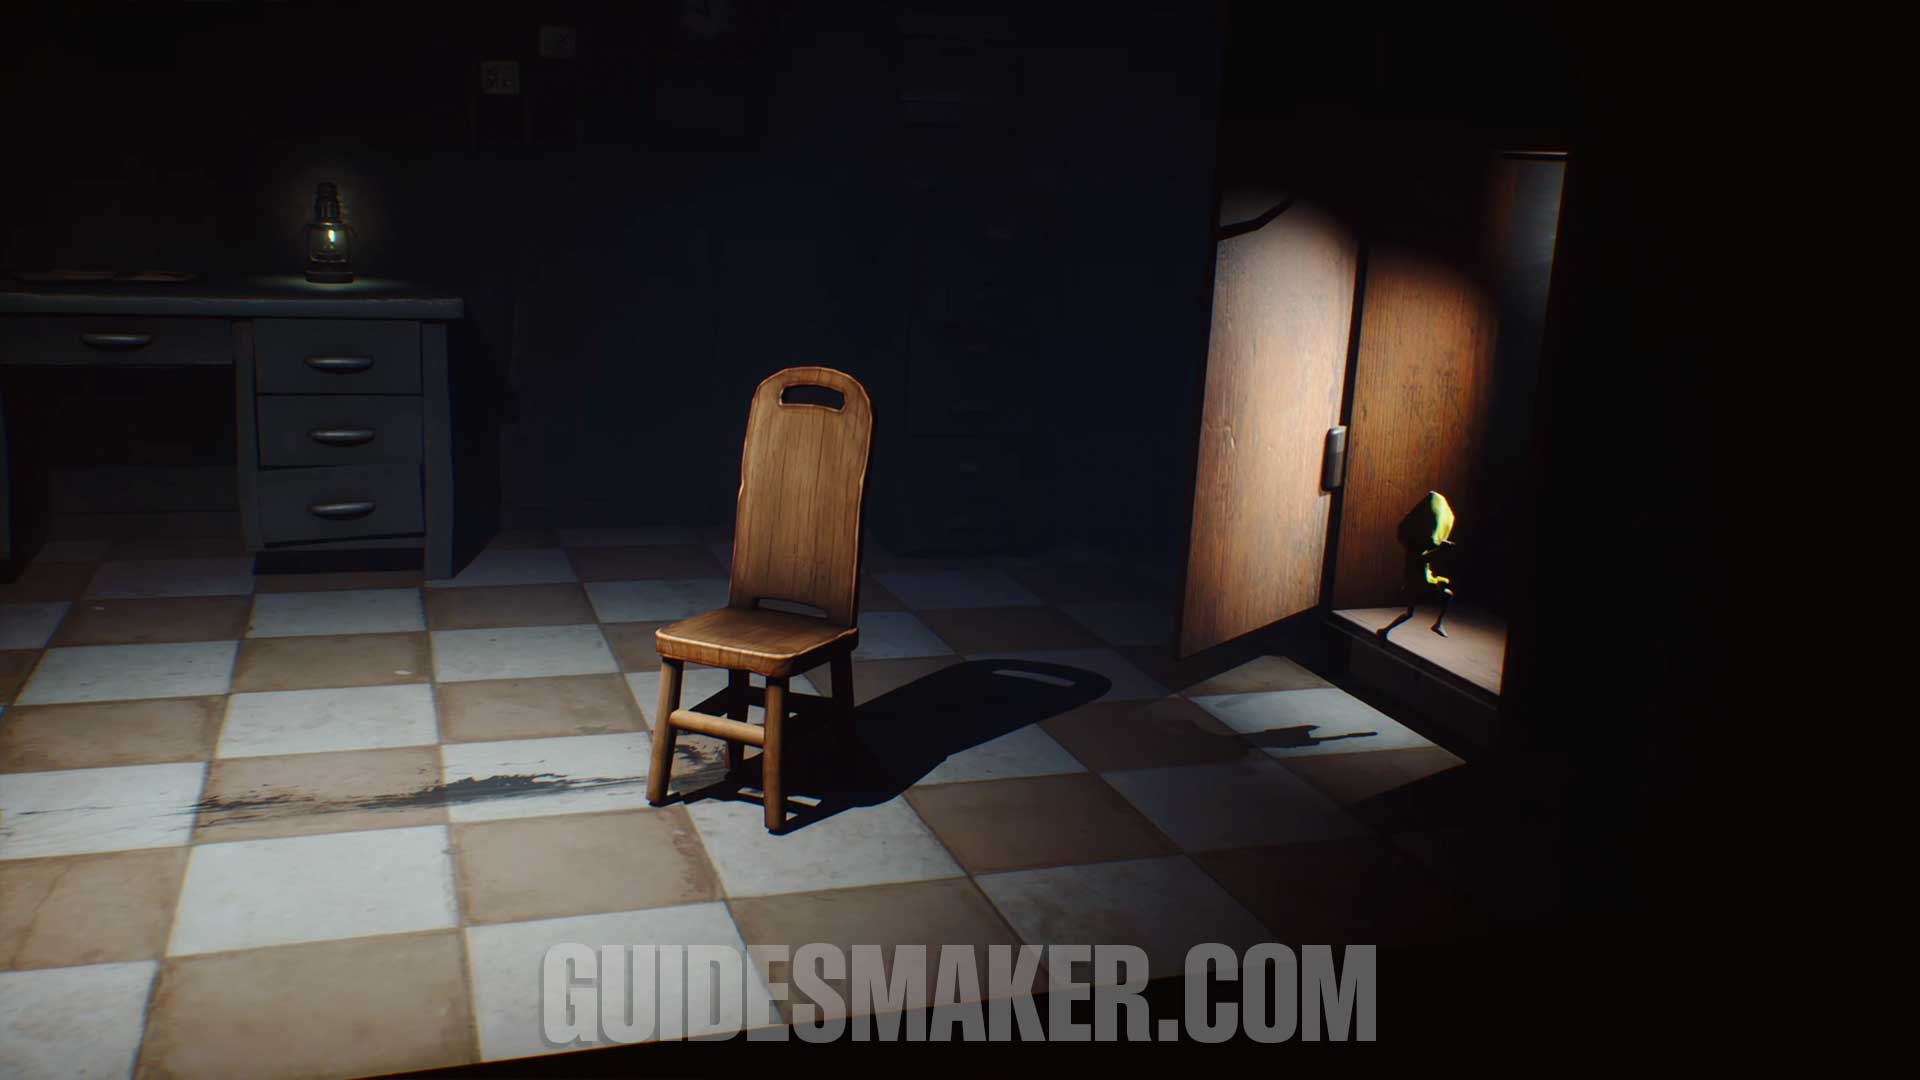
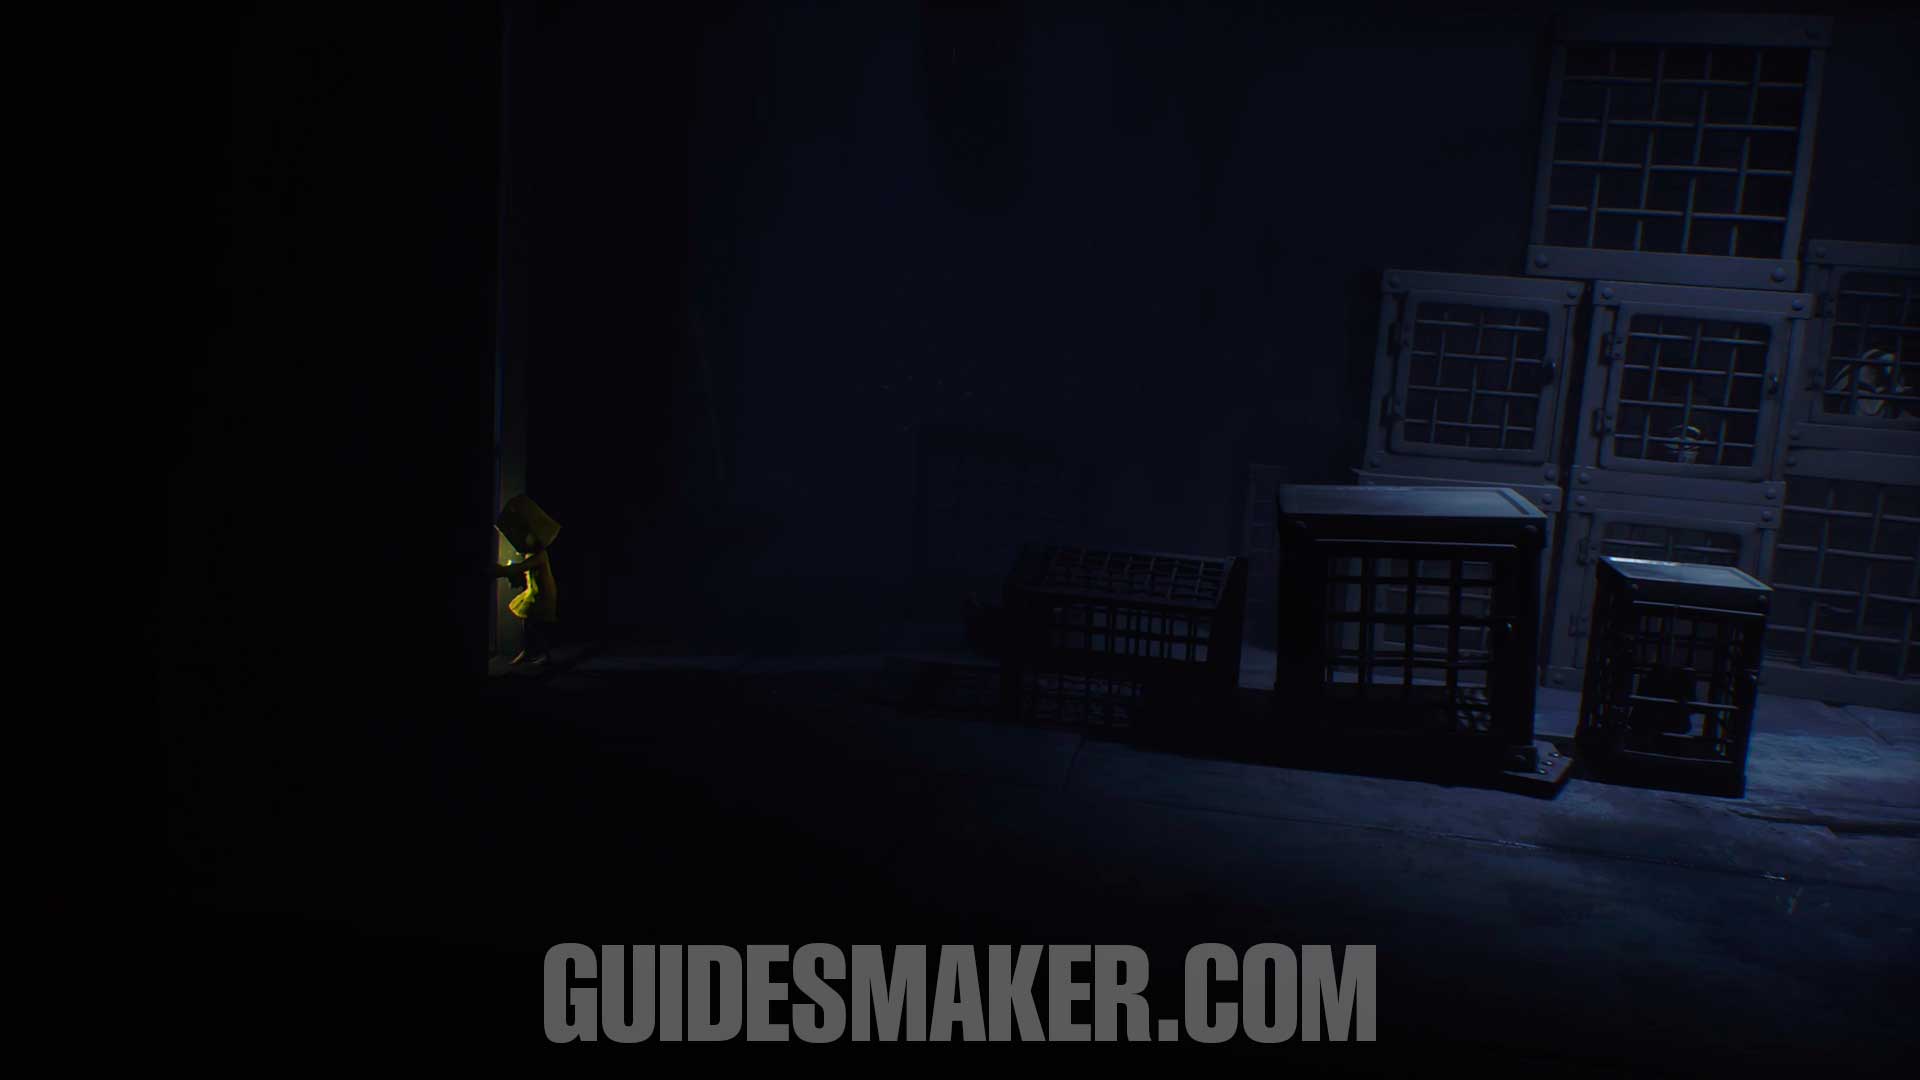
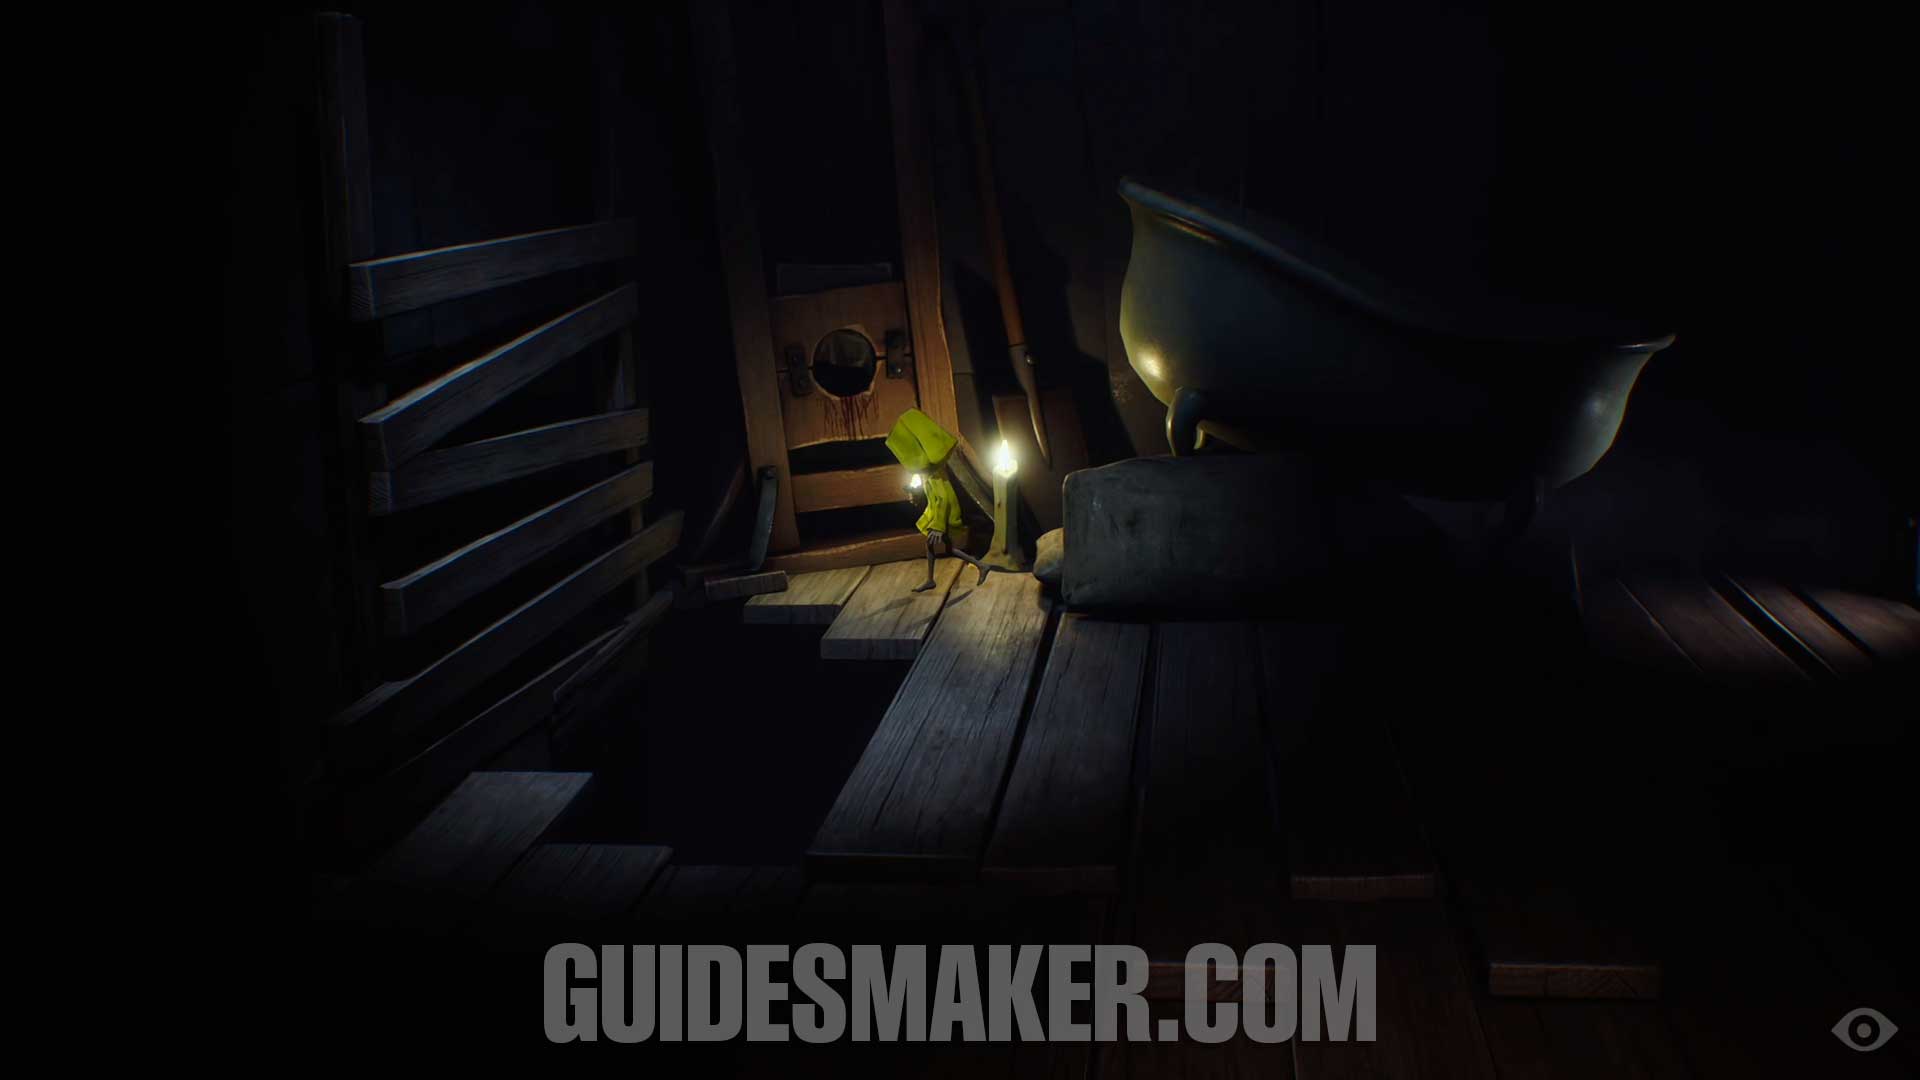
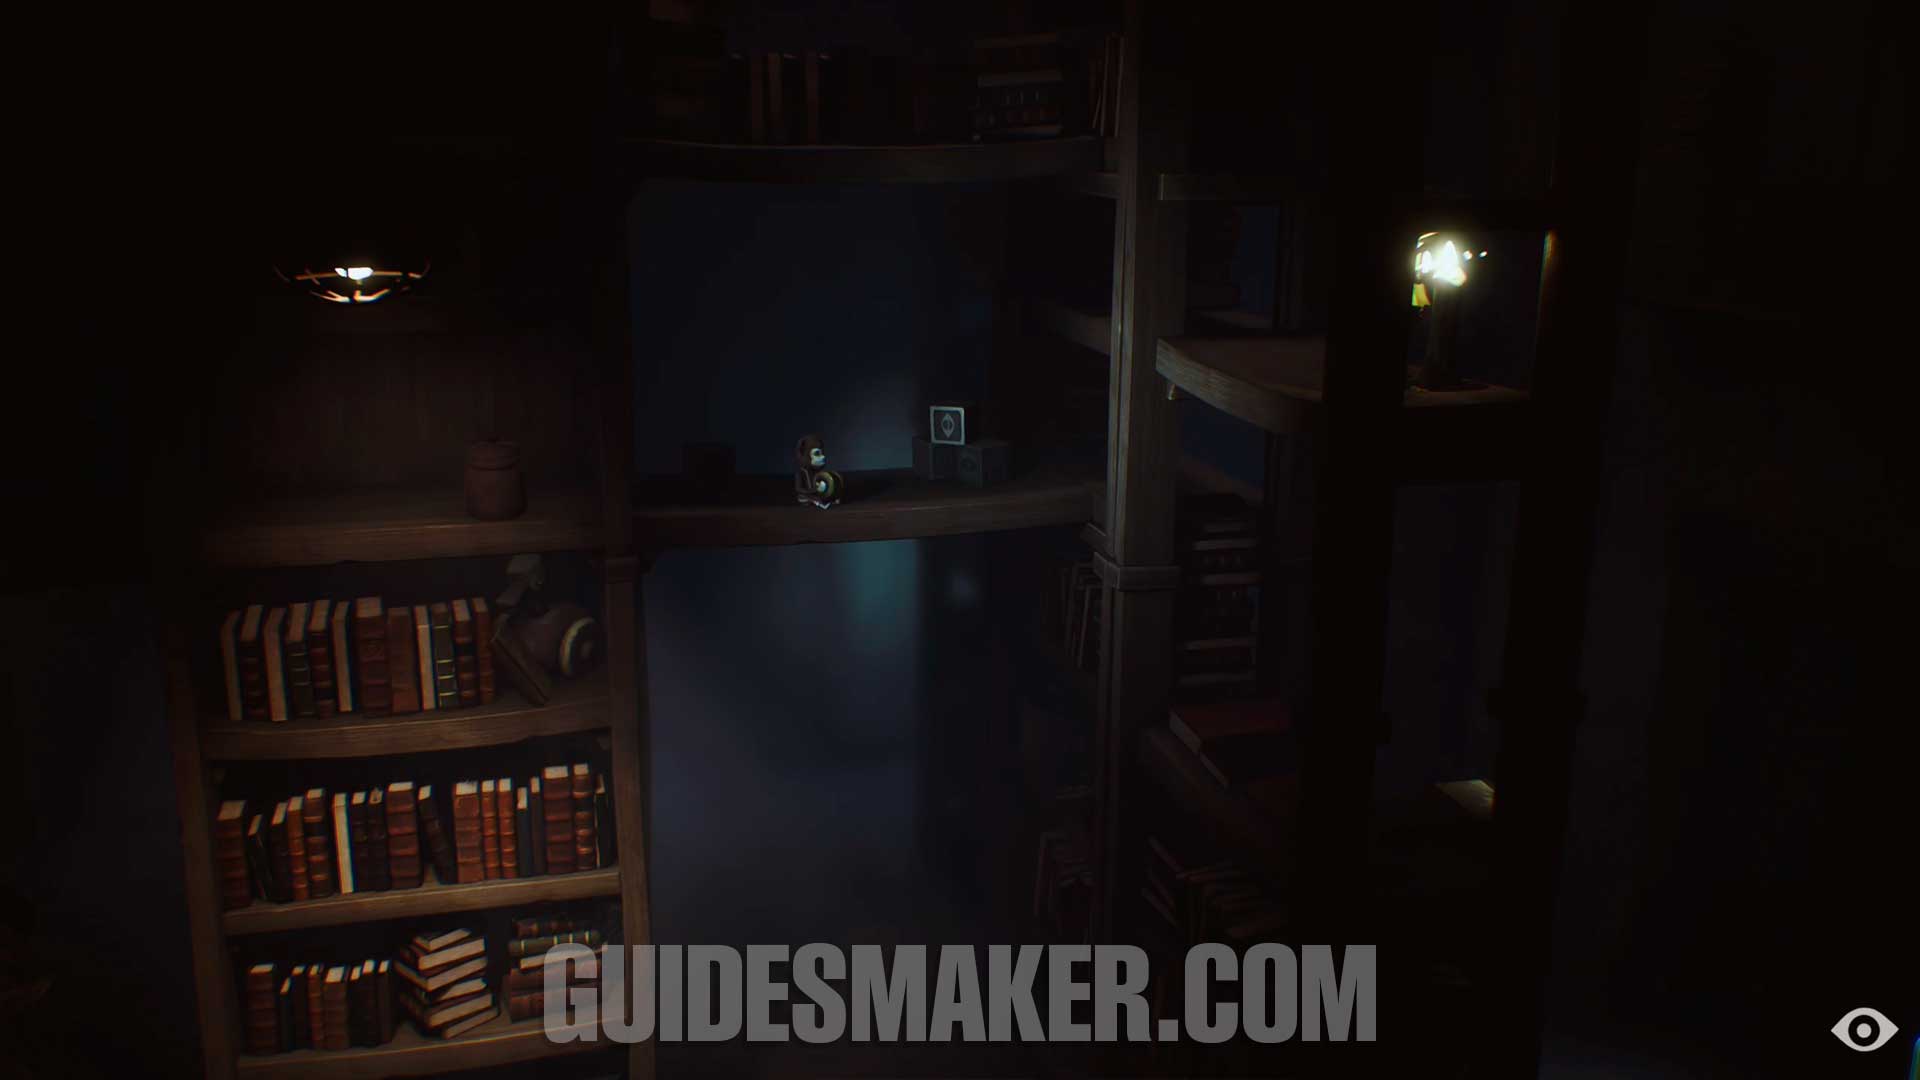
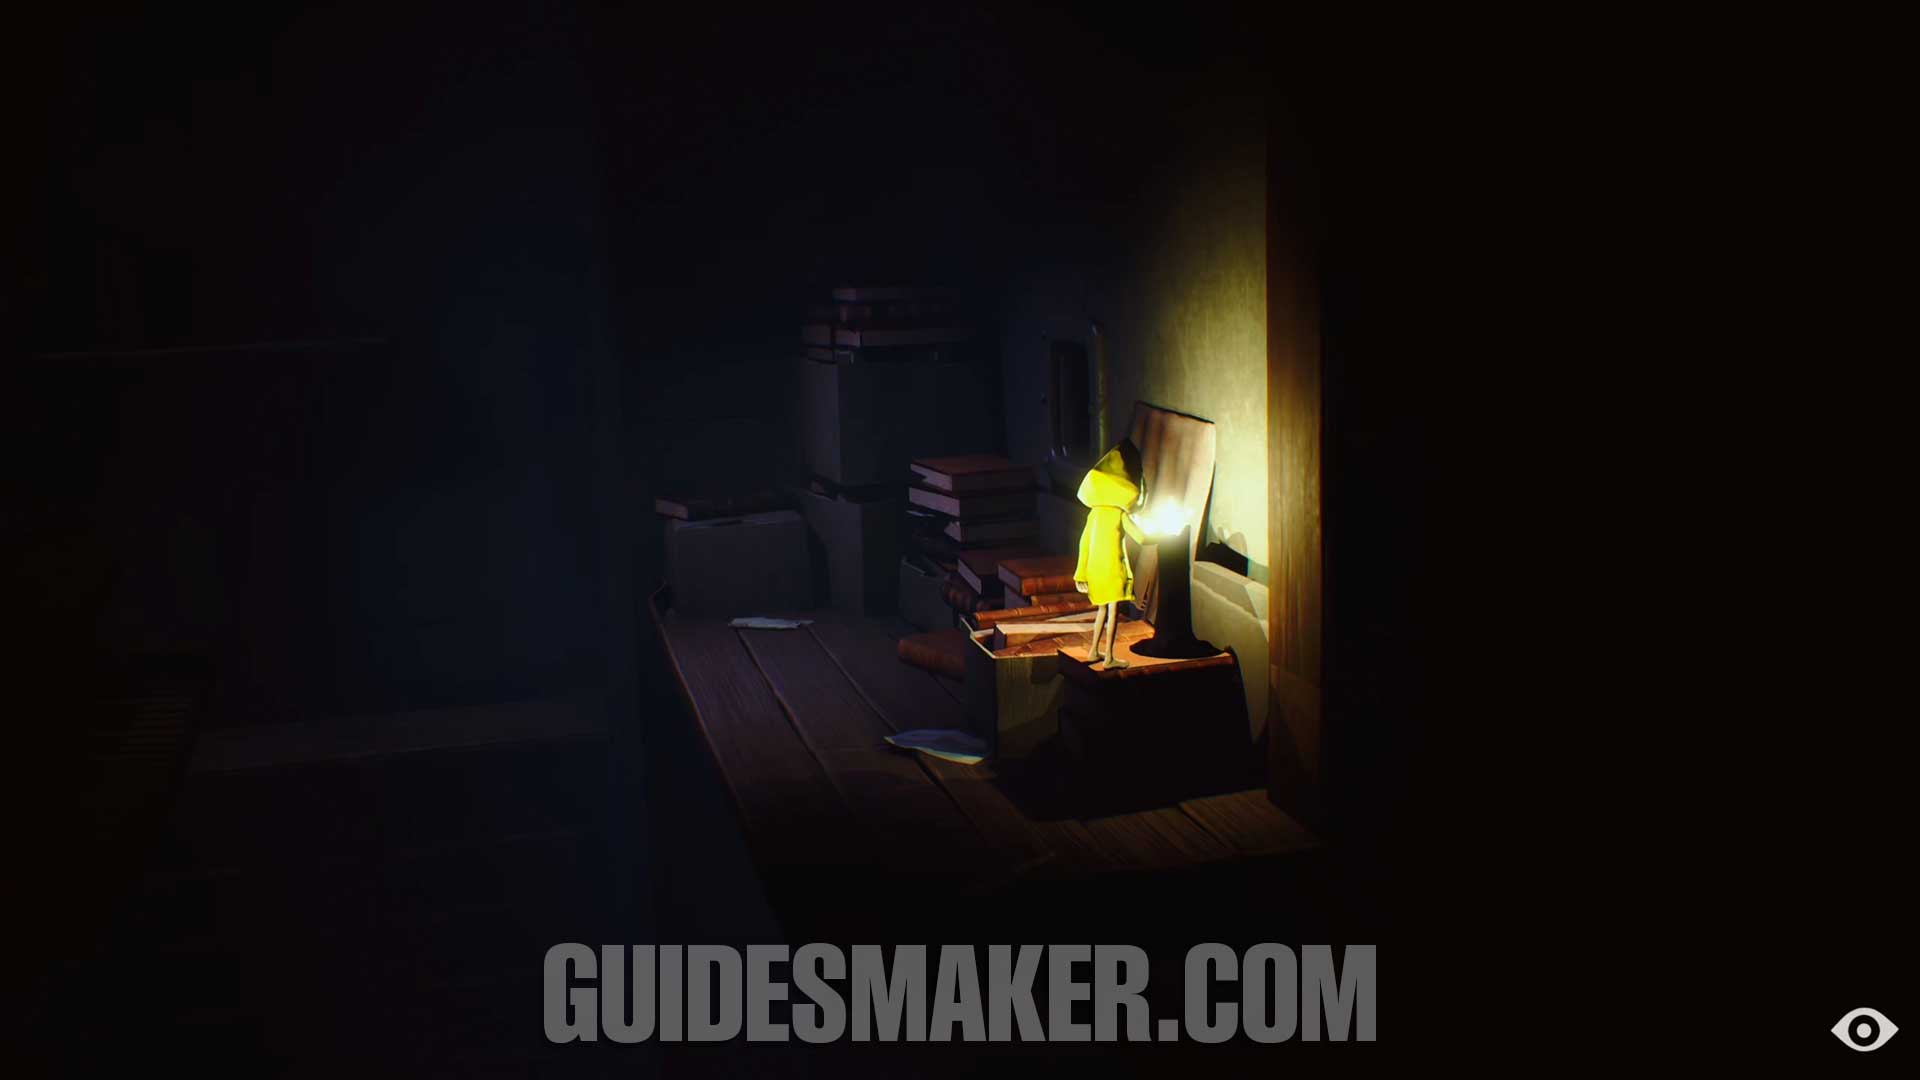
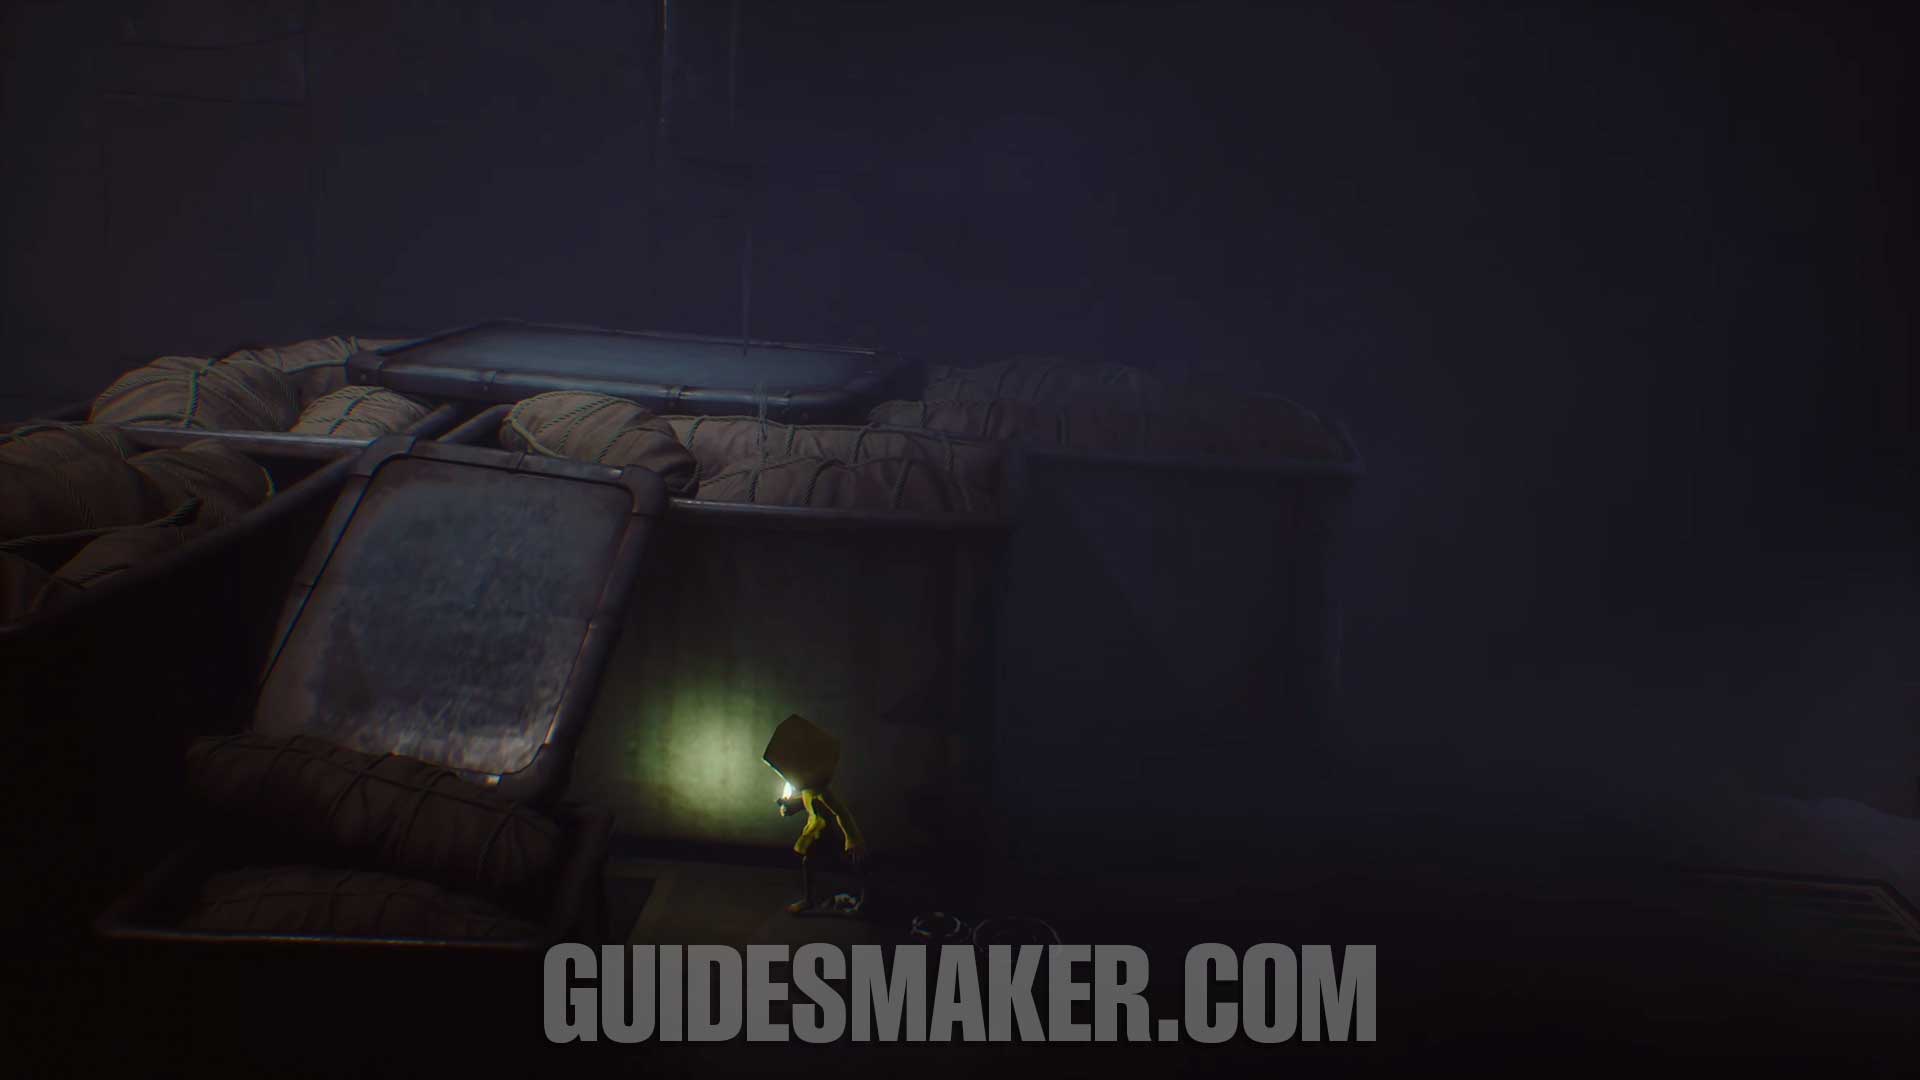
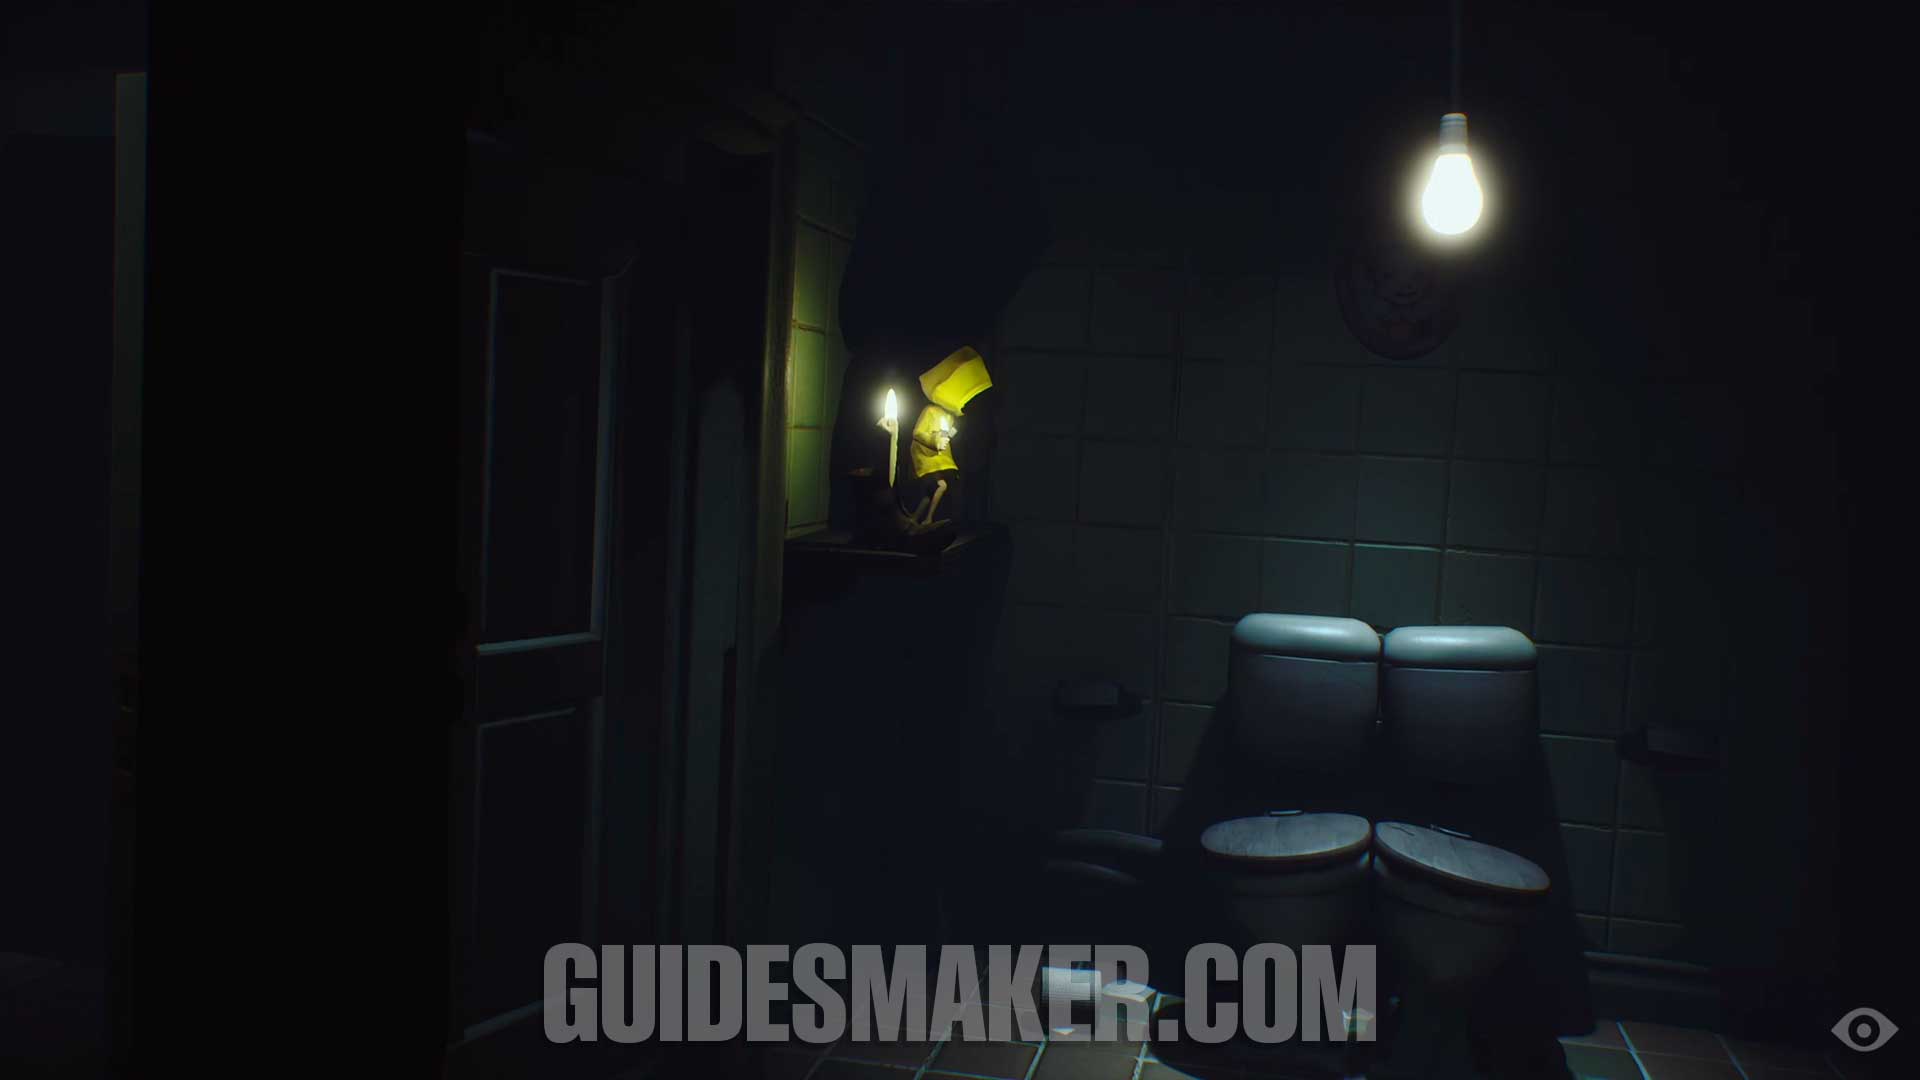
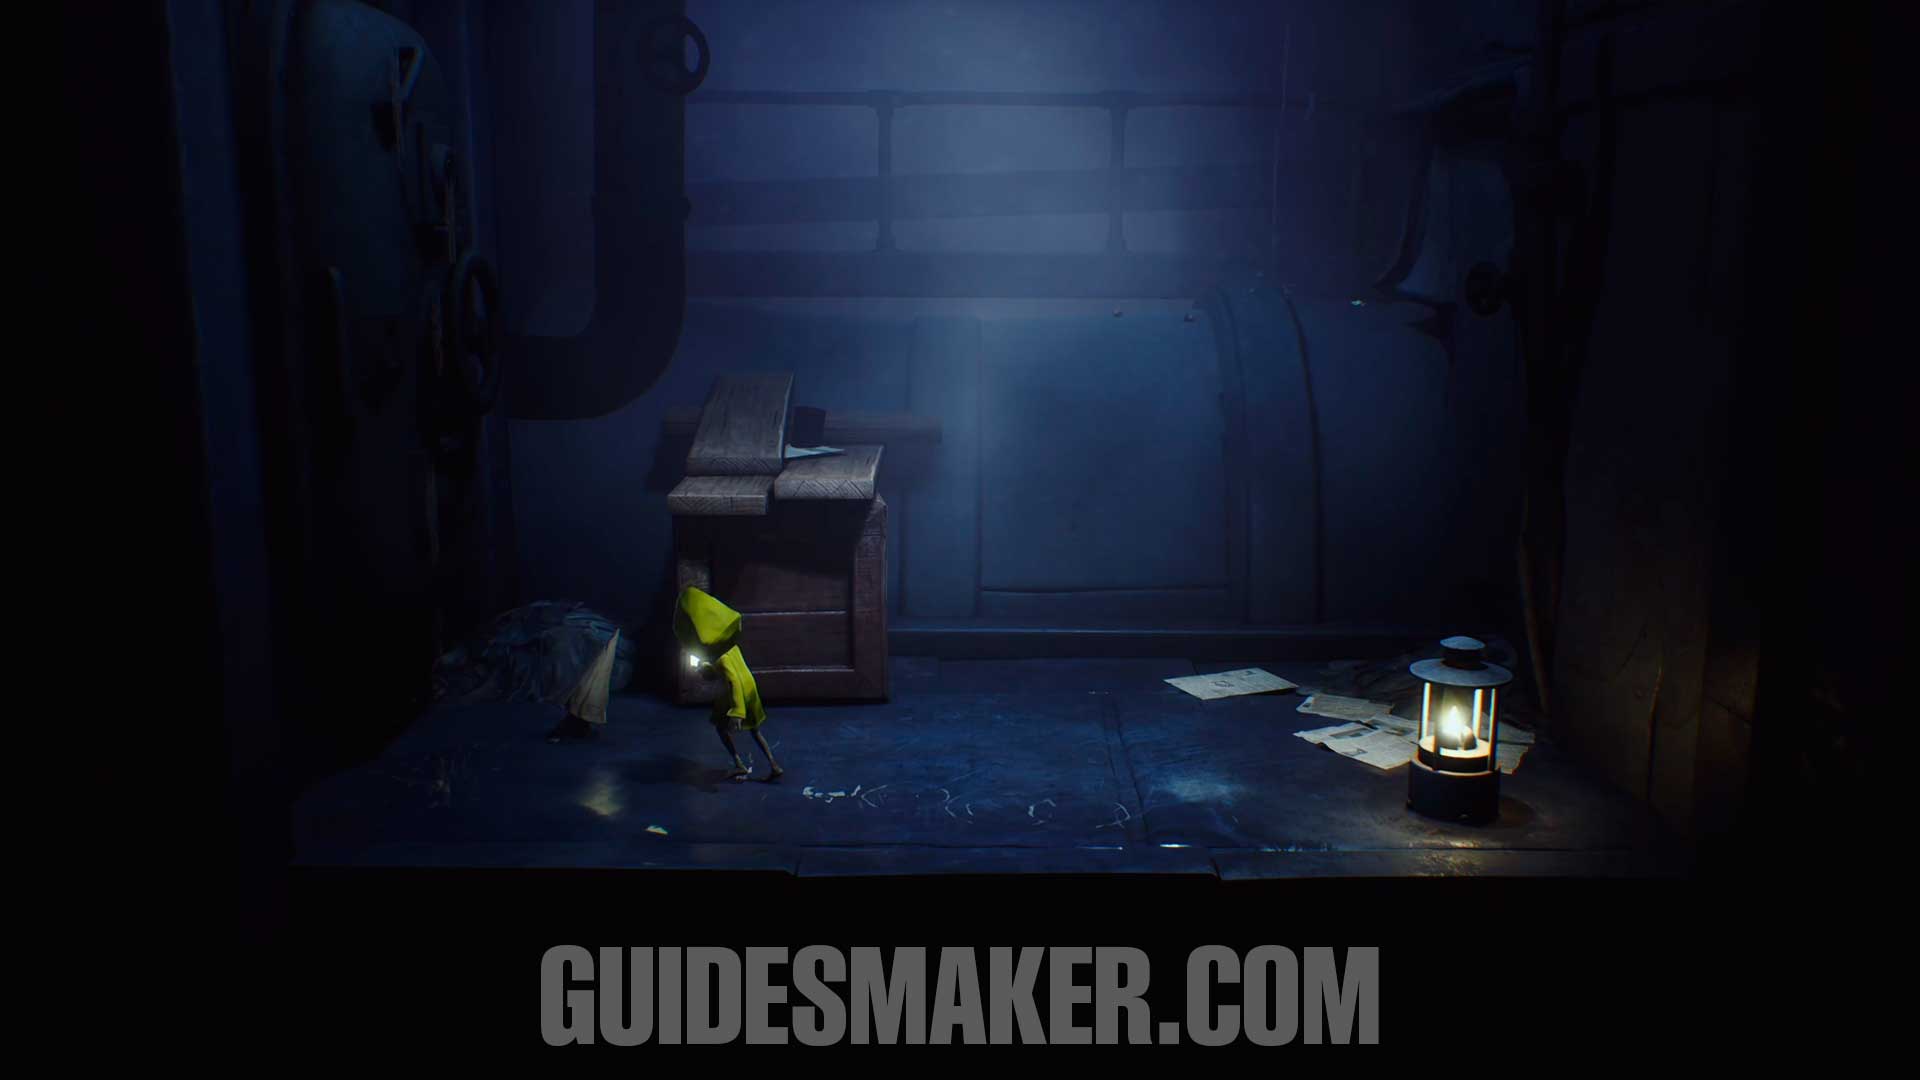
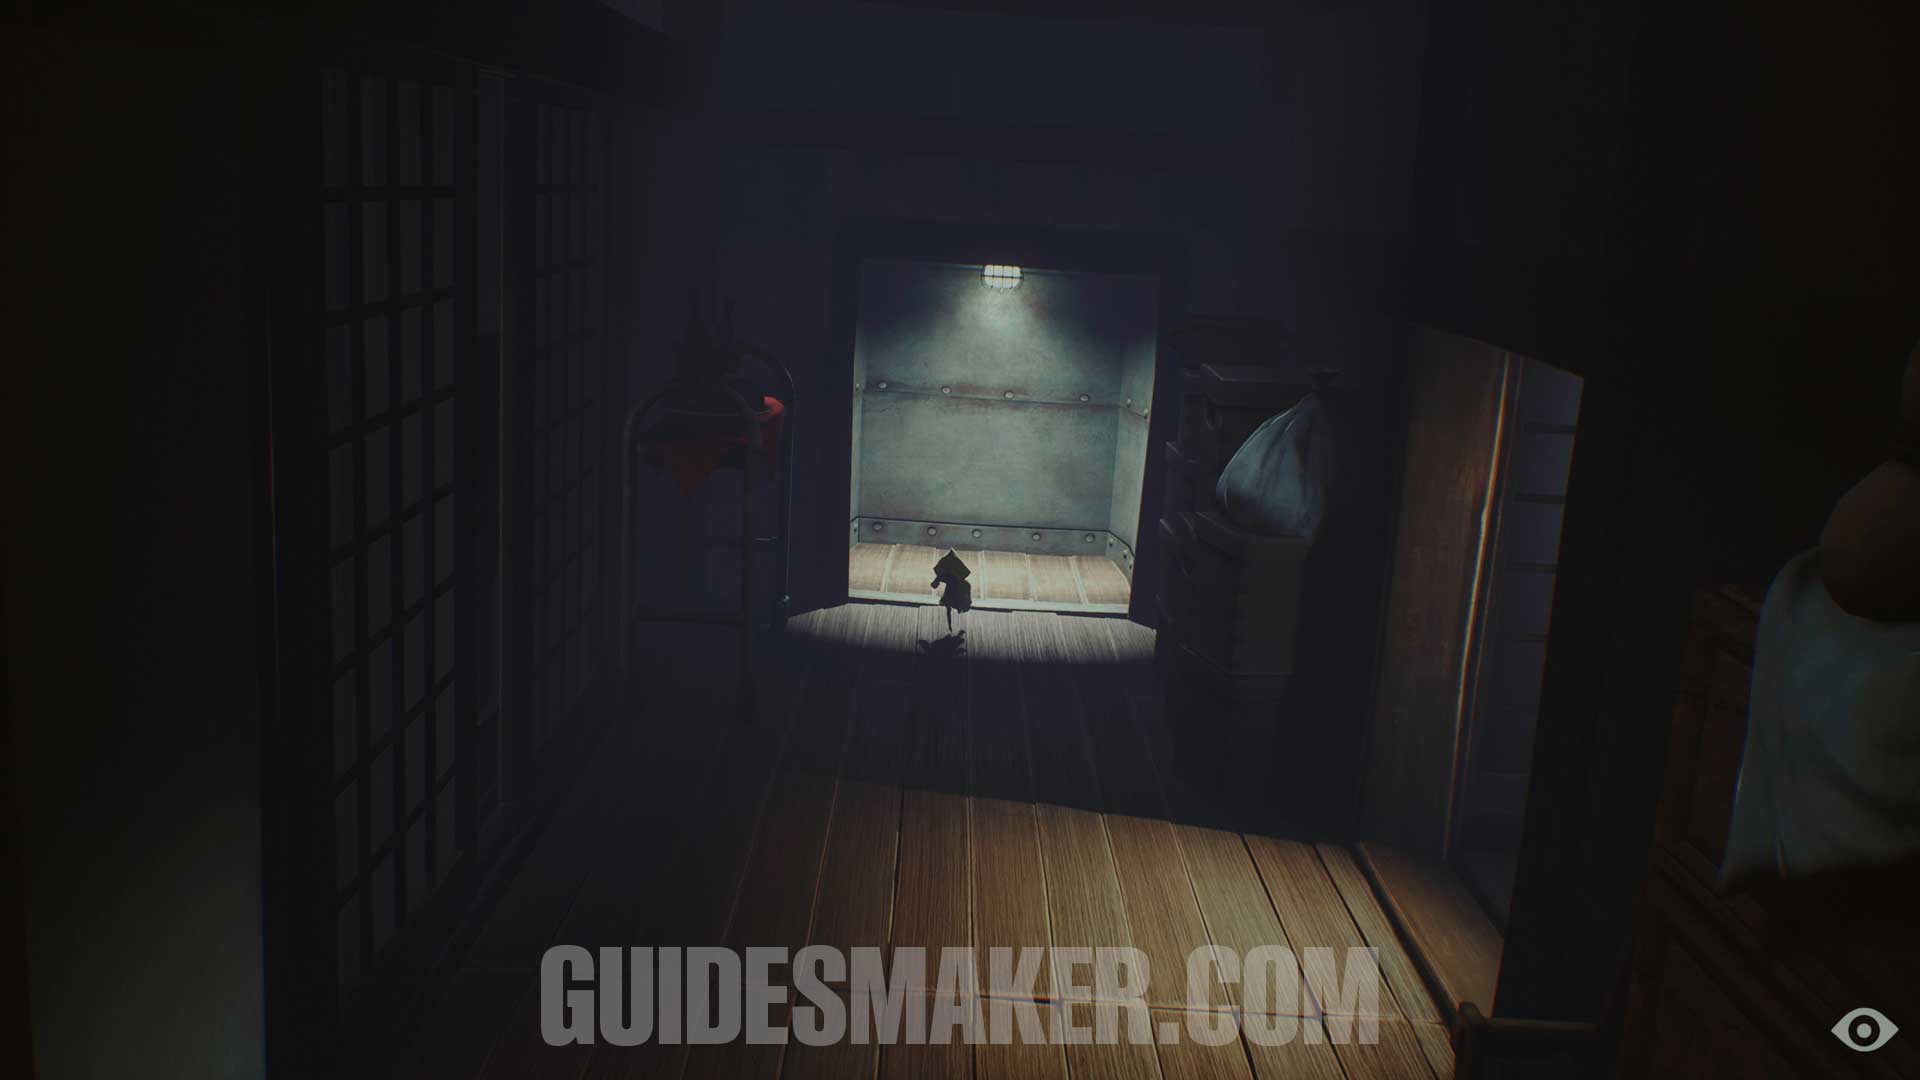
Light #2 + Gnome #1
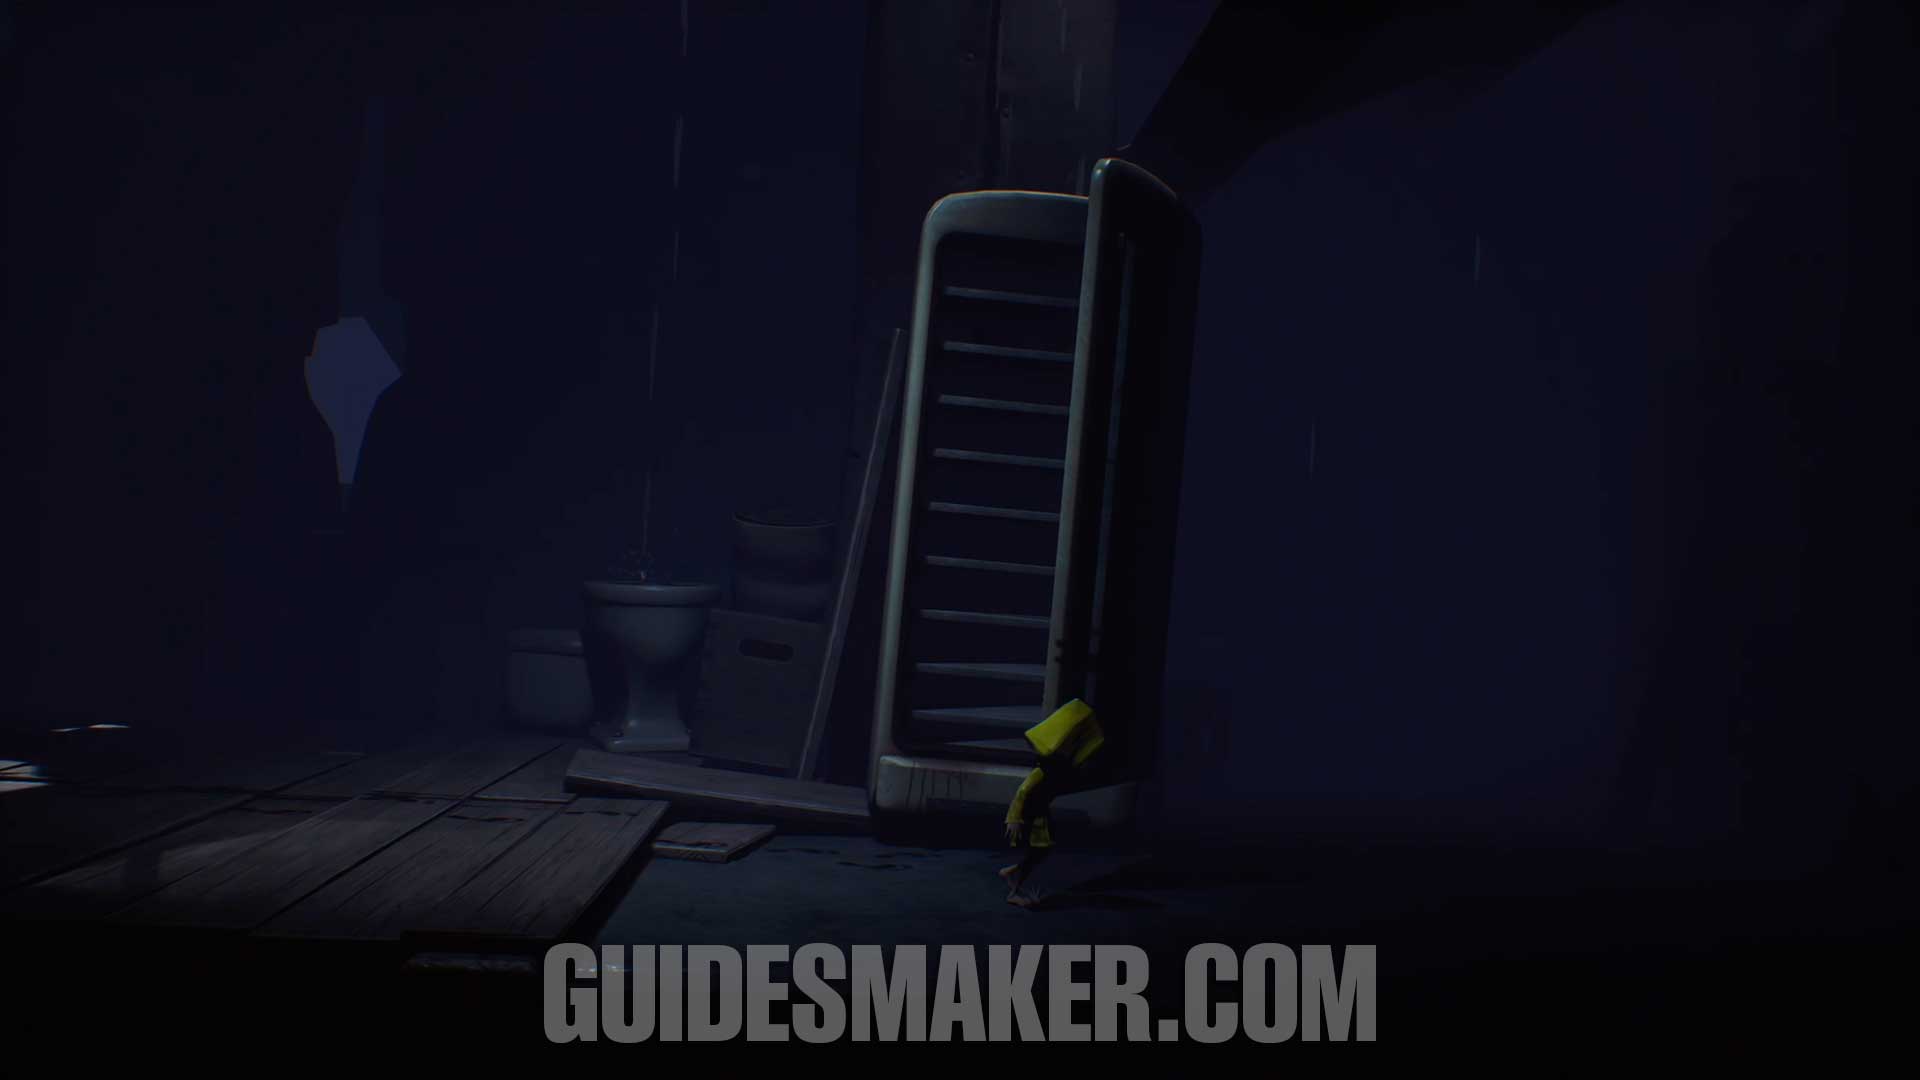
After opening the refrigerator to climb to the upper part, a gnome will come out of it. Do not climb through the refrigerator and continue forward to find a hole in the wall. Go through it to turn on this light and find the first gnome.
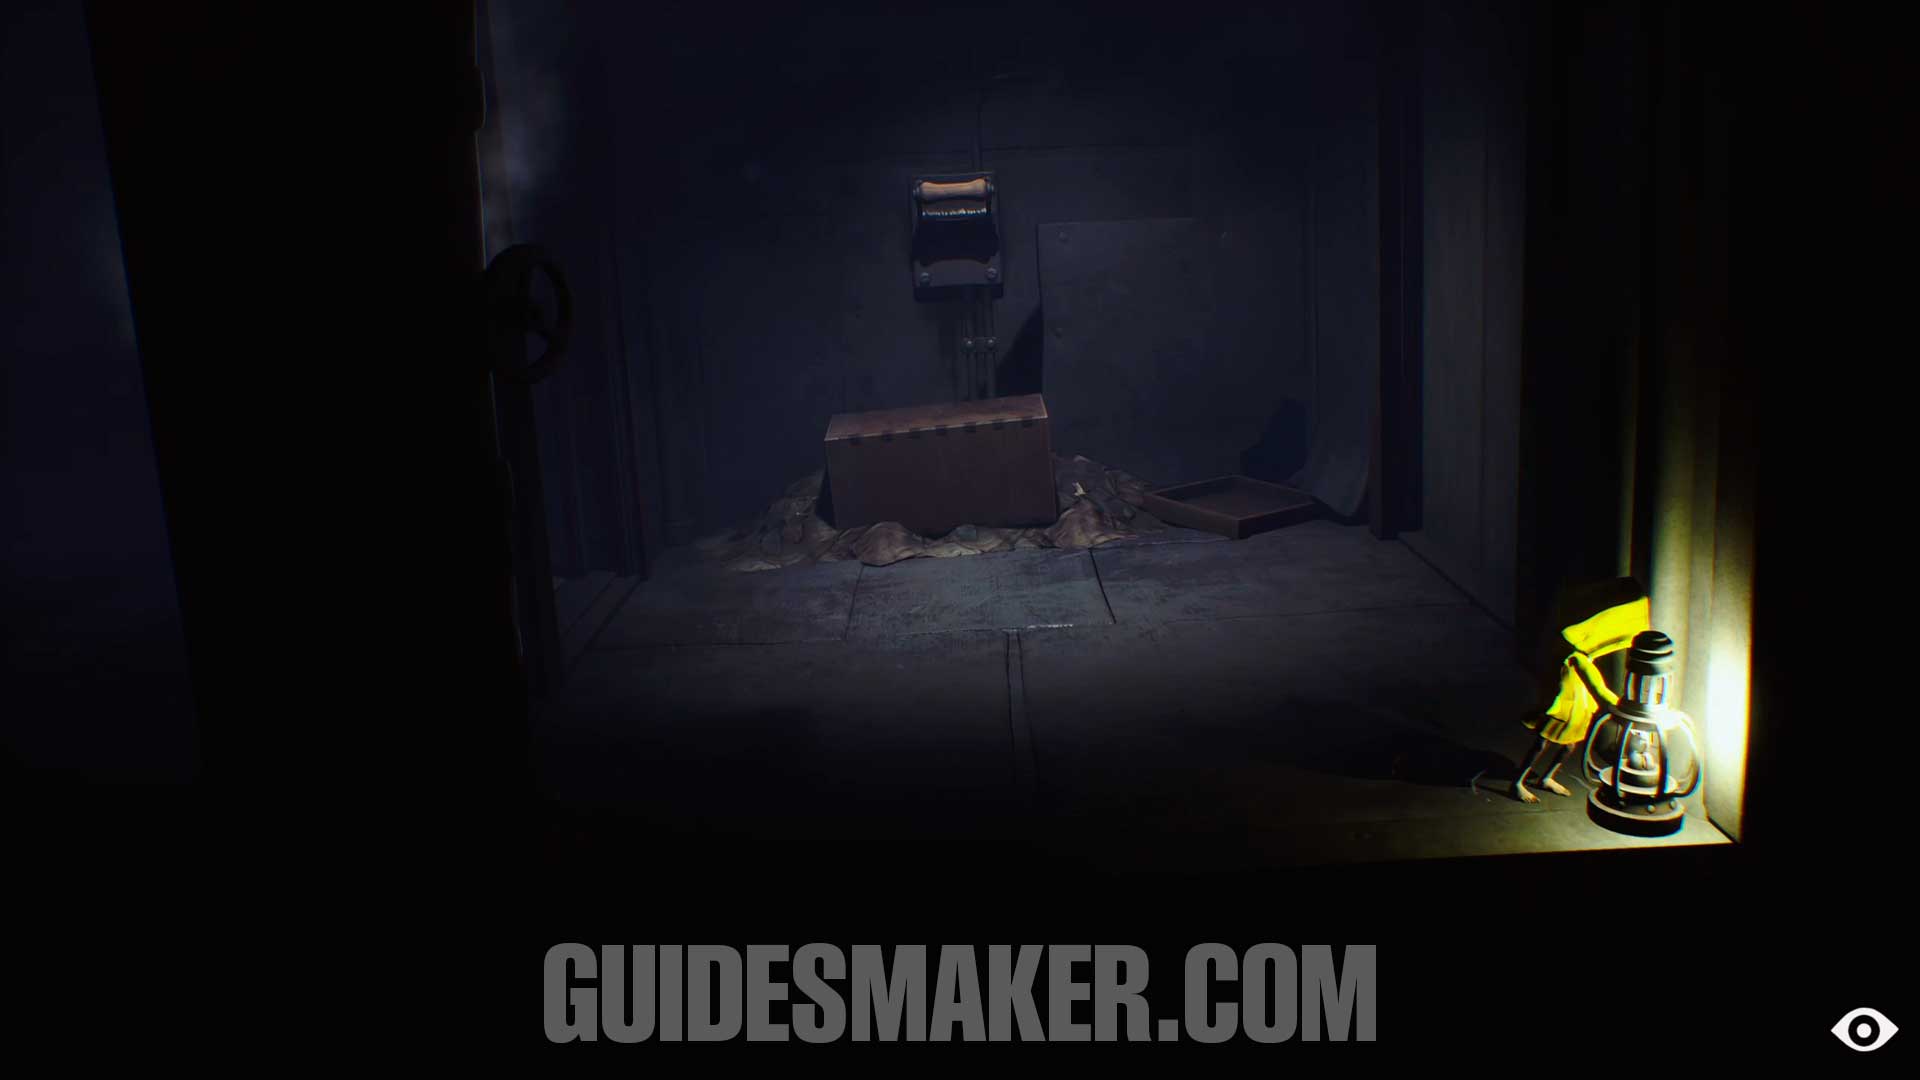
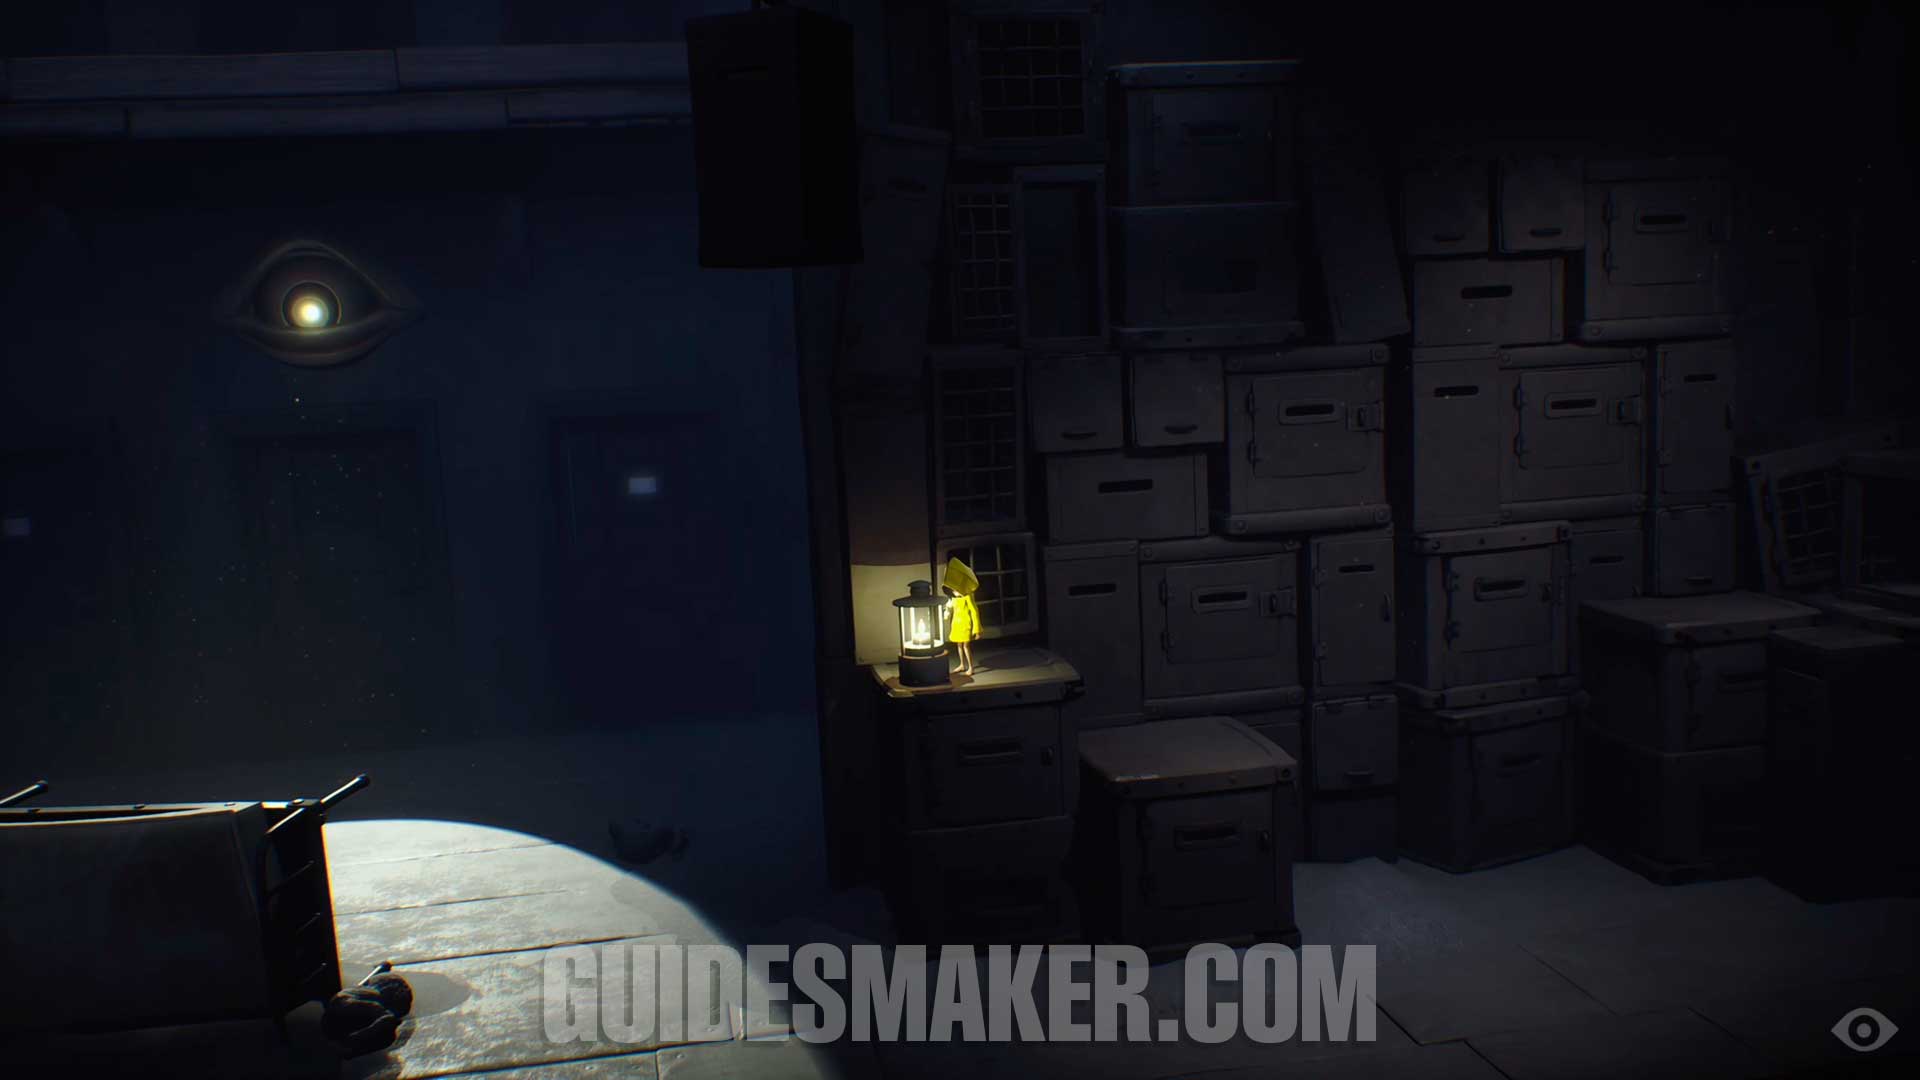
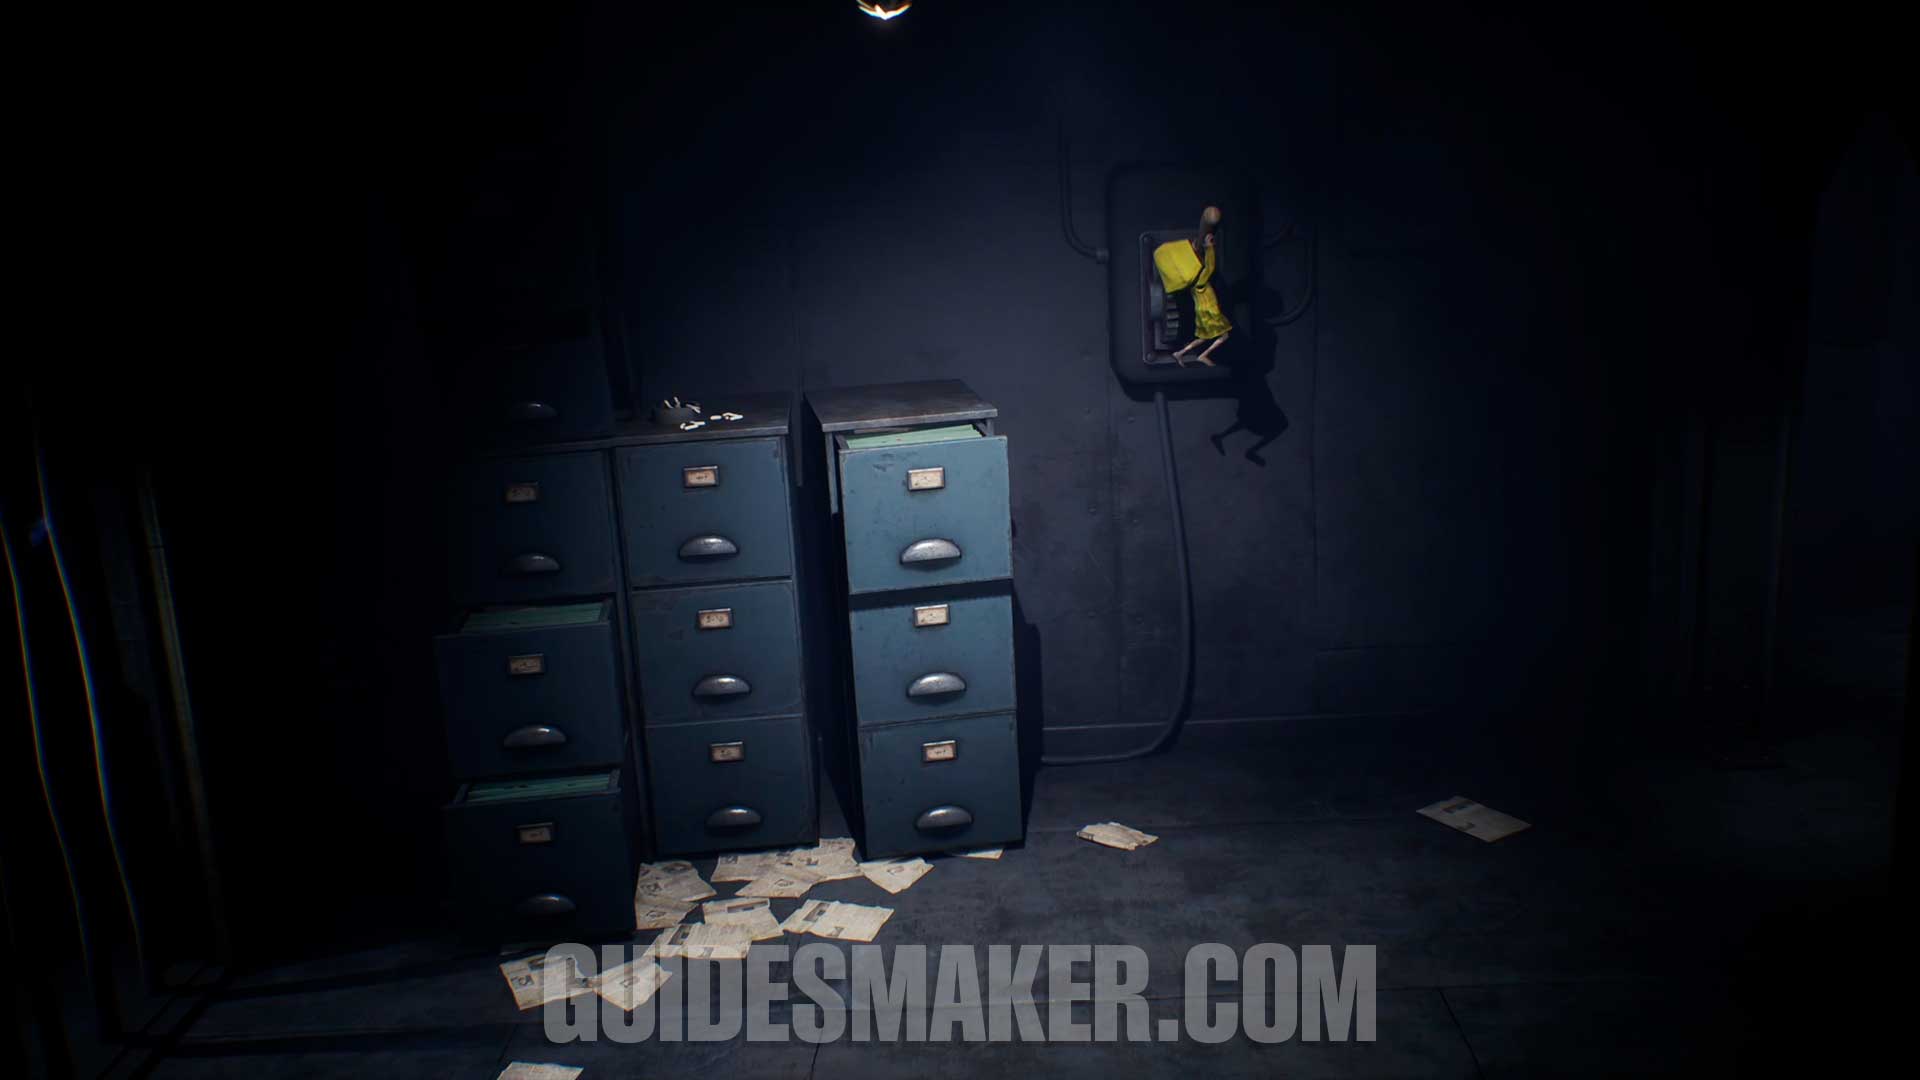
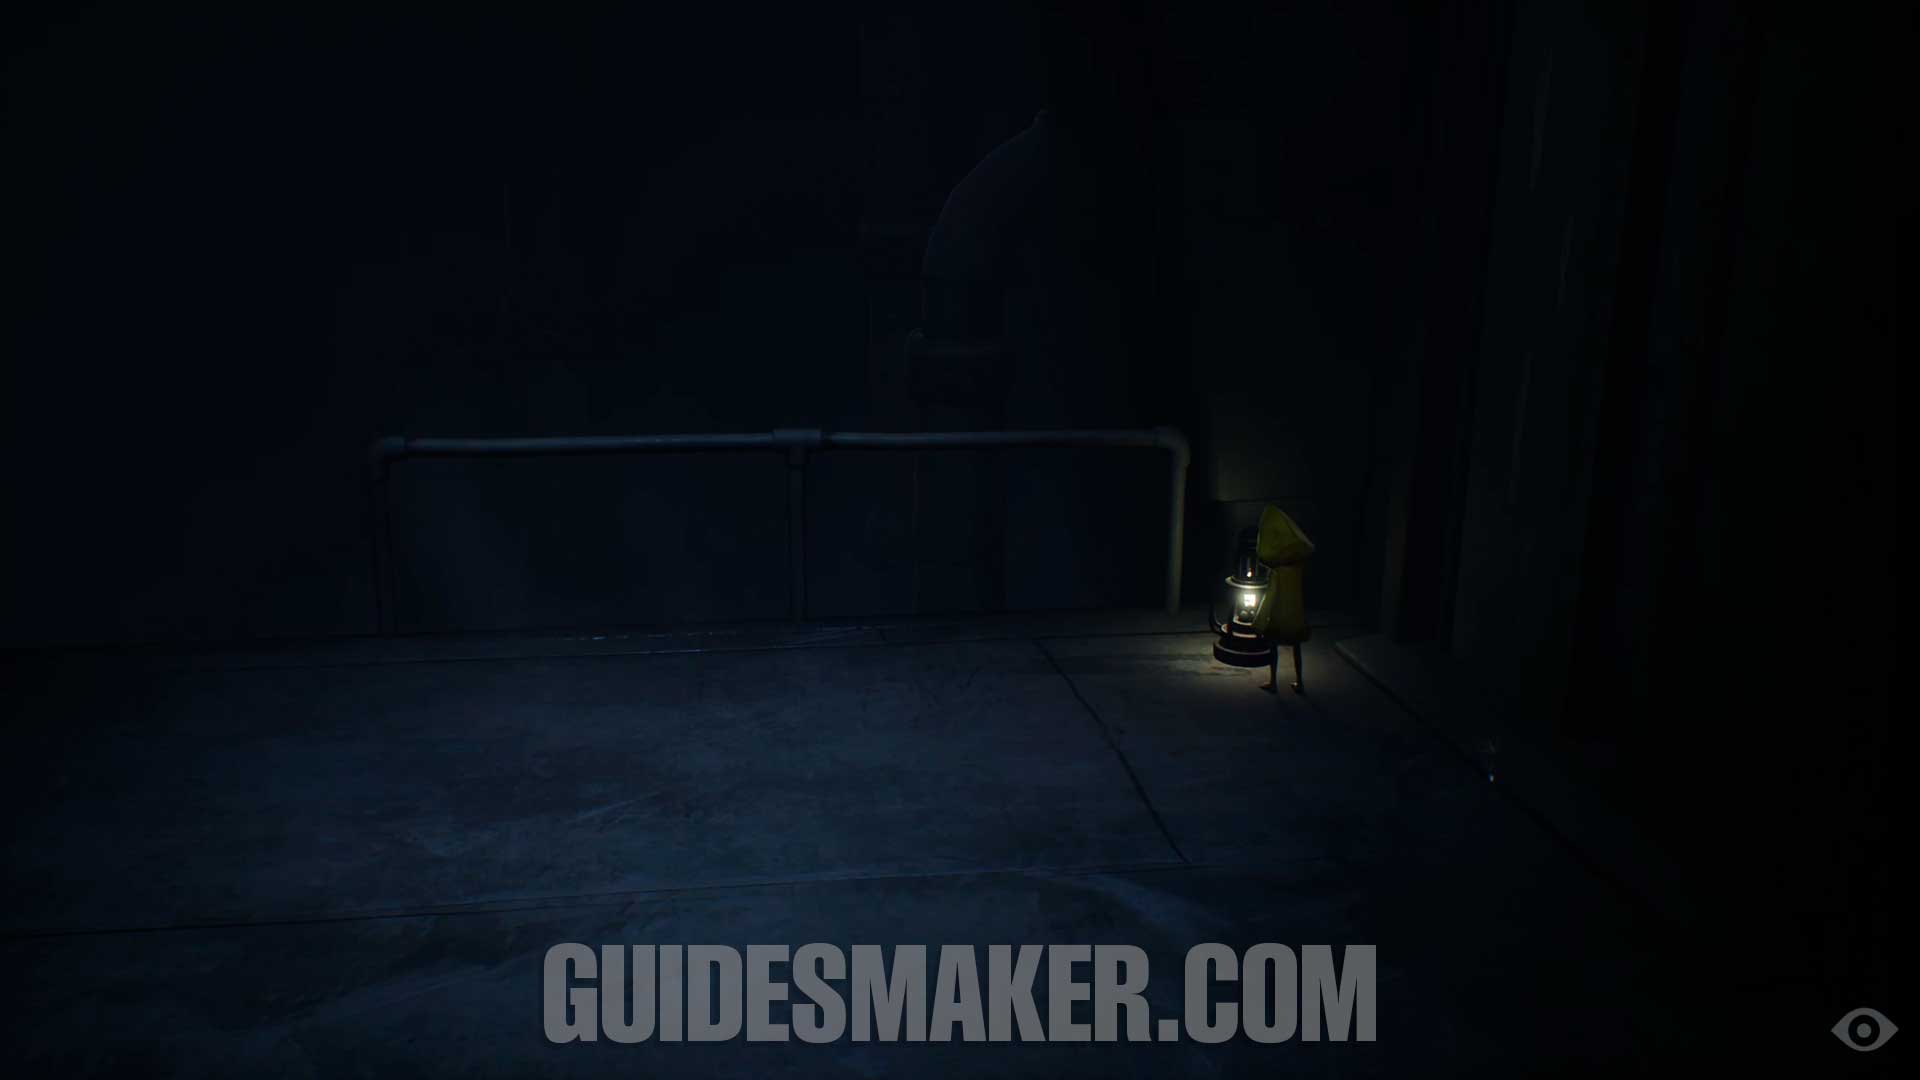
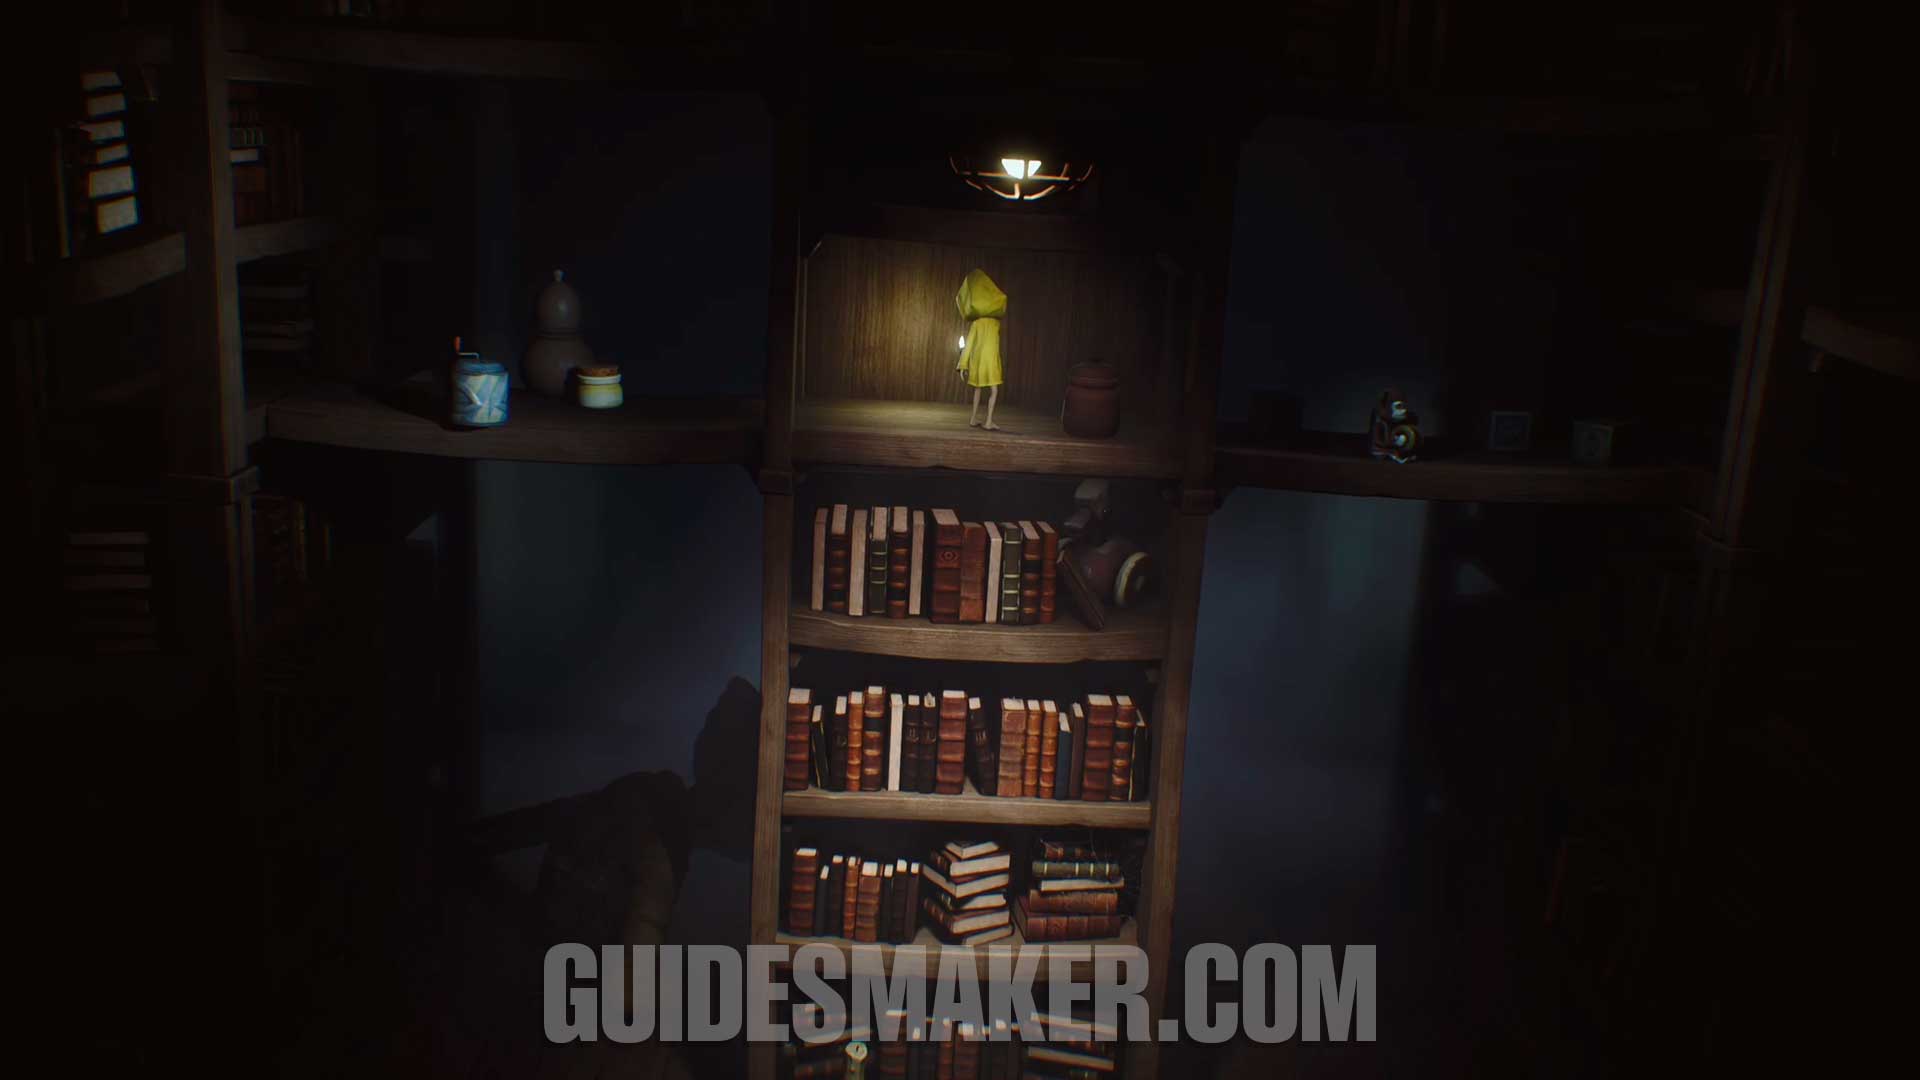
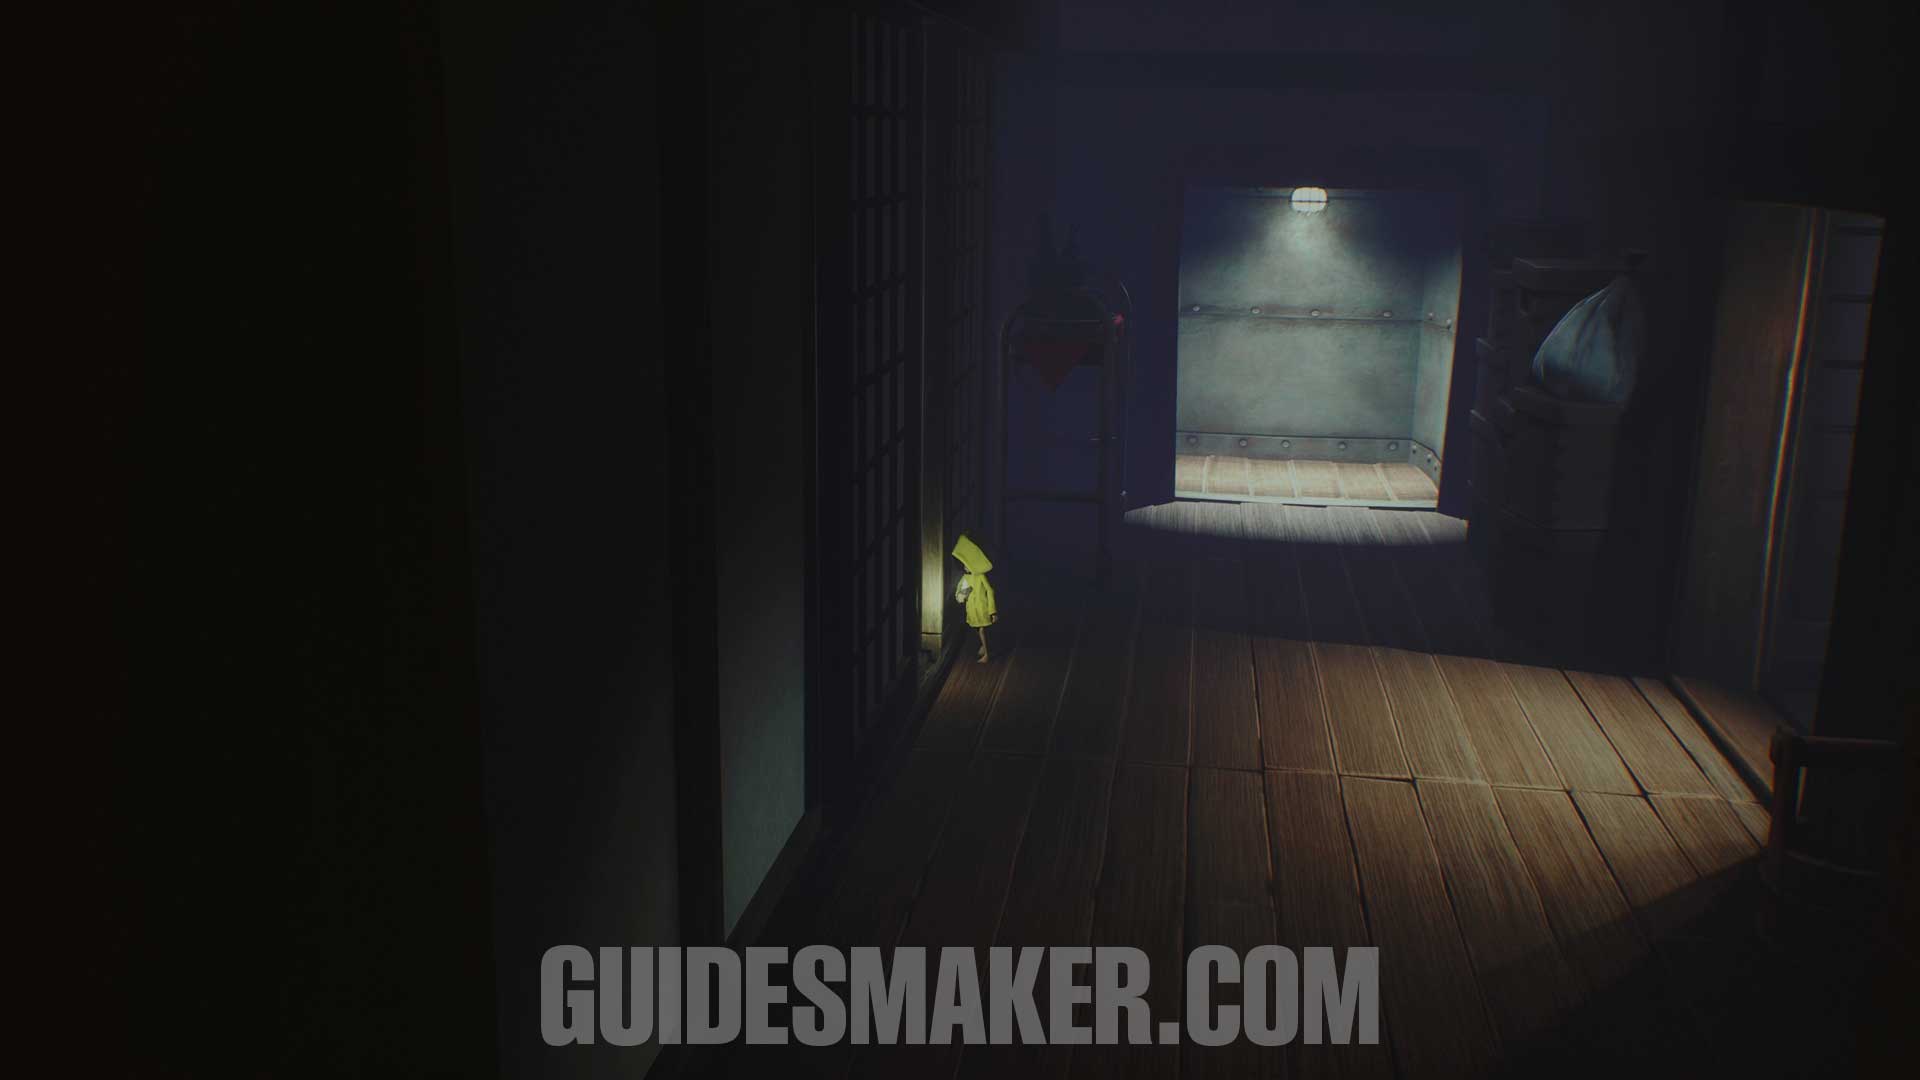
Light #3
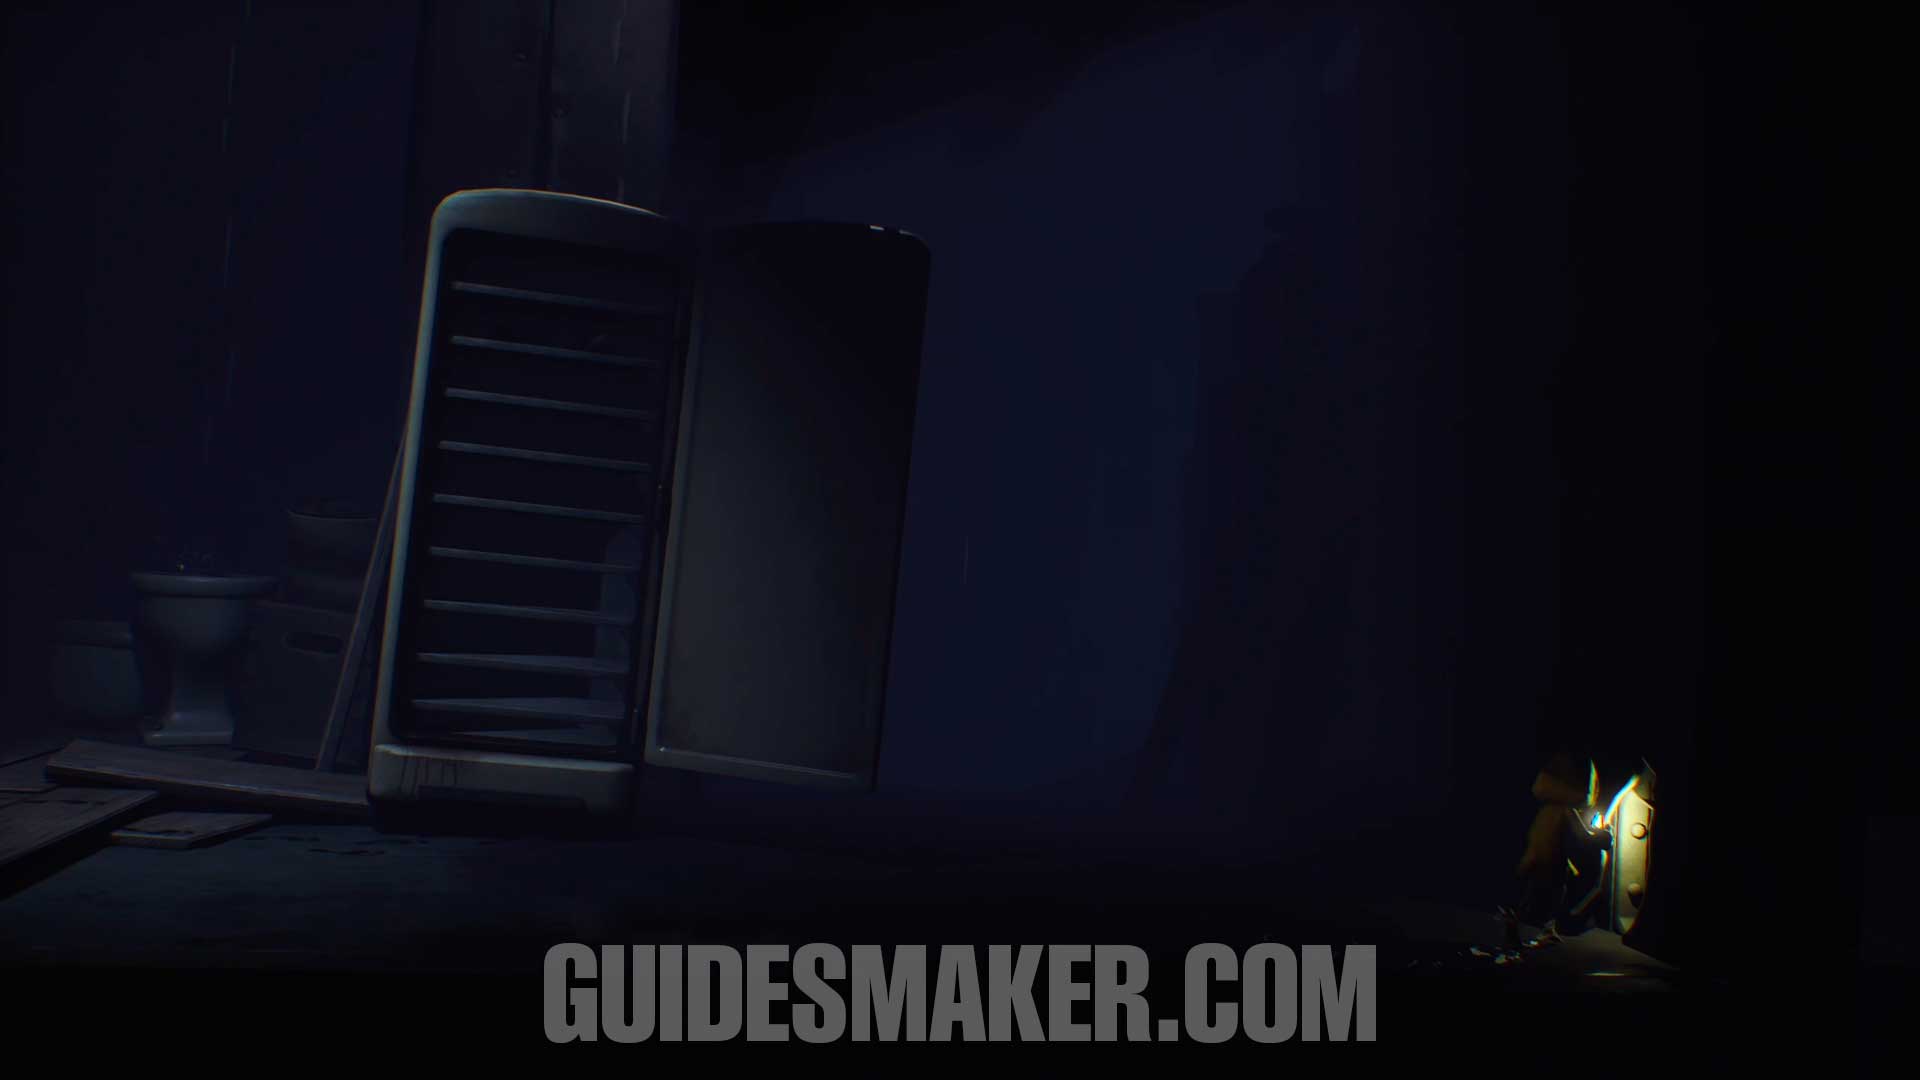
Now, climb through the refrigerator and move forward. Before you grab the lever to open the door, you can turn on this light in the corner.
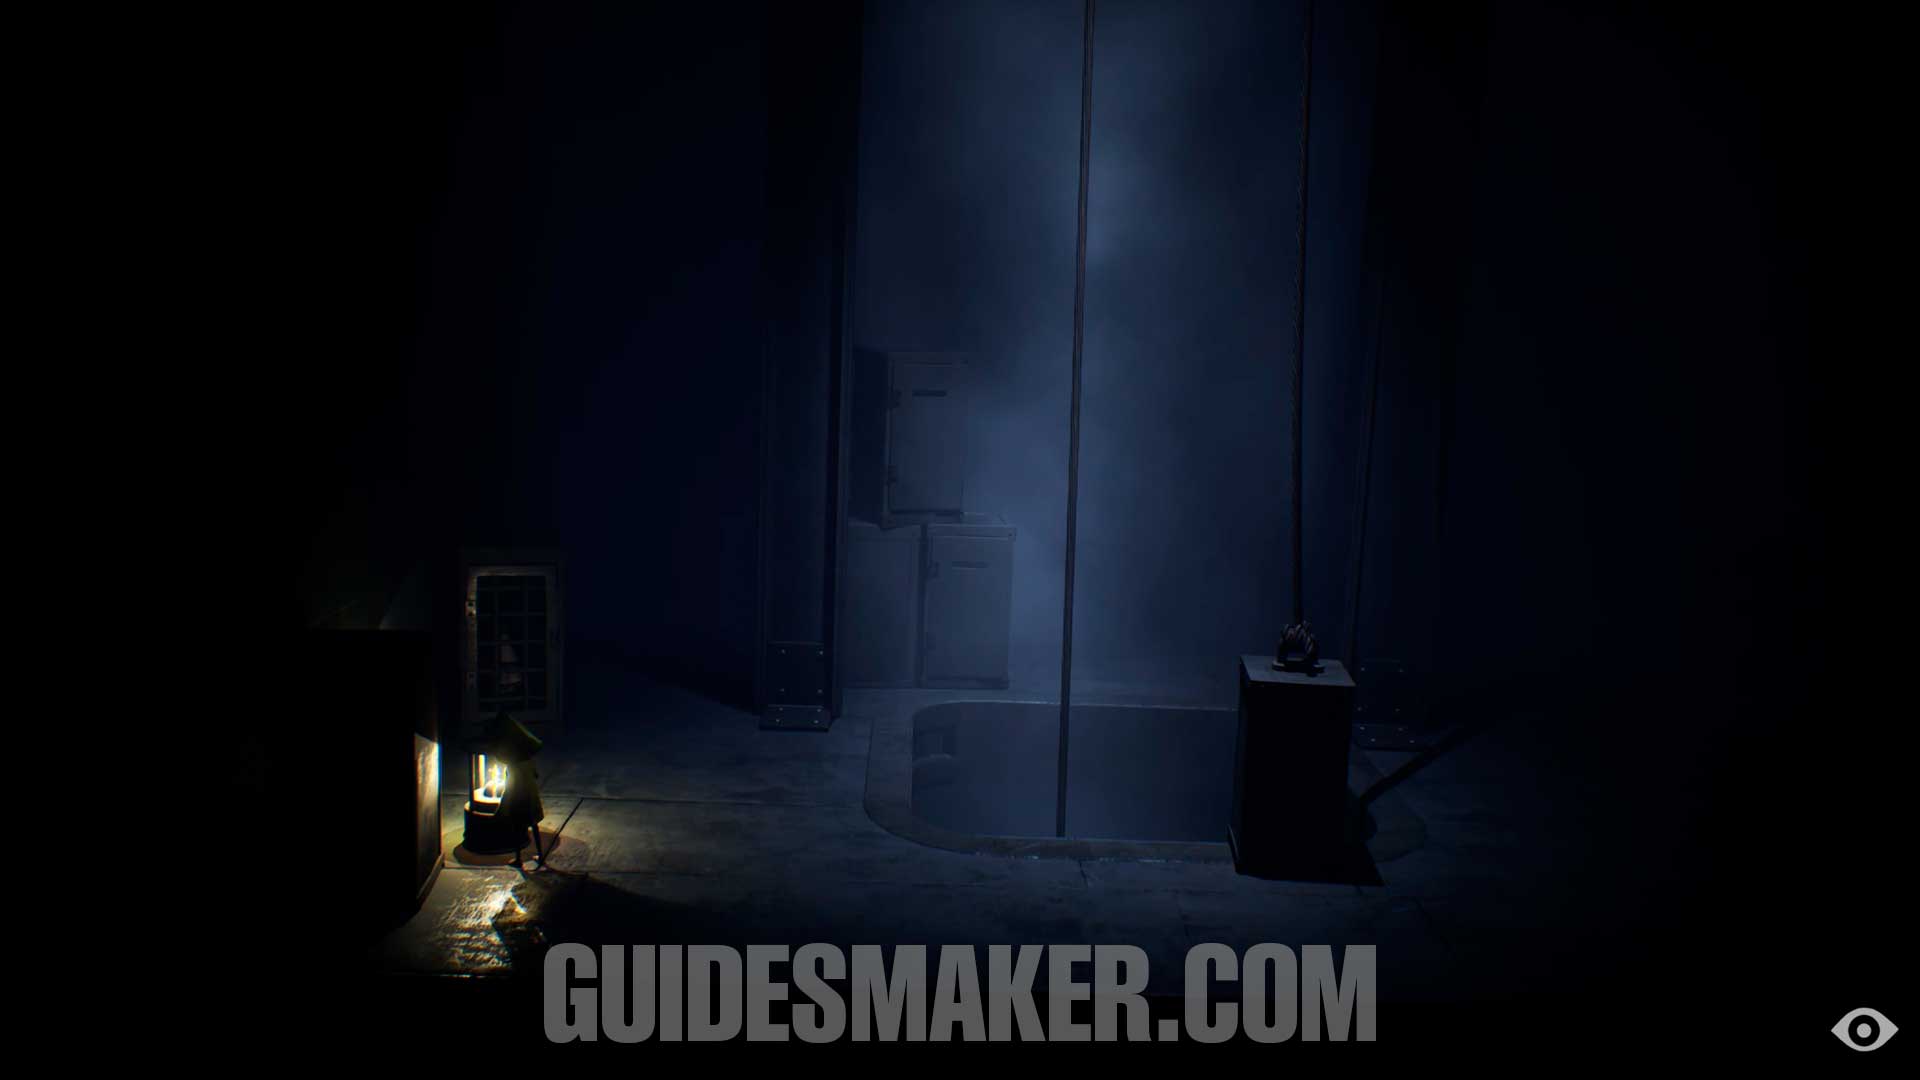
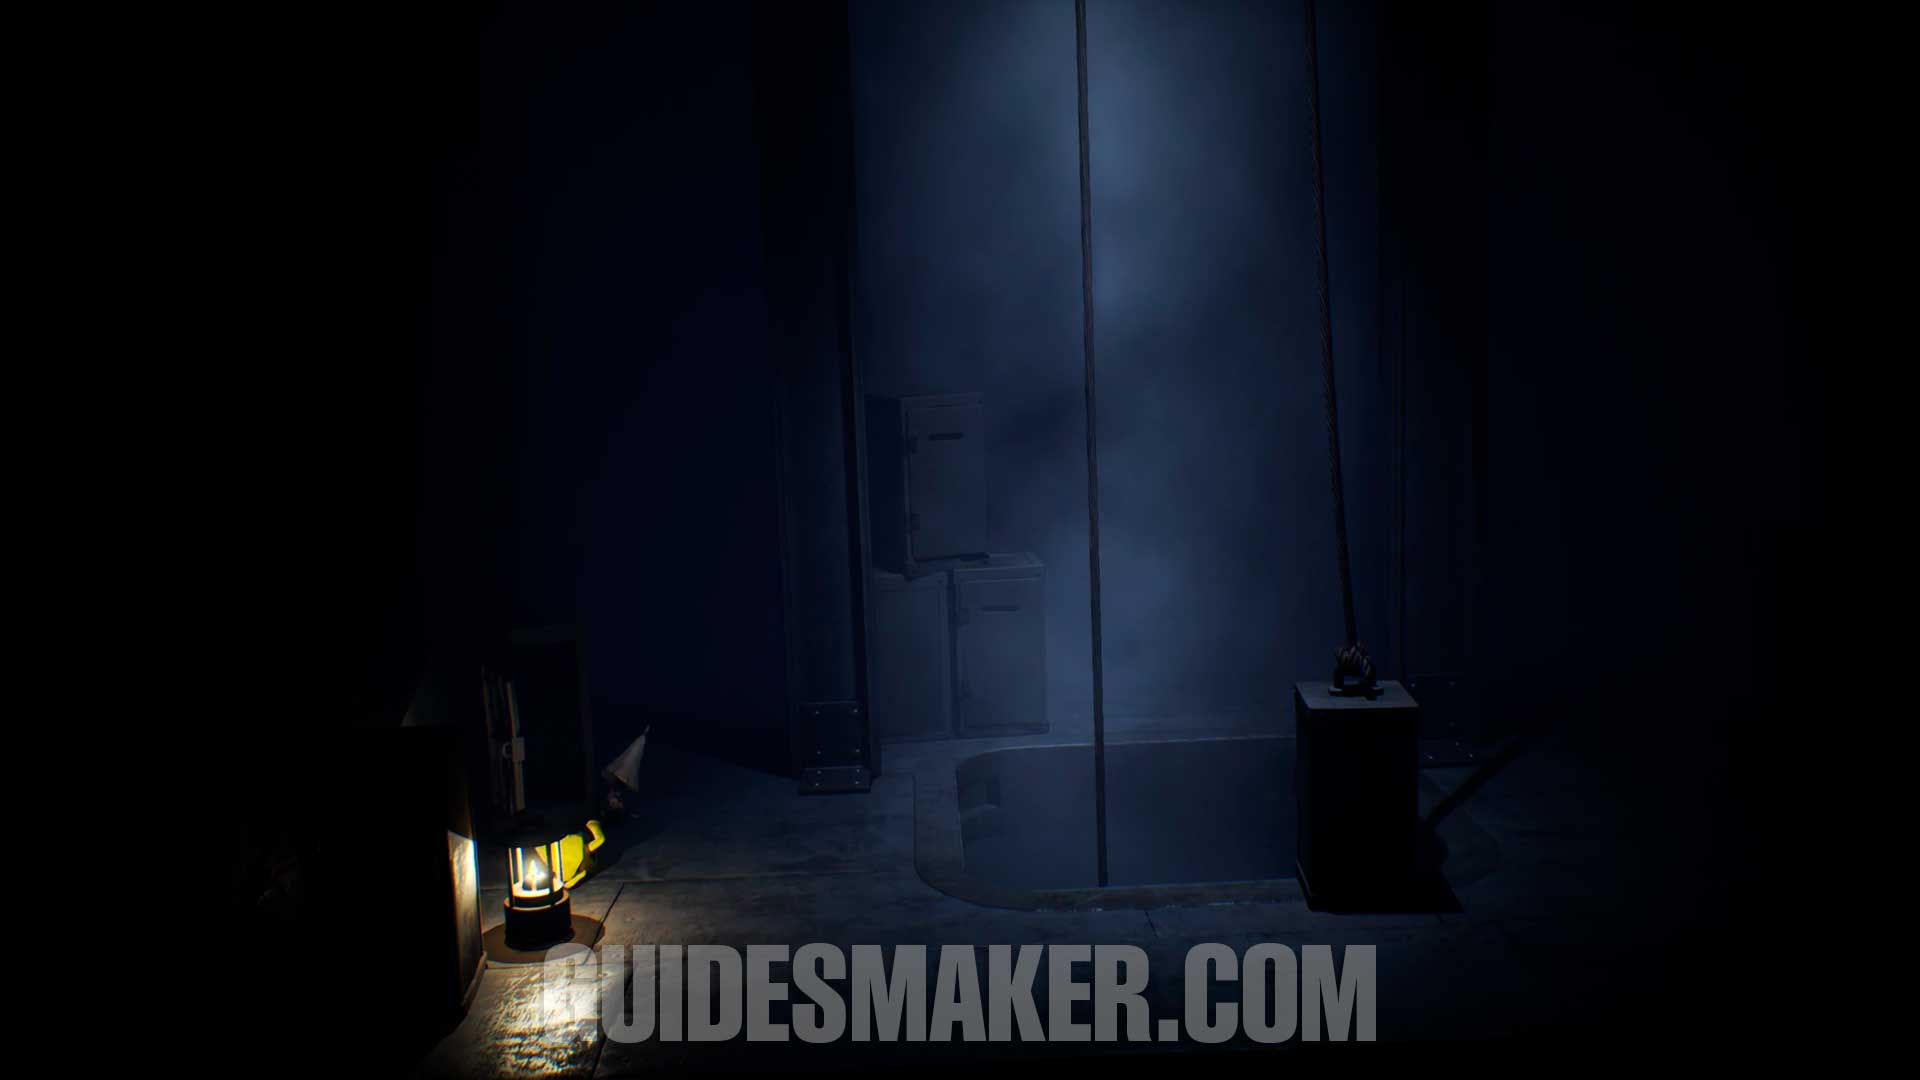
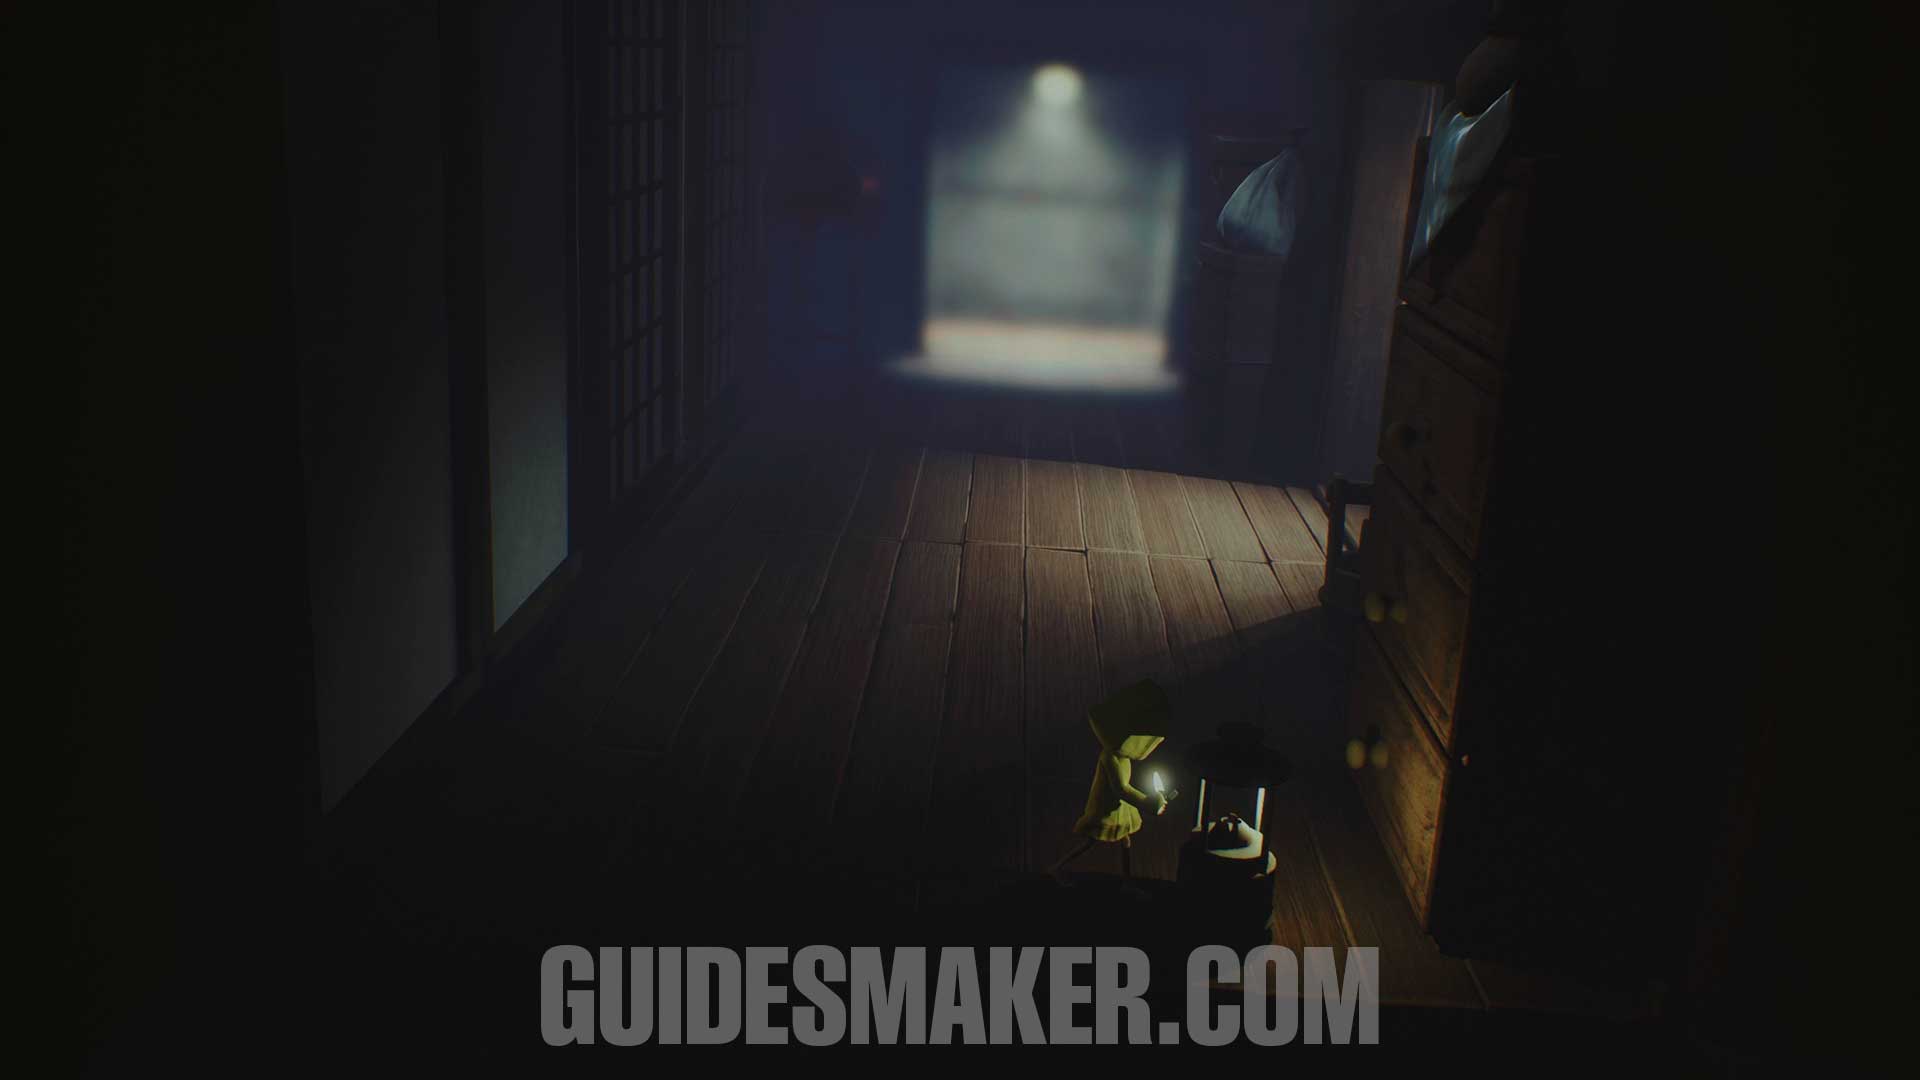
Light #4
After you fall into the black slime, go forward and you will knock down a door and walk over it to proceed. This light will be next to the ladder you use to climb to the upper area.
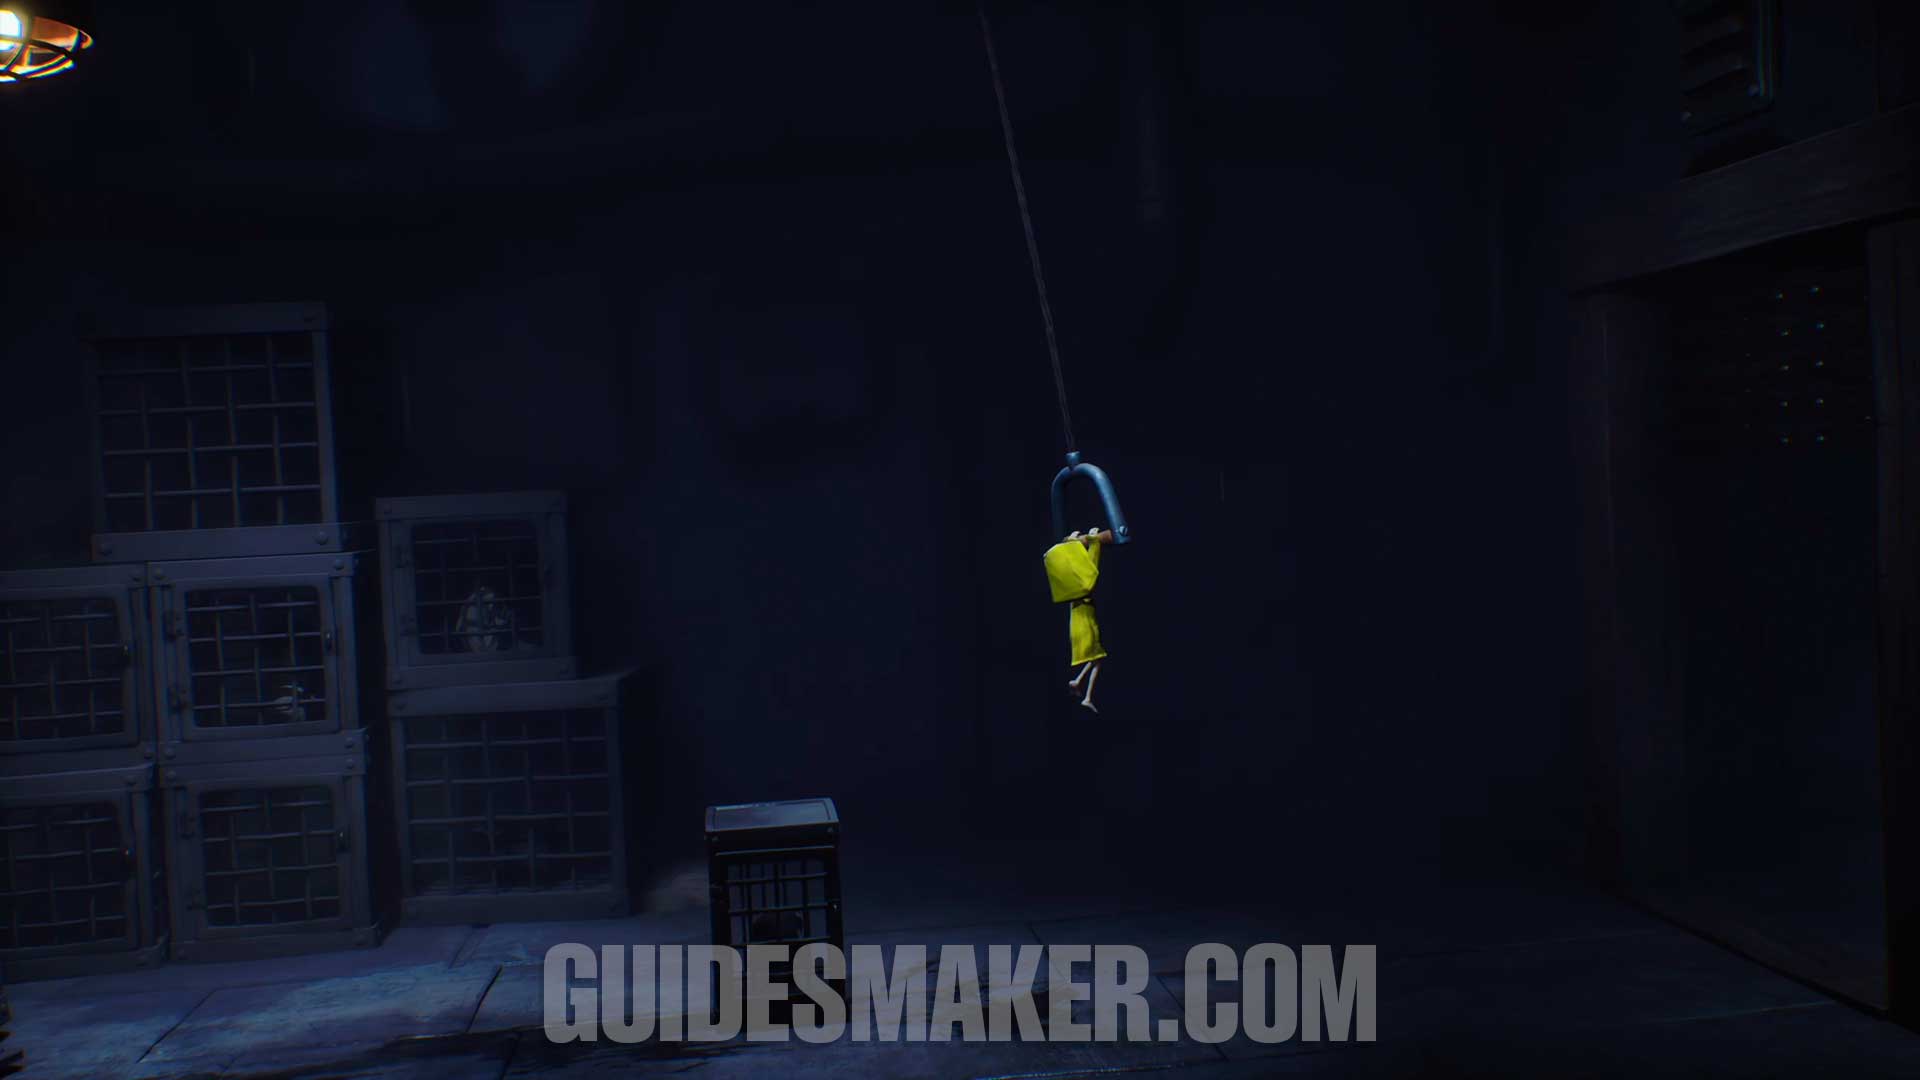
Light #5
After climbing the cloth rope, this light will be in the left corner of the room.
Light #6
In the same area as the eye that you have to walk through the shadows.
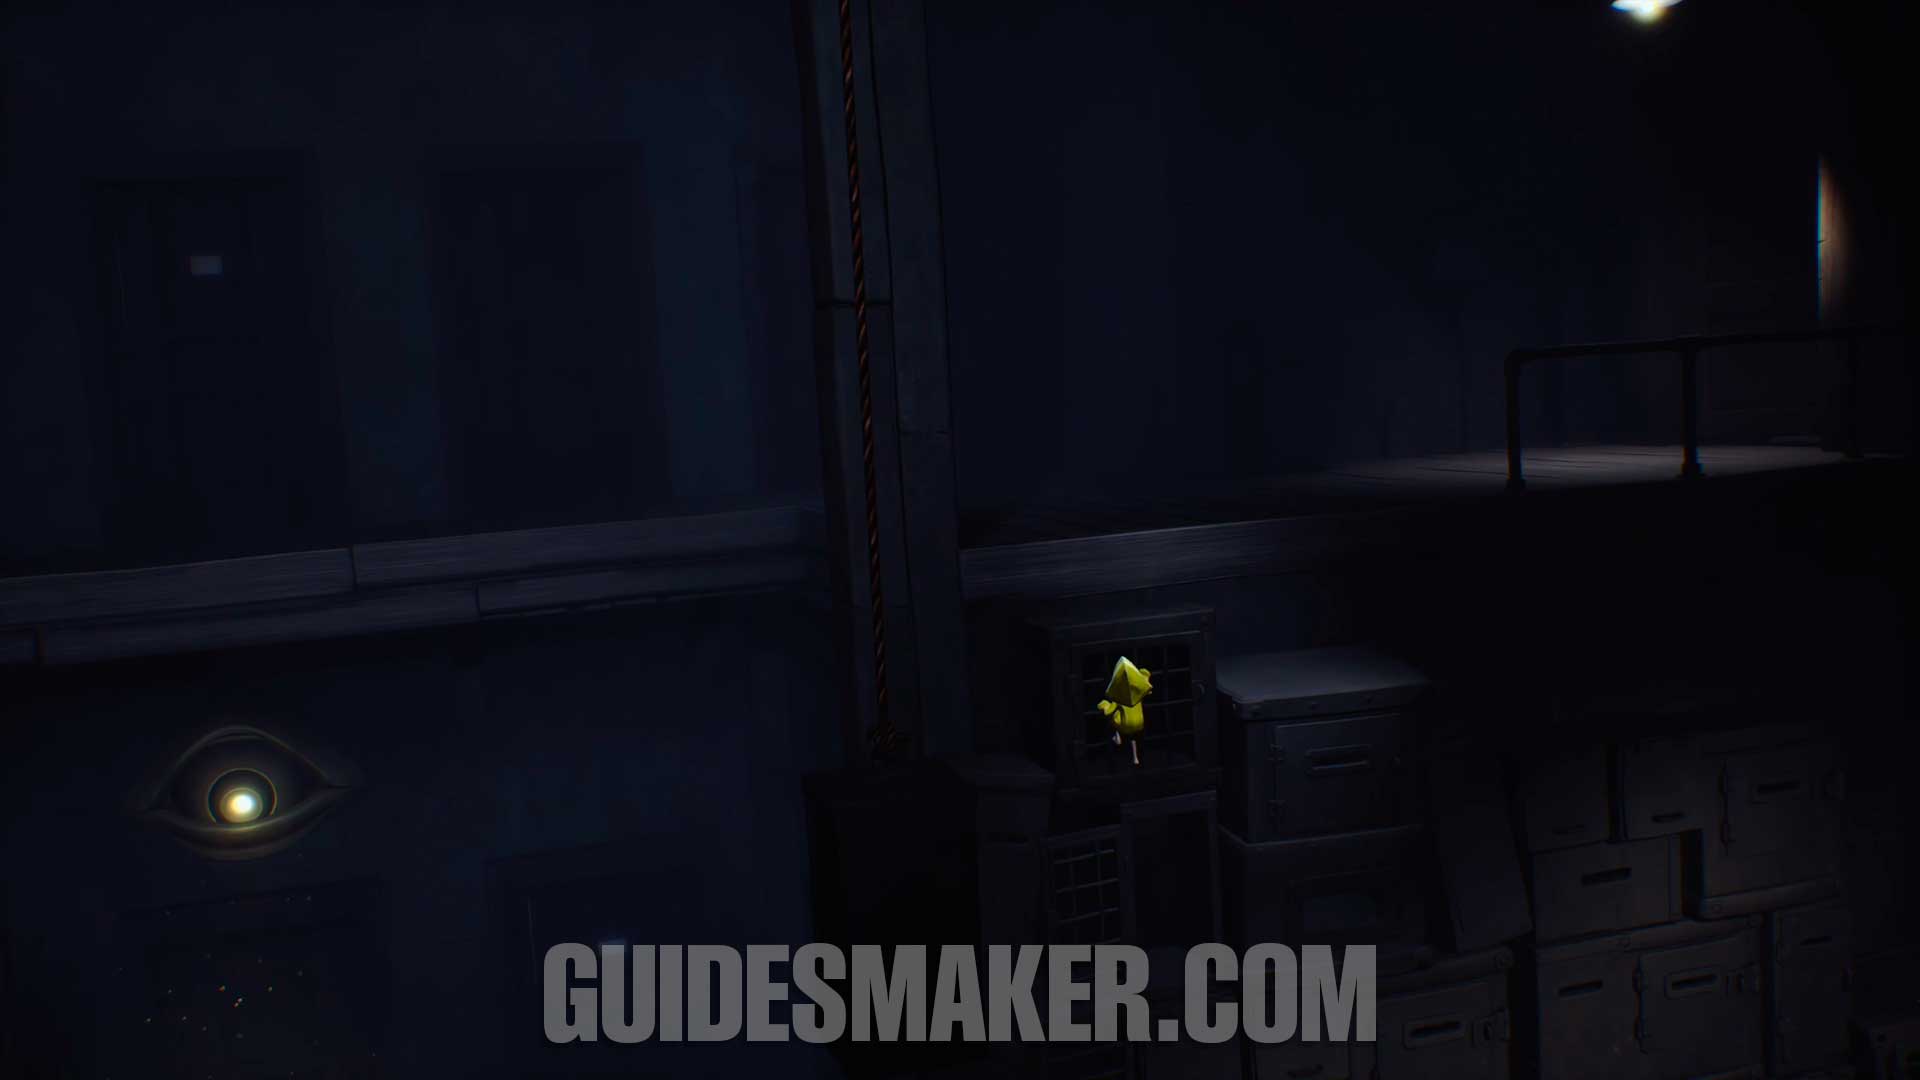
Light #7 + Gnome #2
from the previous light, go through the hole in the wall to find this gnome and the next light you can turn on.
Statue #2
From the previous collectible, climb the grates and instead of following the main path to the right, go left and pass through the open door at the end to find this statue.
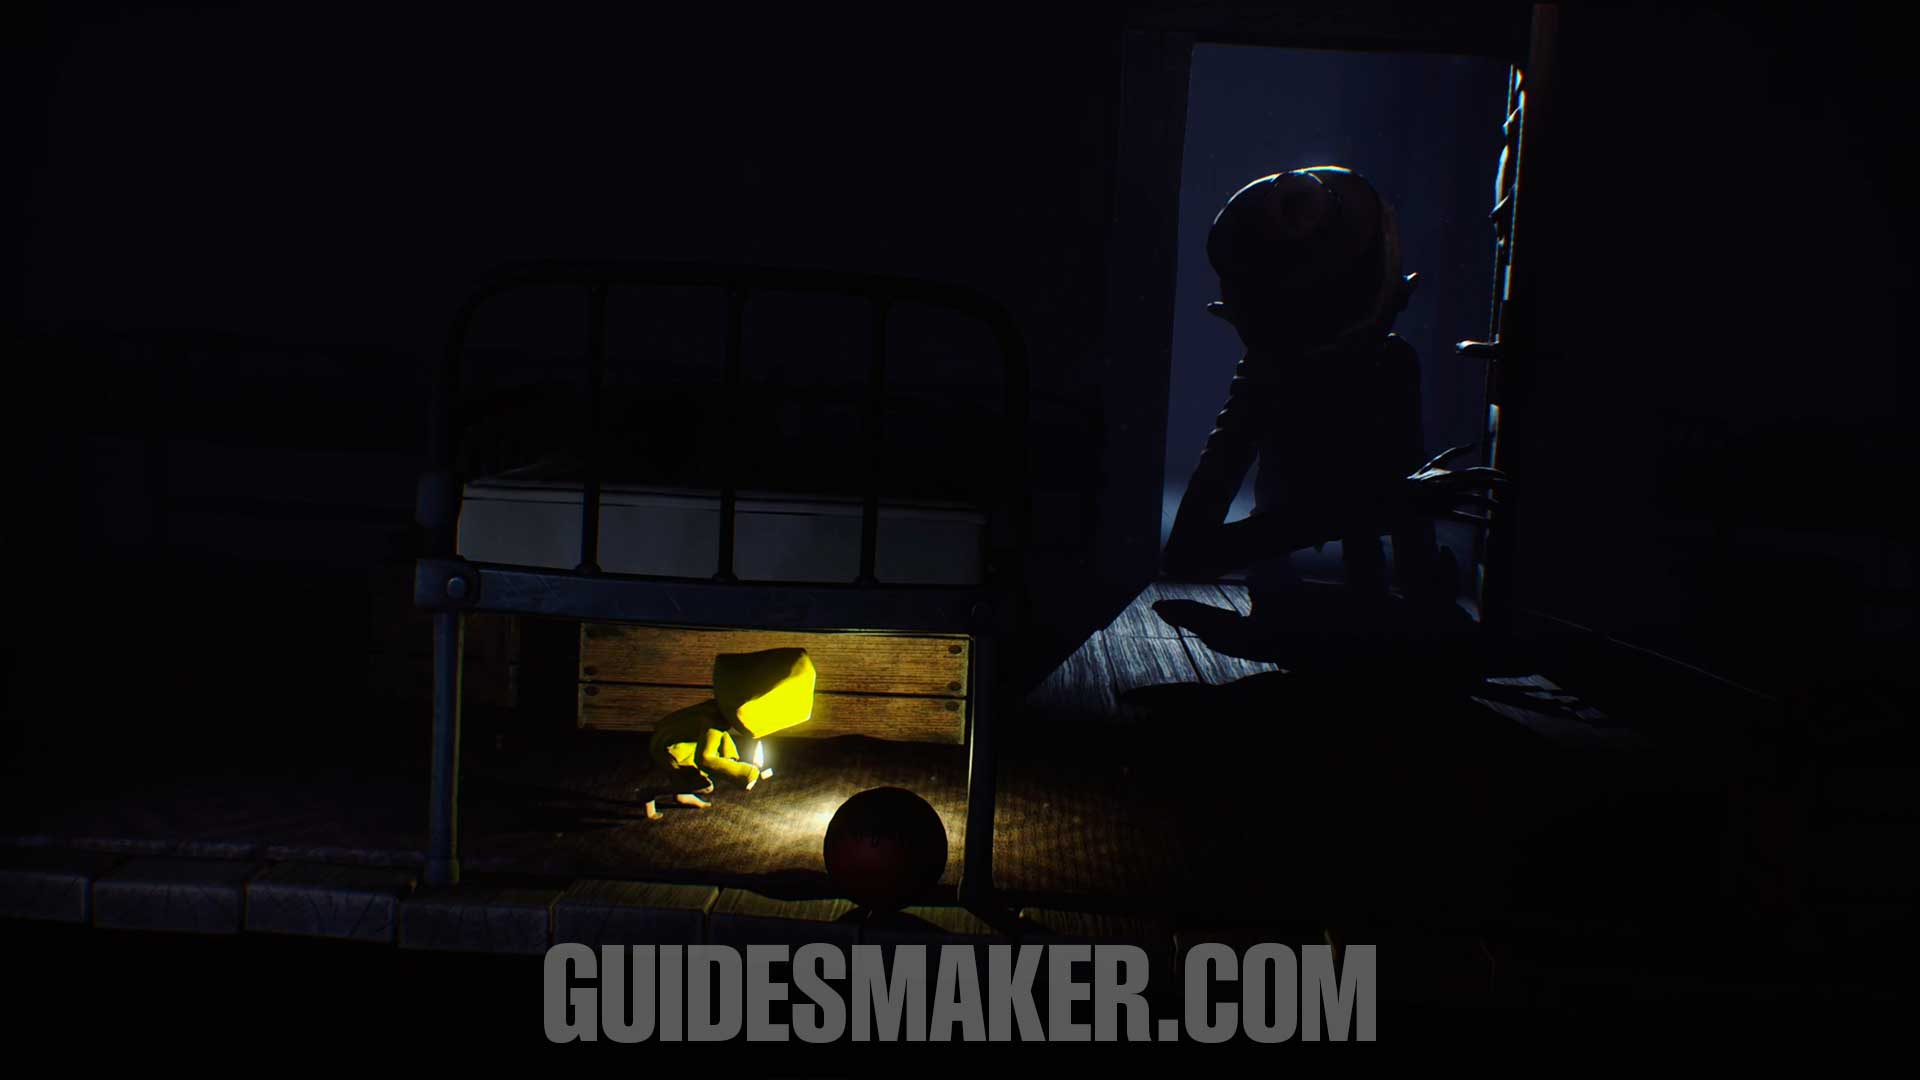
Light #8
After hiding from the monster under the bed, go forward and before passing through the door, there will be a gap between two beds with a light.
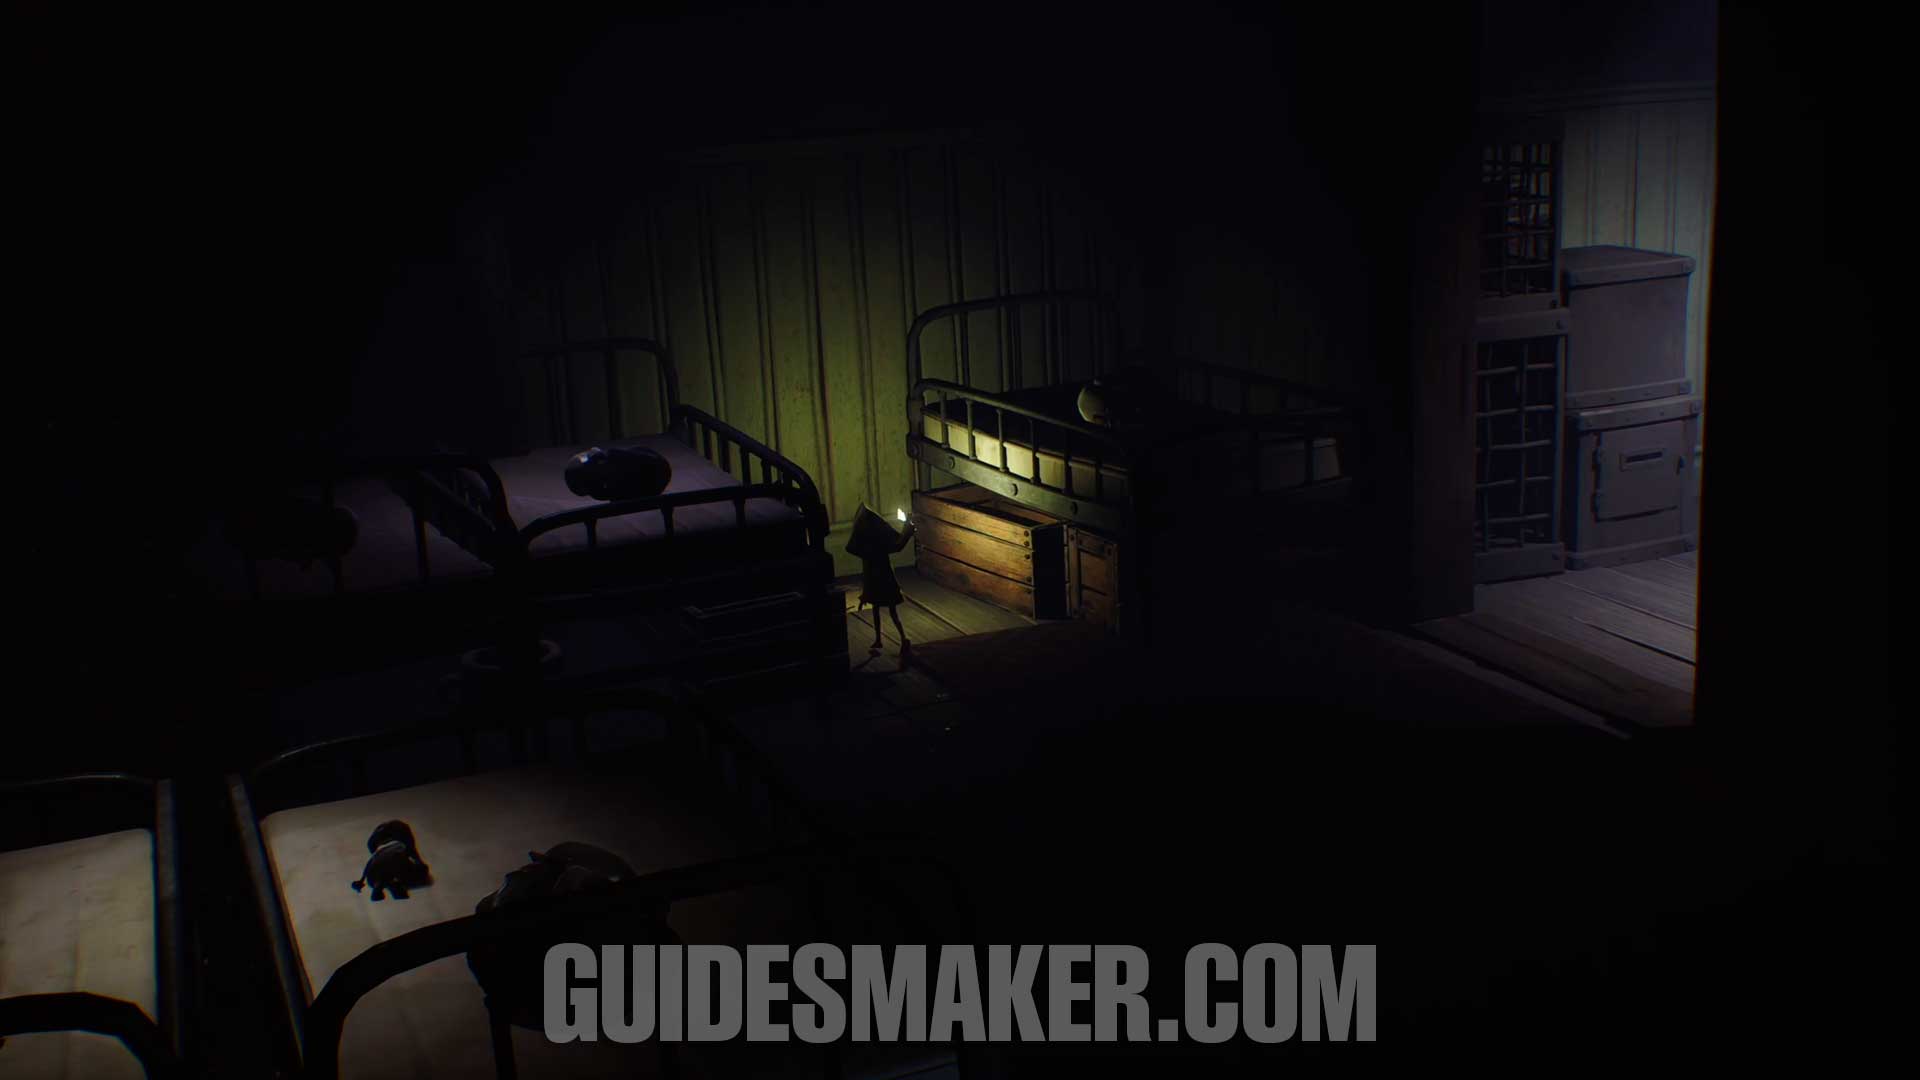
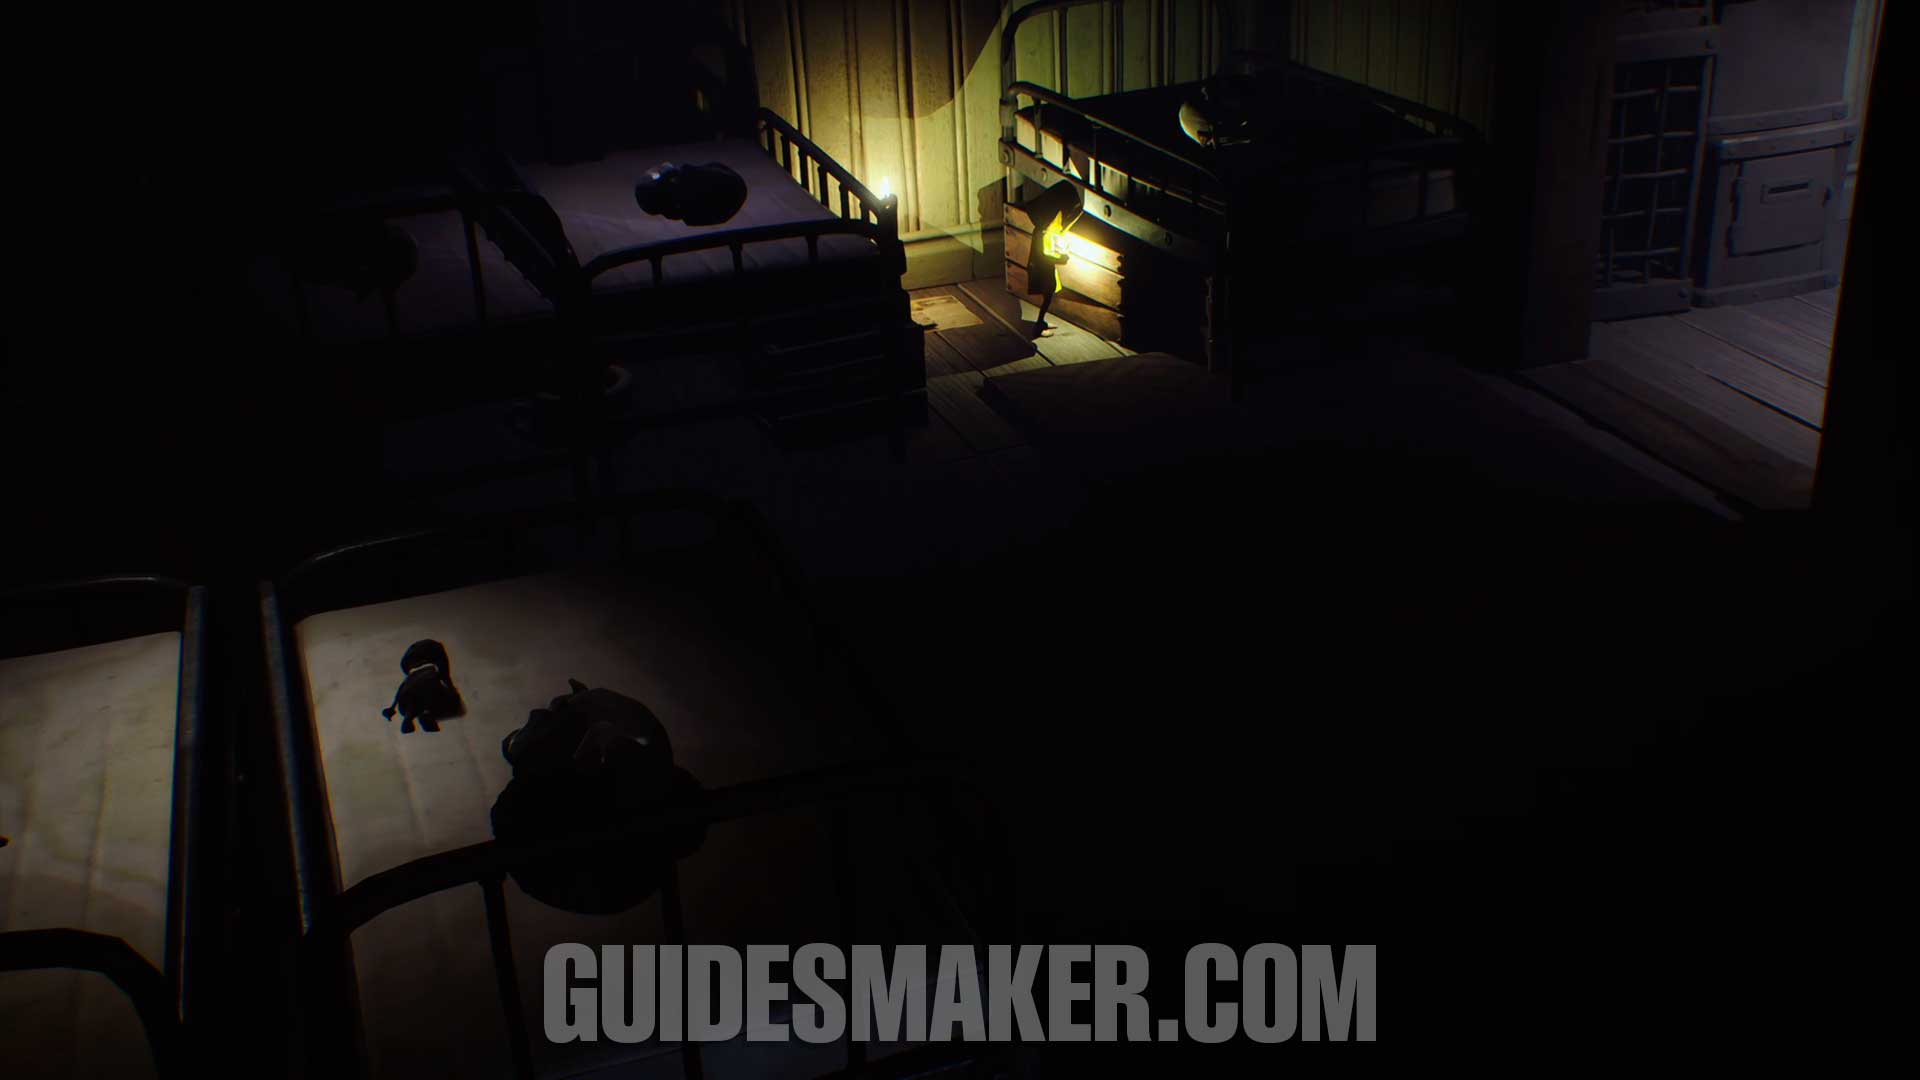
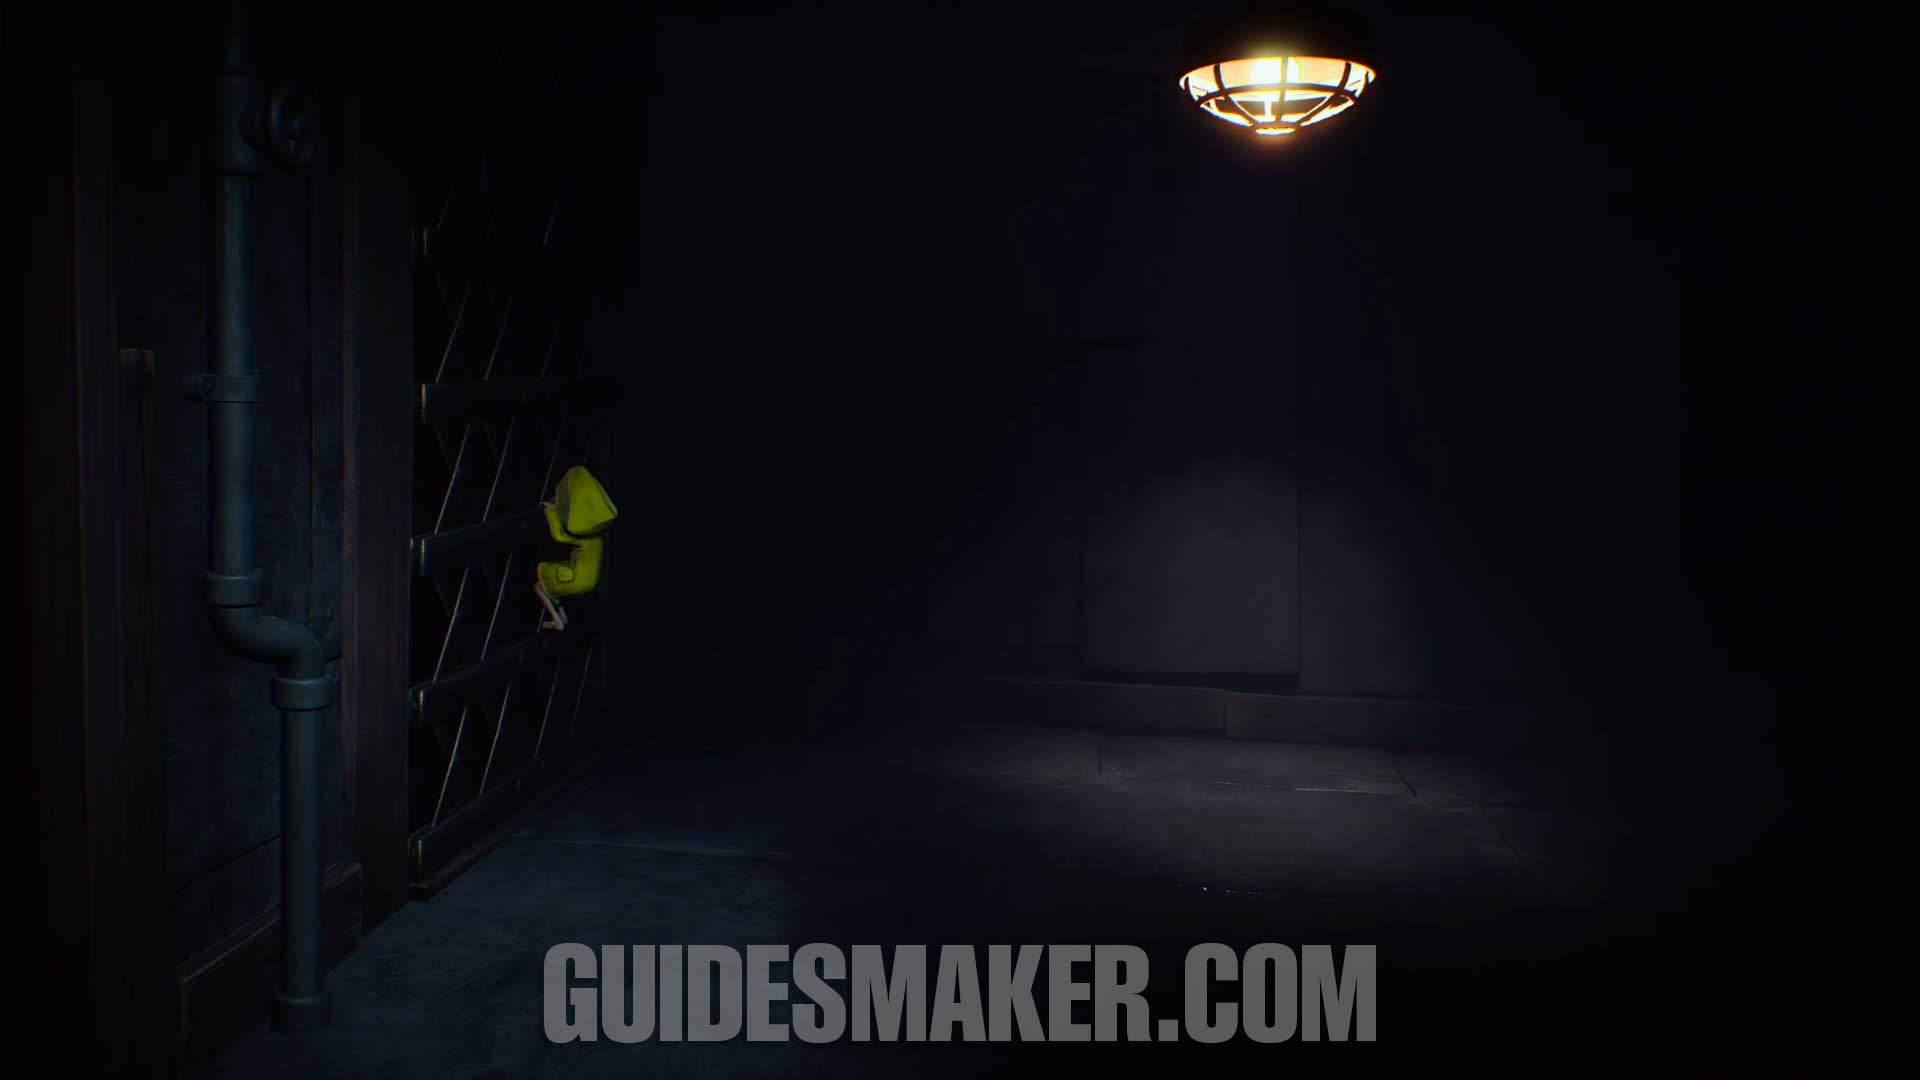
Light #9
After climbing other grates, this light point will be right in front of you.
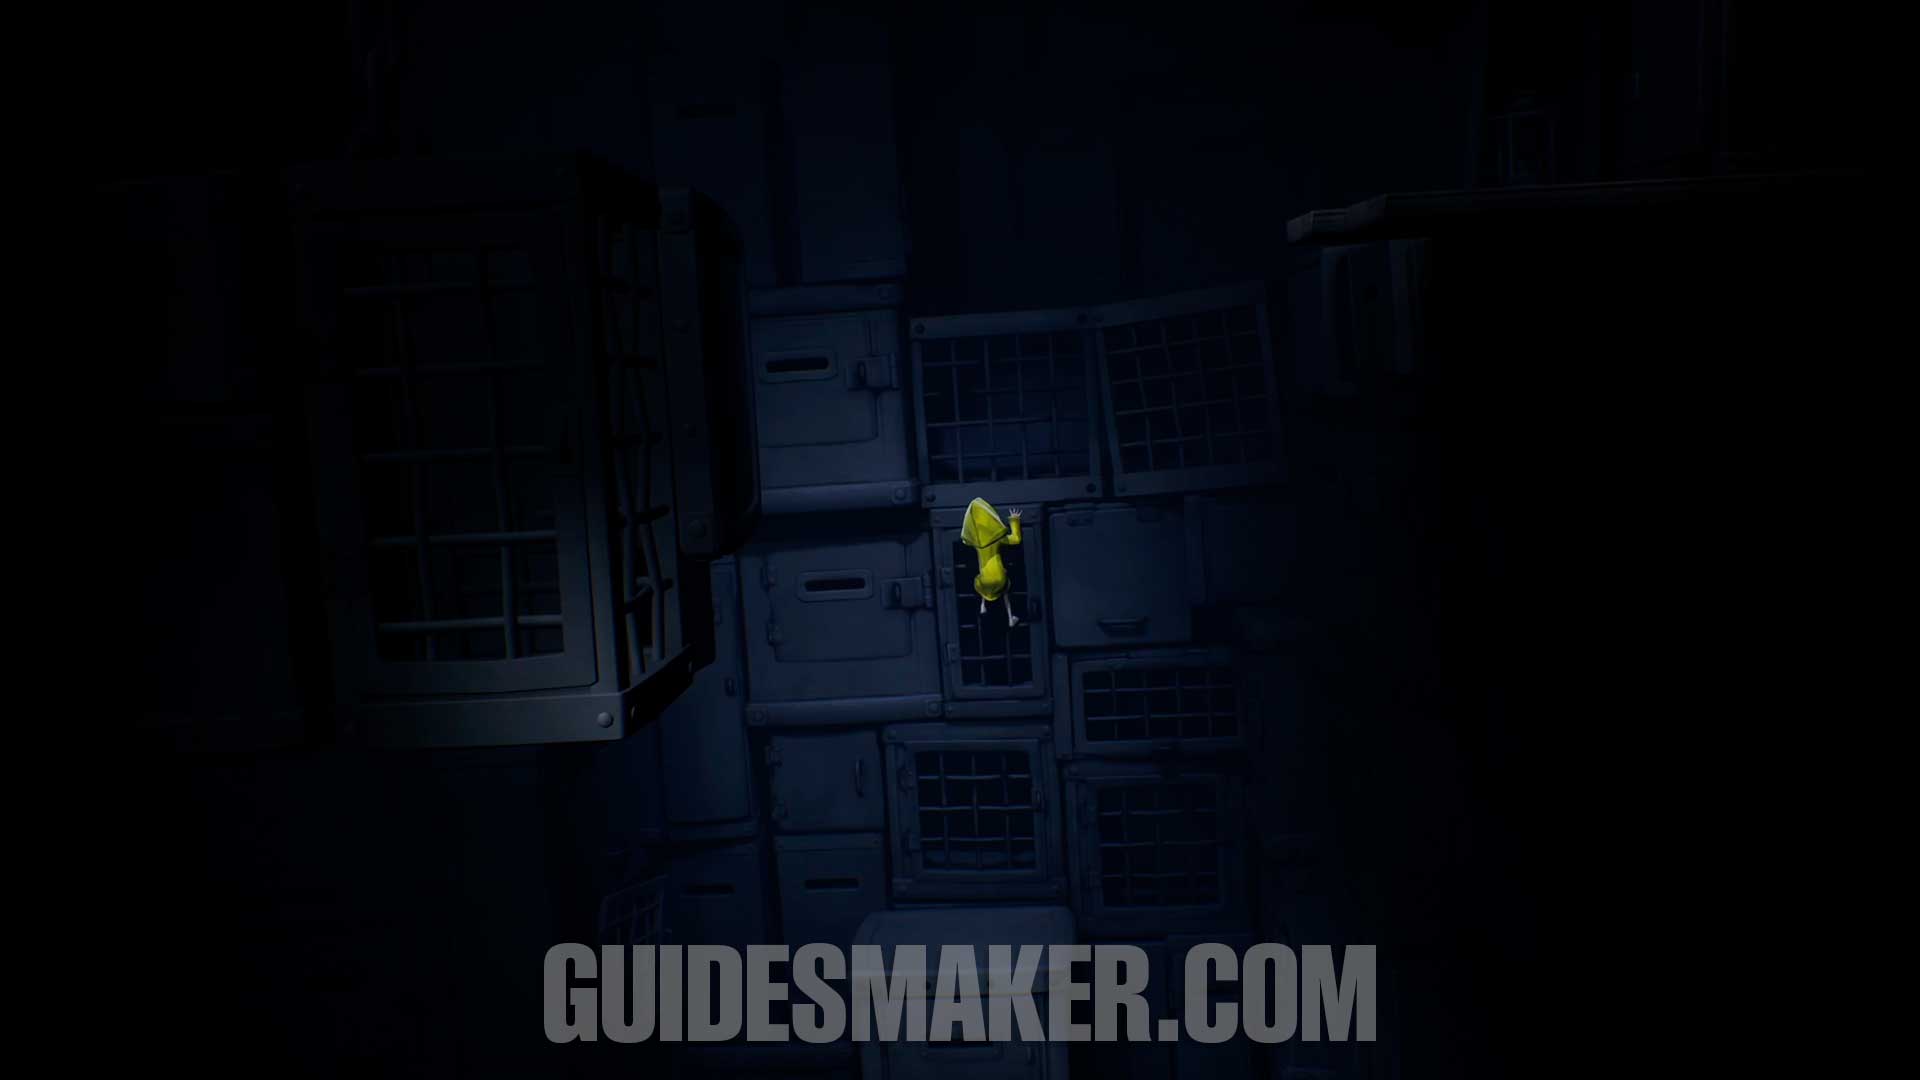
Light #10 + Gnome #3
After you turn off the power to pass through the electrified iron bars, this light will be in the left corner next to a cage with a gnome inside. Turn on the light and open the cage to let the gnome run out. Go back through the bar you passed earlier to find the gnome.
You can access the Chapter 1: The Prison video guide here.
CHAPTER 2: THE LAIR
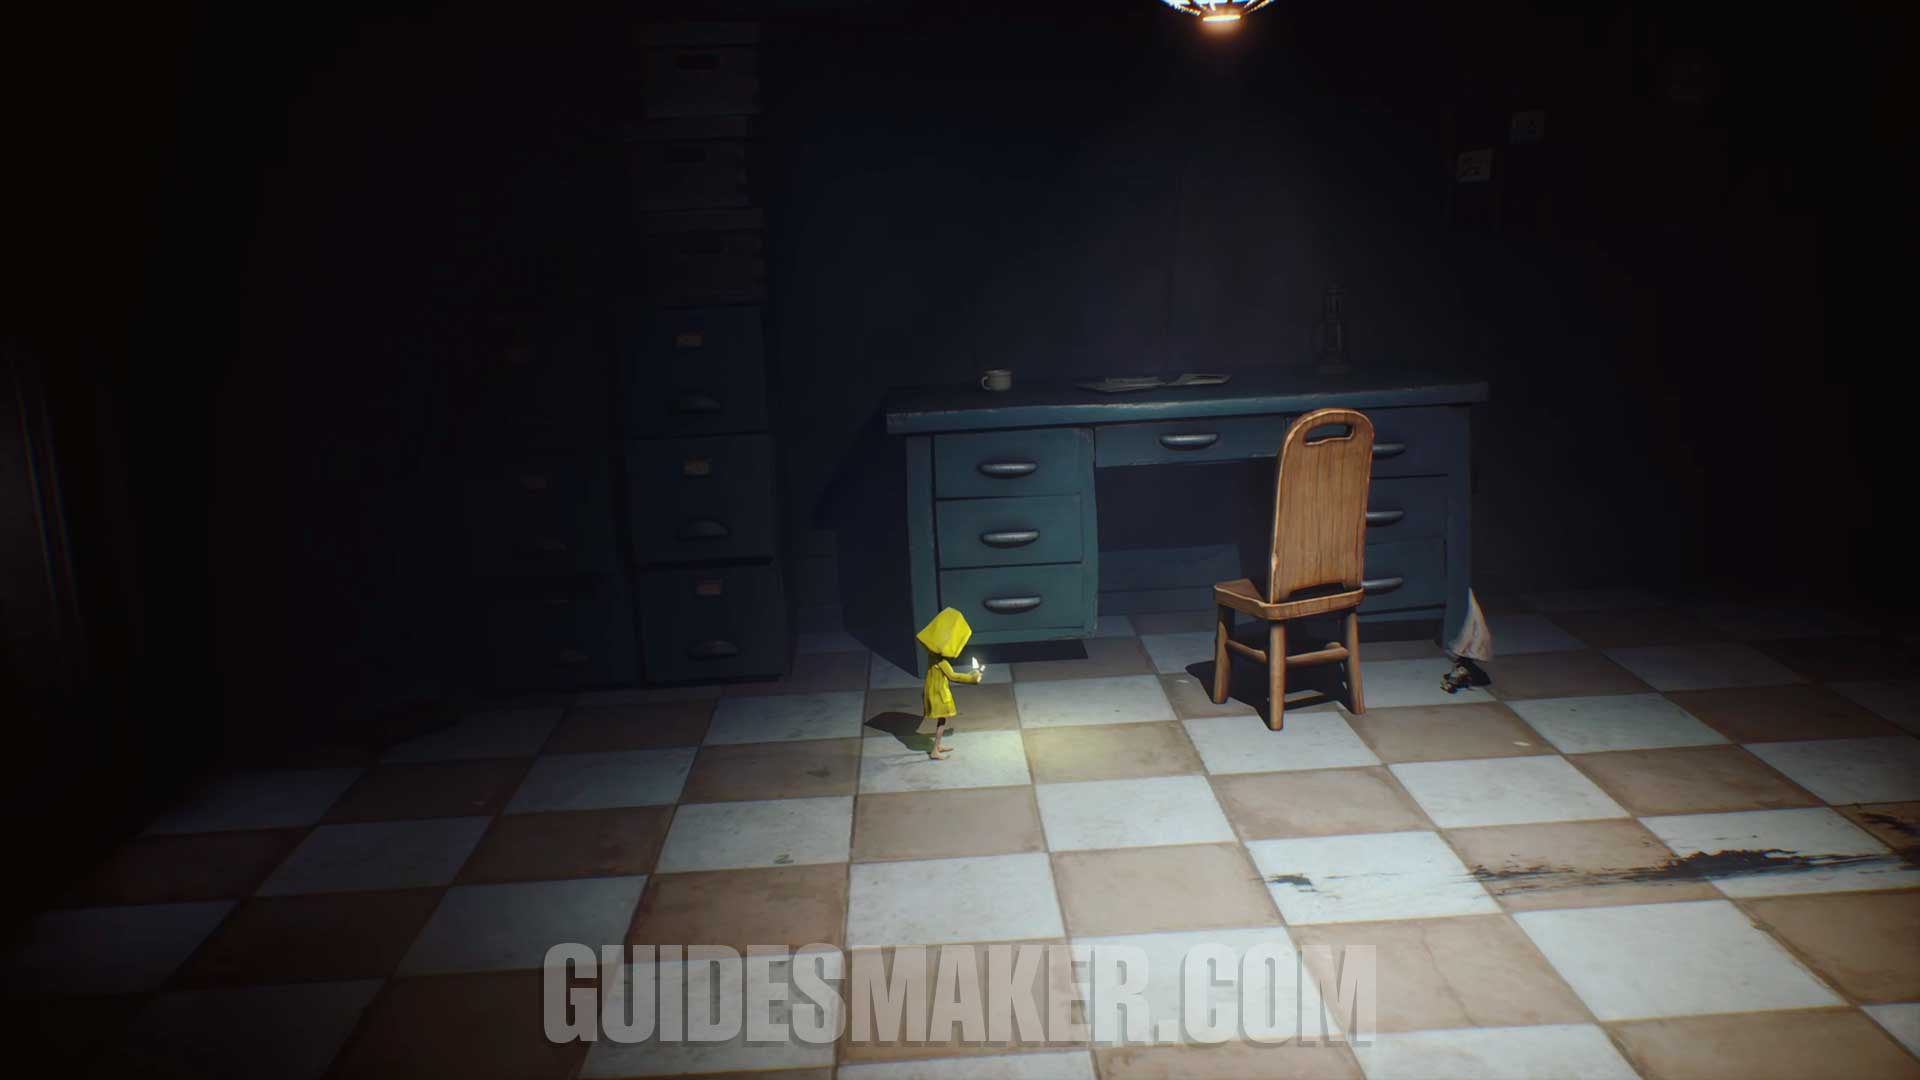
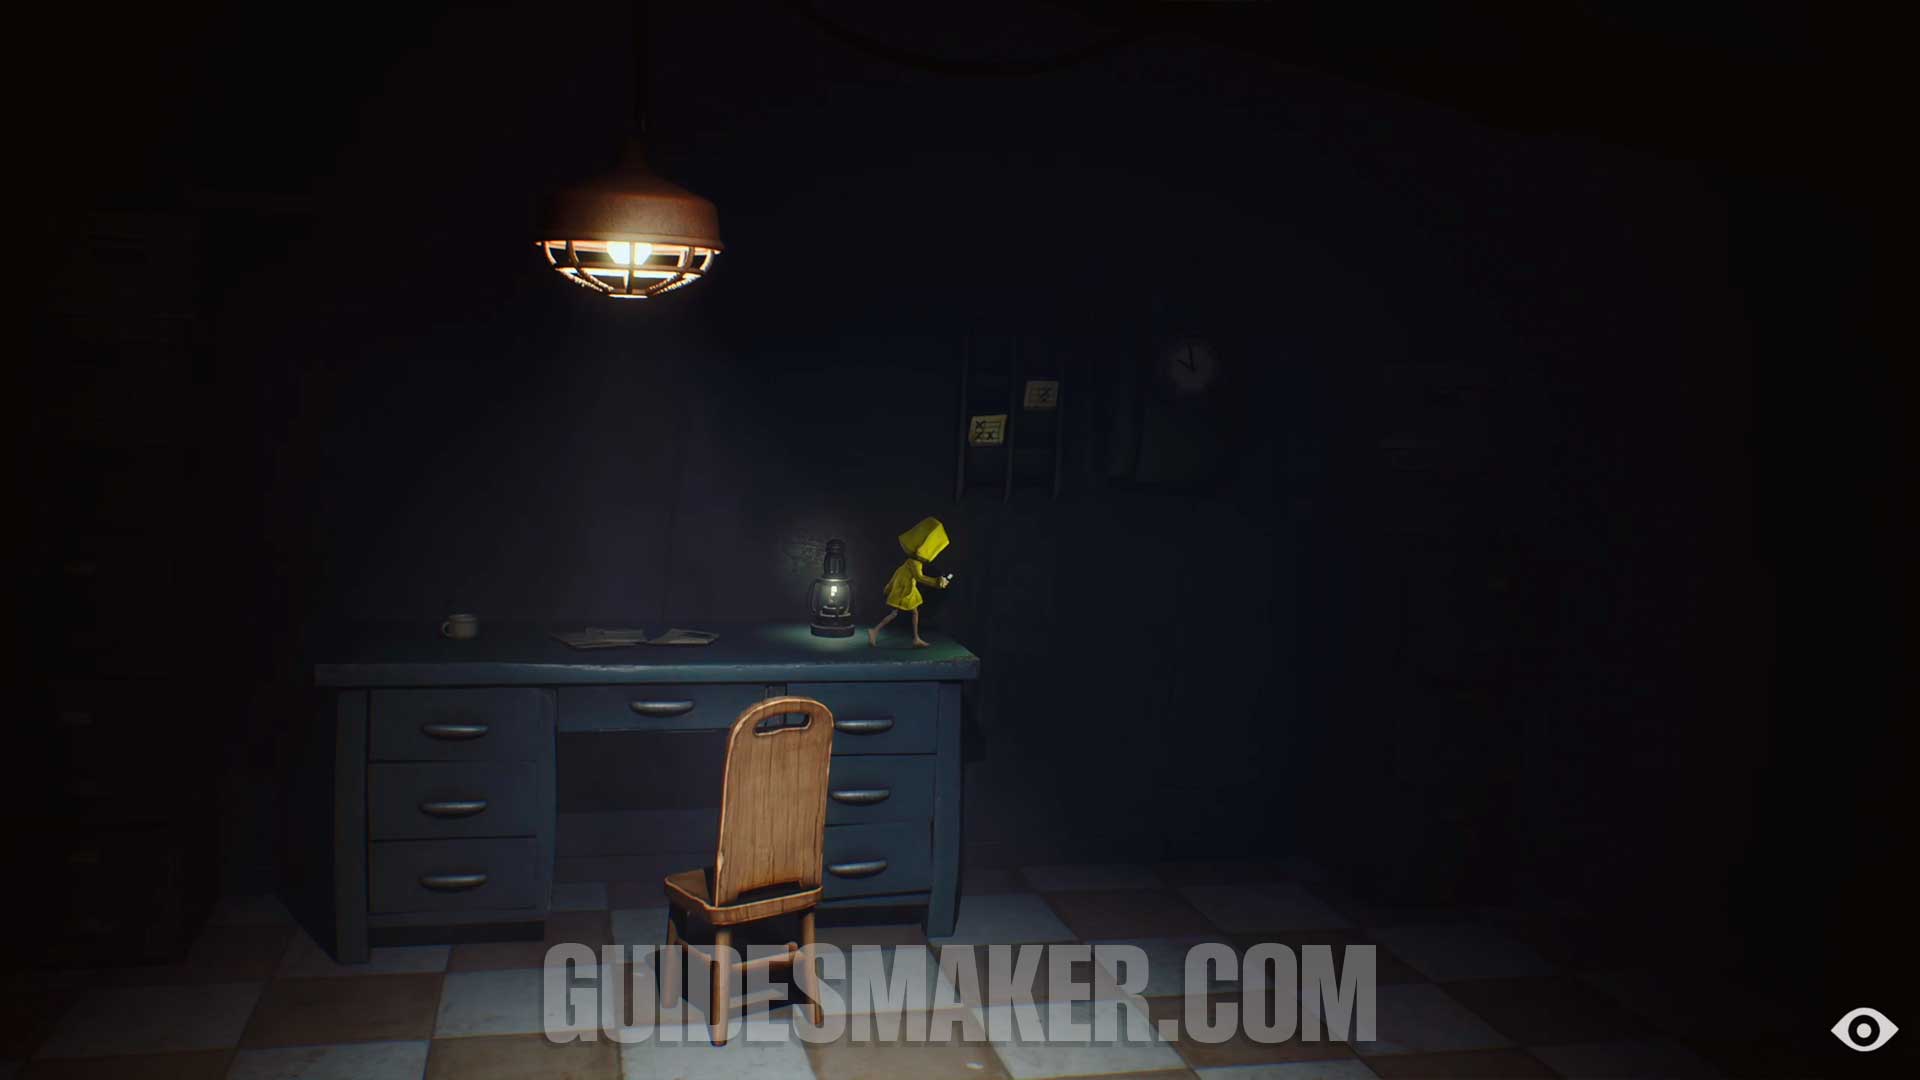
Light #11
At the beginning of Chapter 2, you will climb a large staircase. On top of the table, you will find this light point.
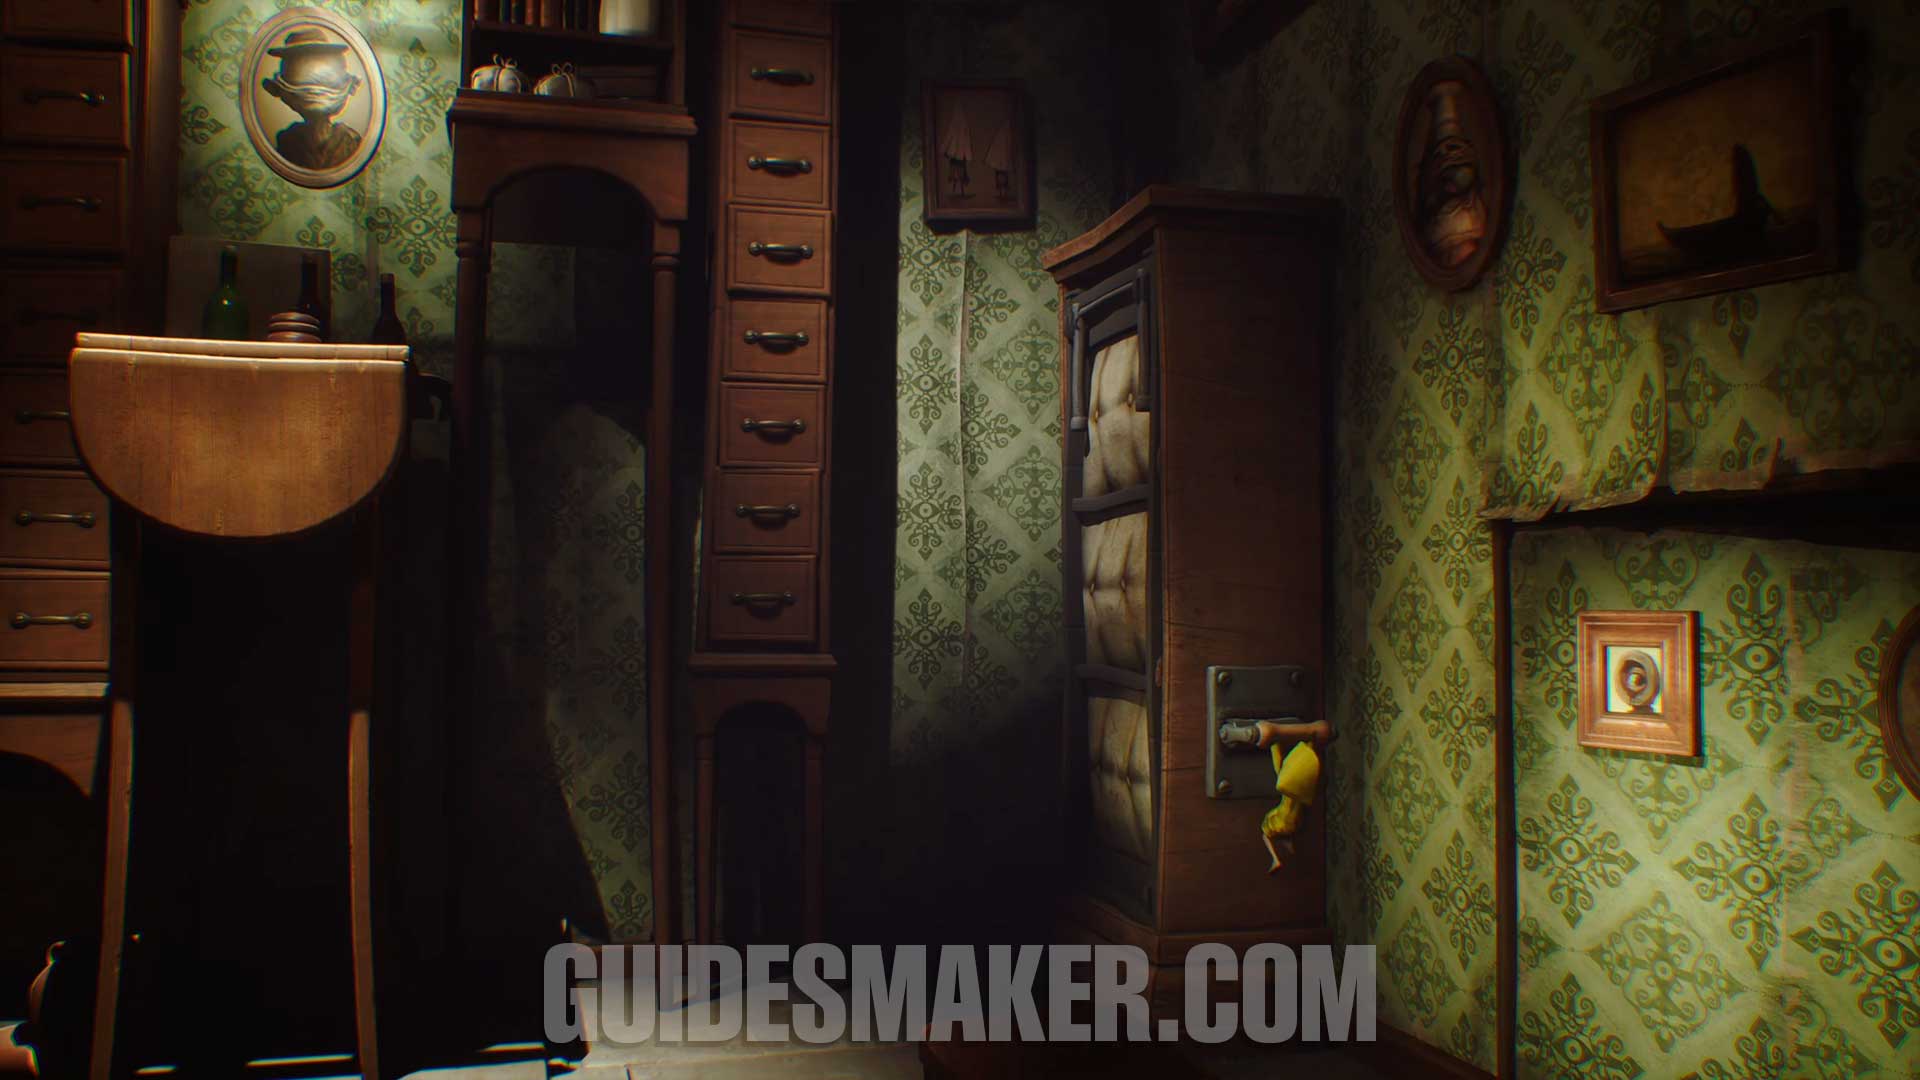
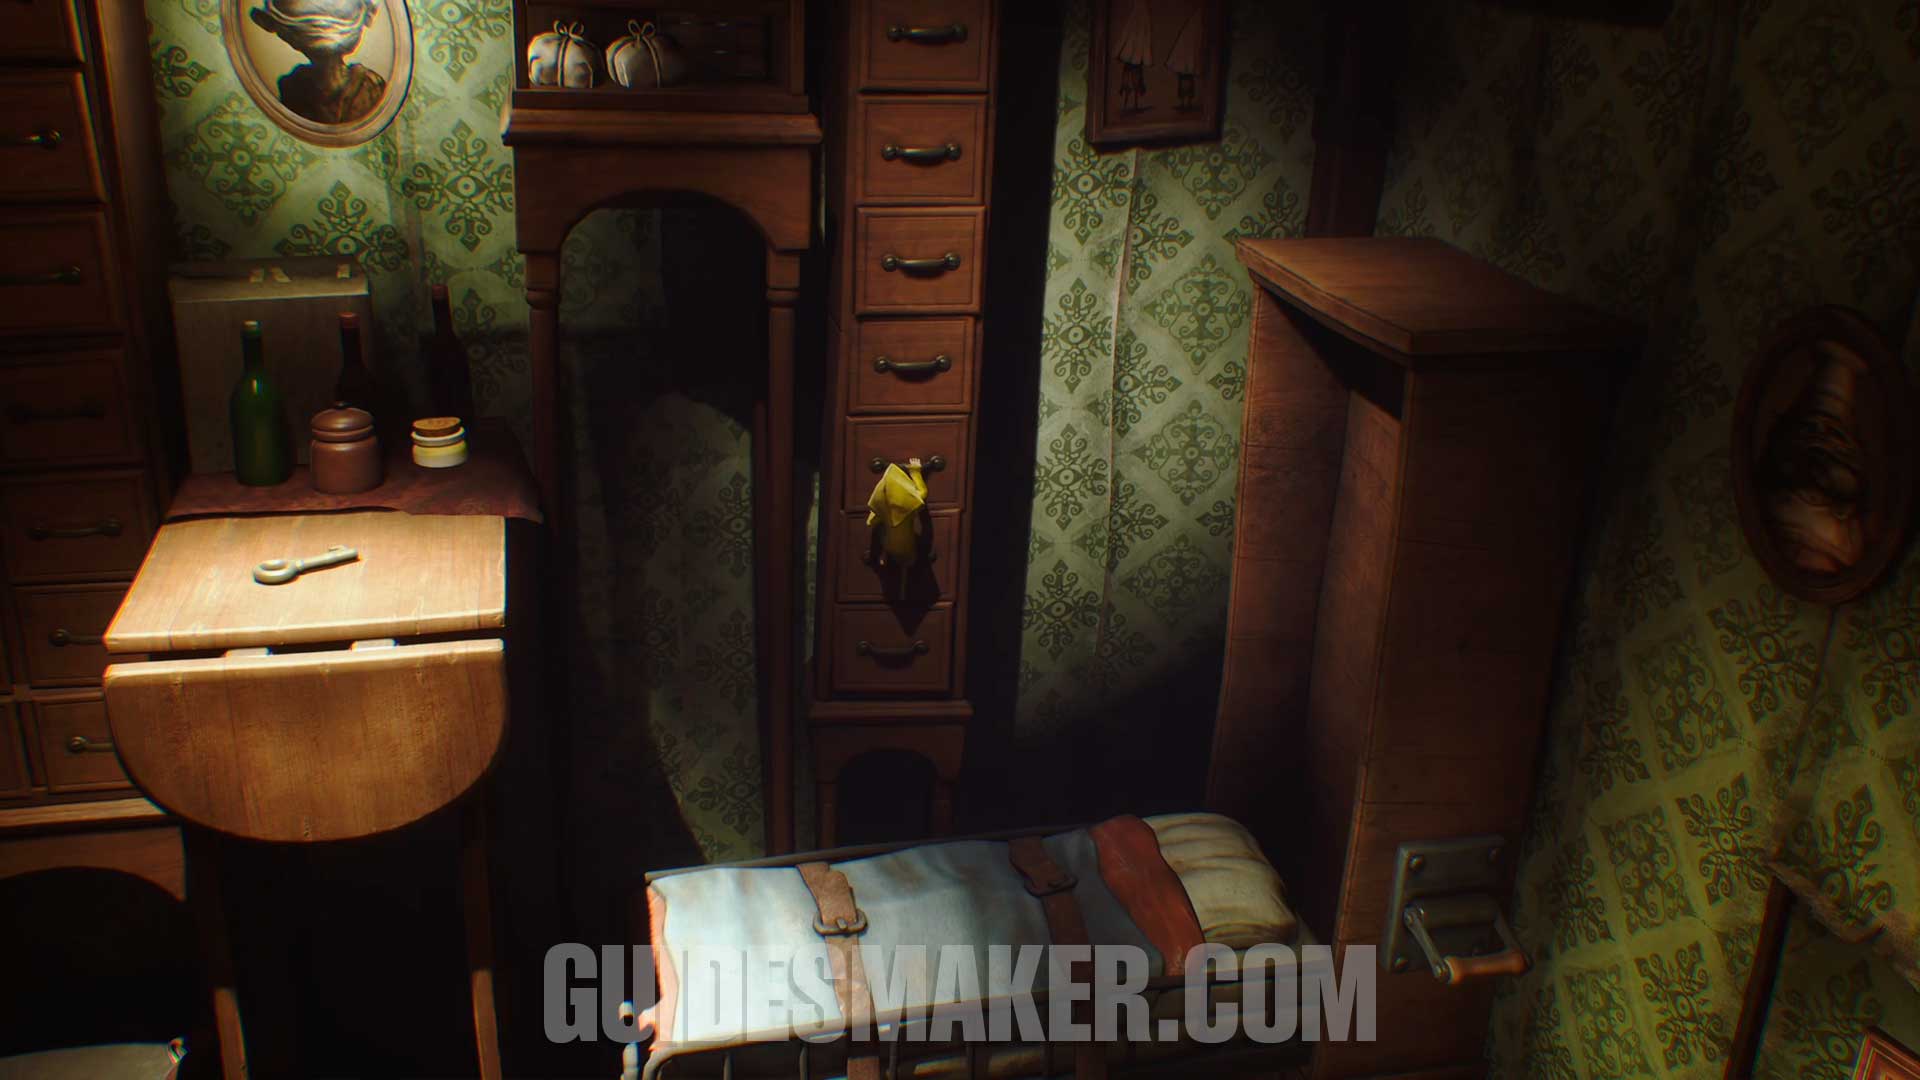
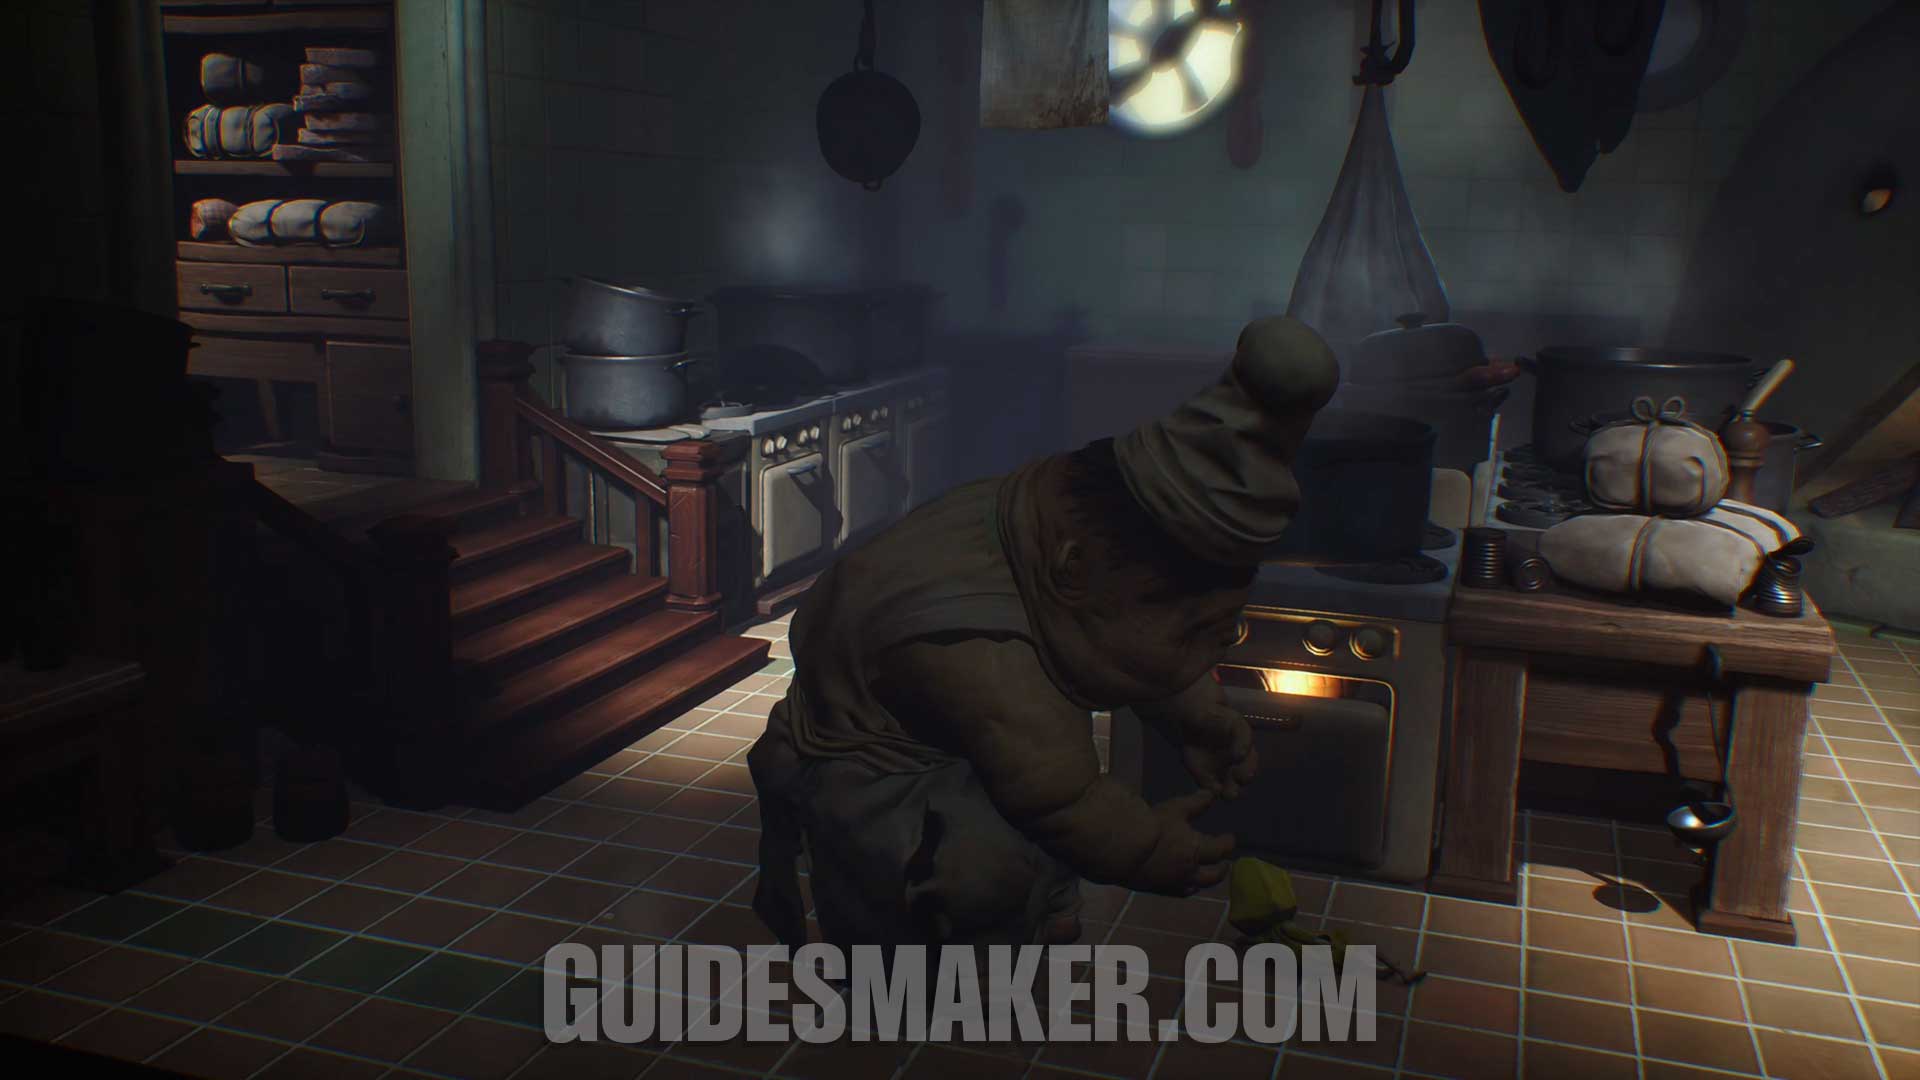
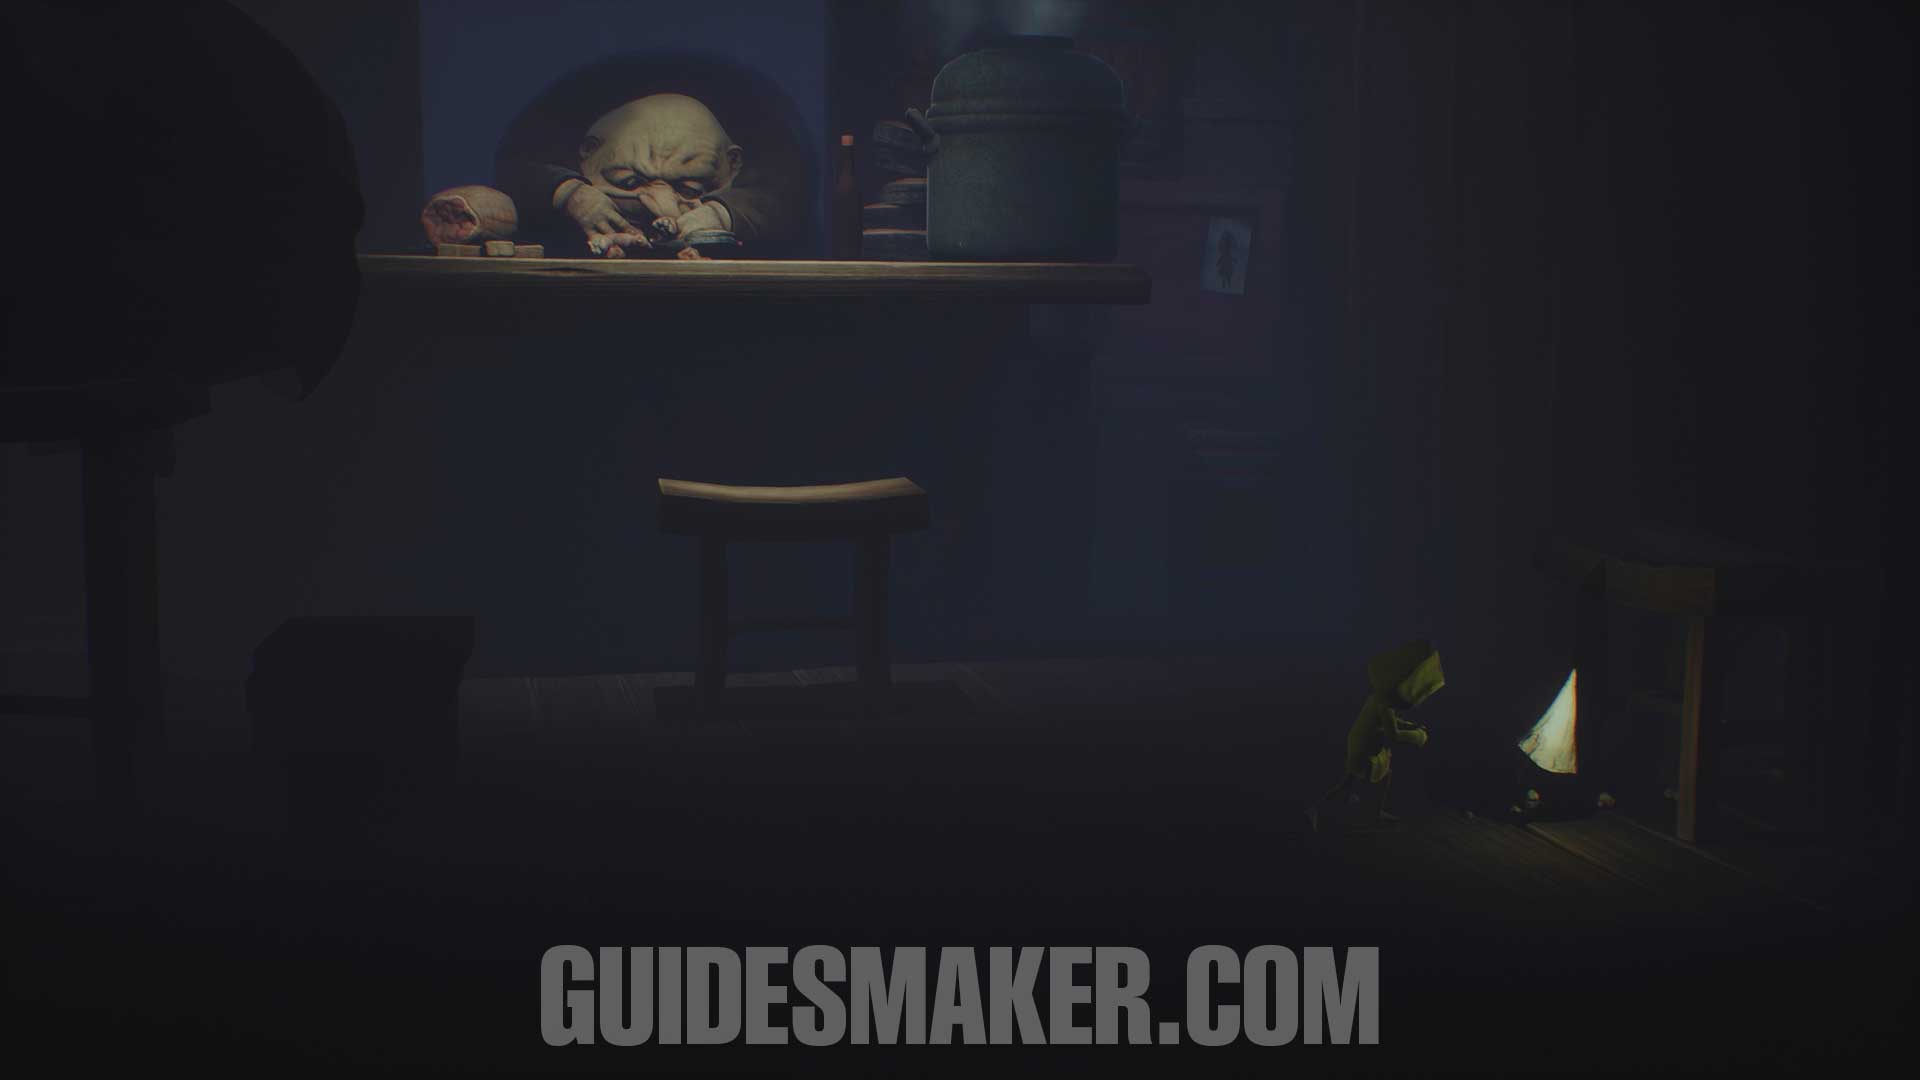
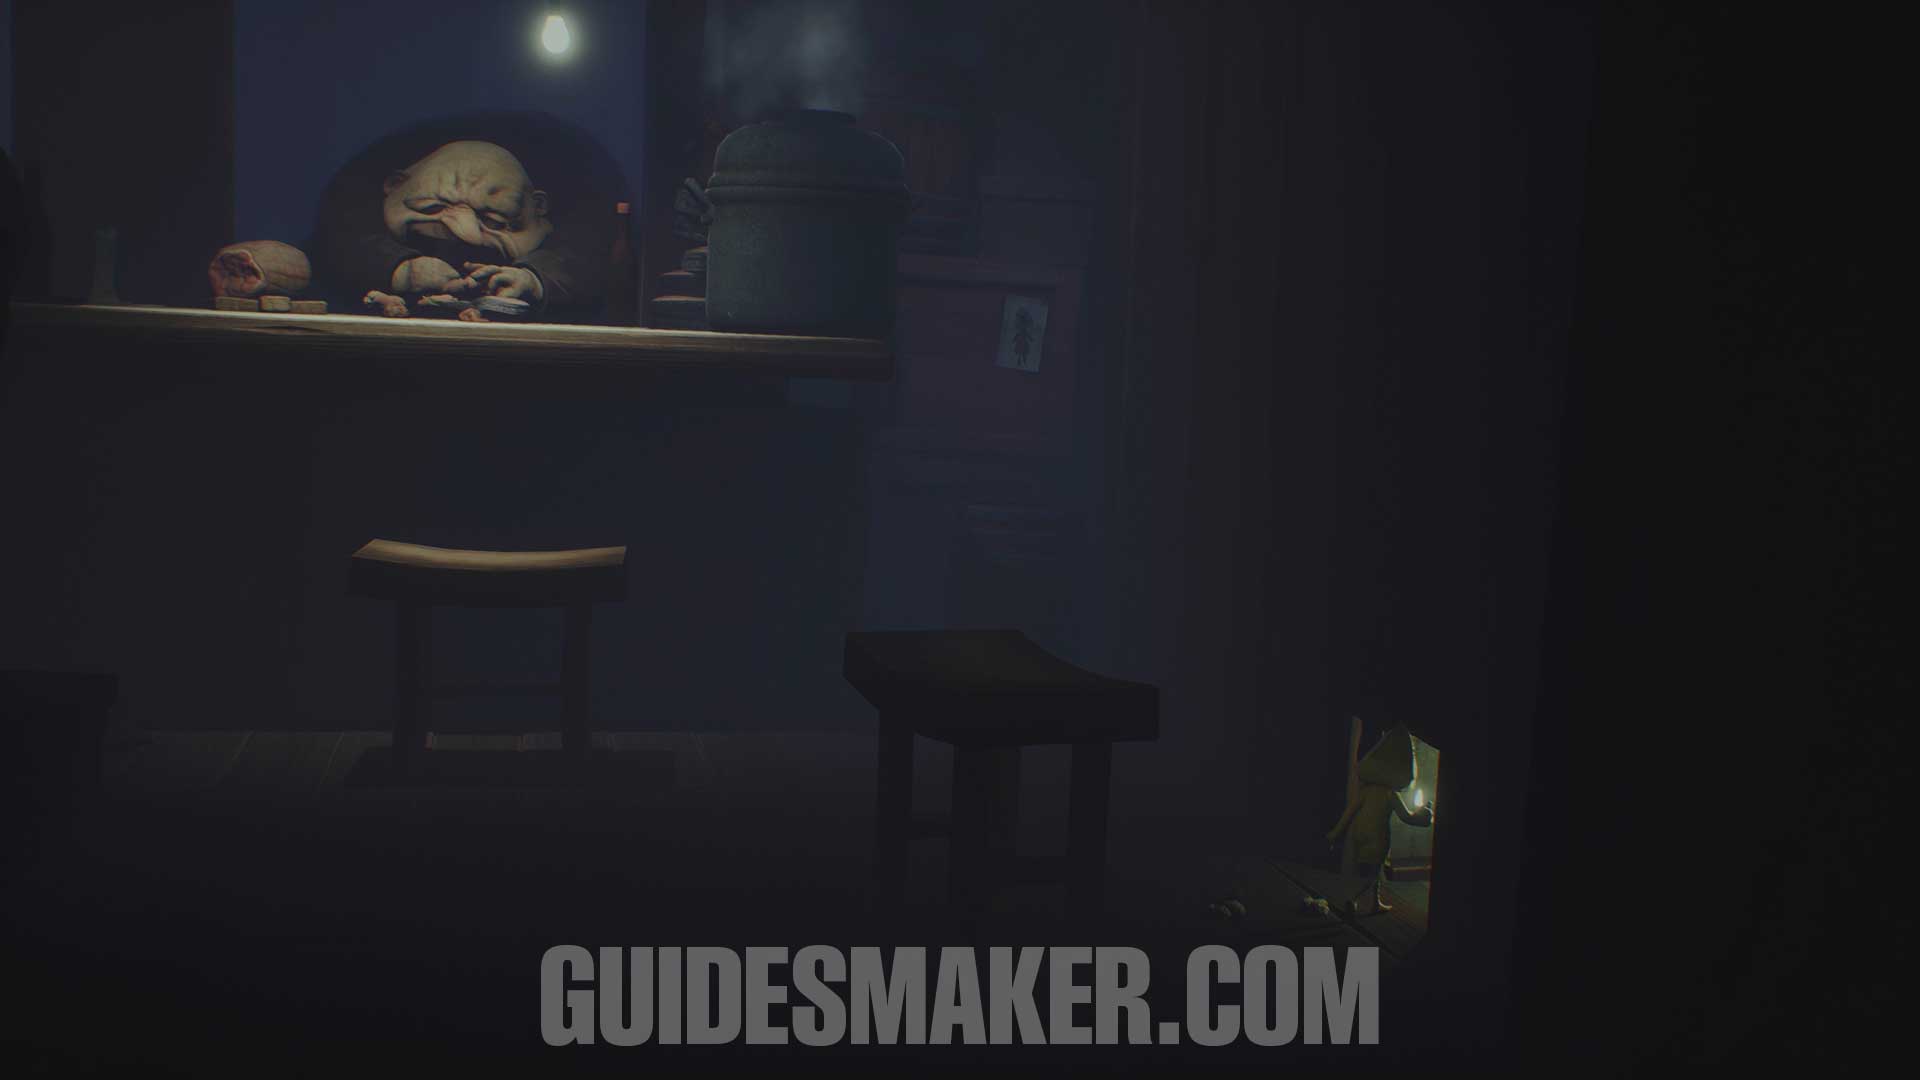
Gnome #4
After turning on the light point, drag the chair onto the pressure plate on the floor. This will cause the door on the right to open. Go through the door and walk around the room so the gnome runs out. After it runs out, return to the stairs and you will find it on the staircase. Climb up and you can find it next to the door.
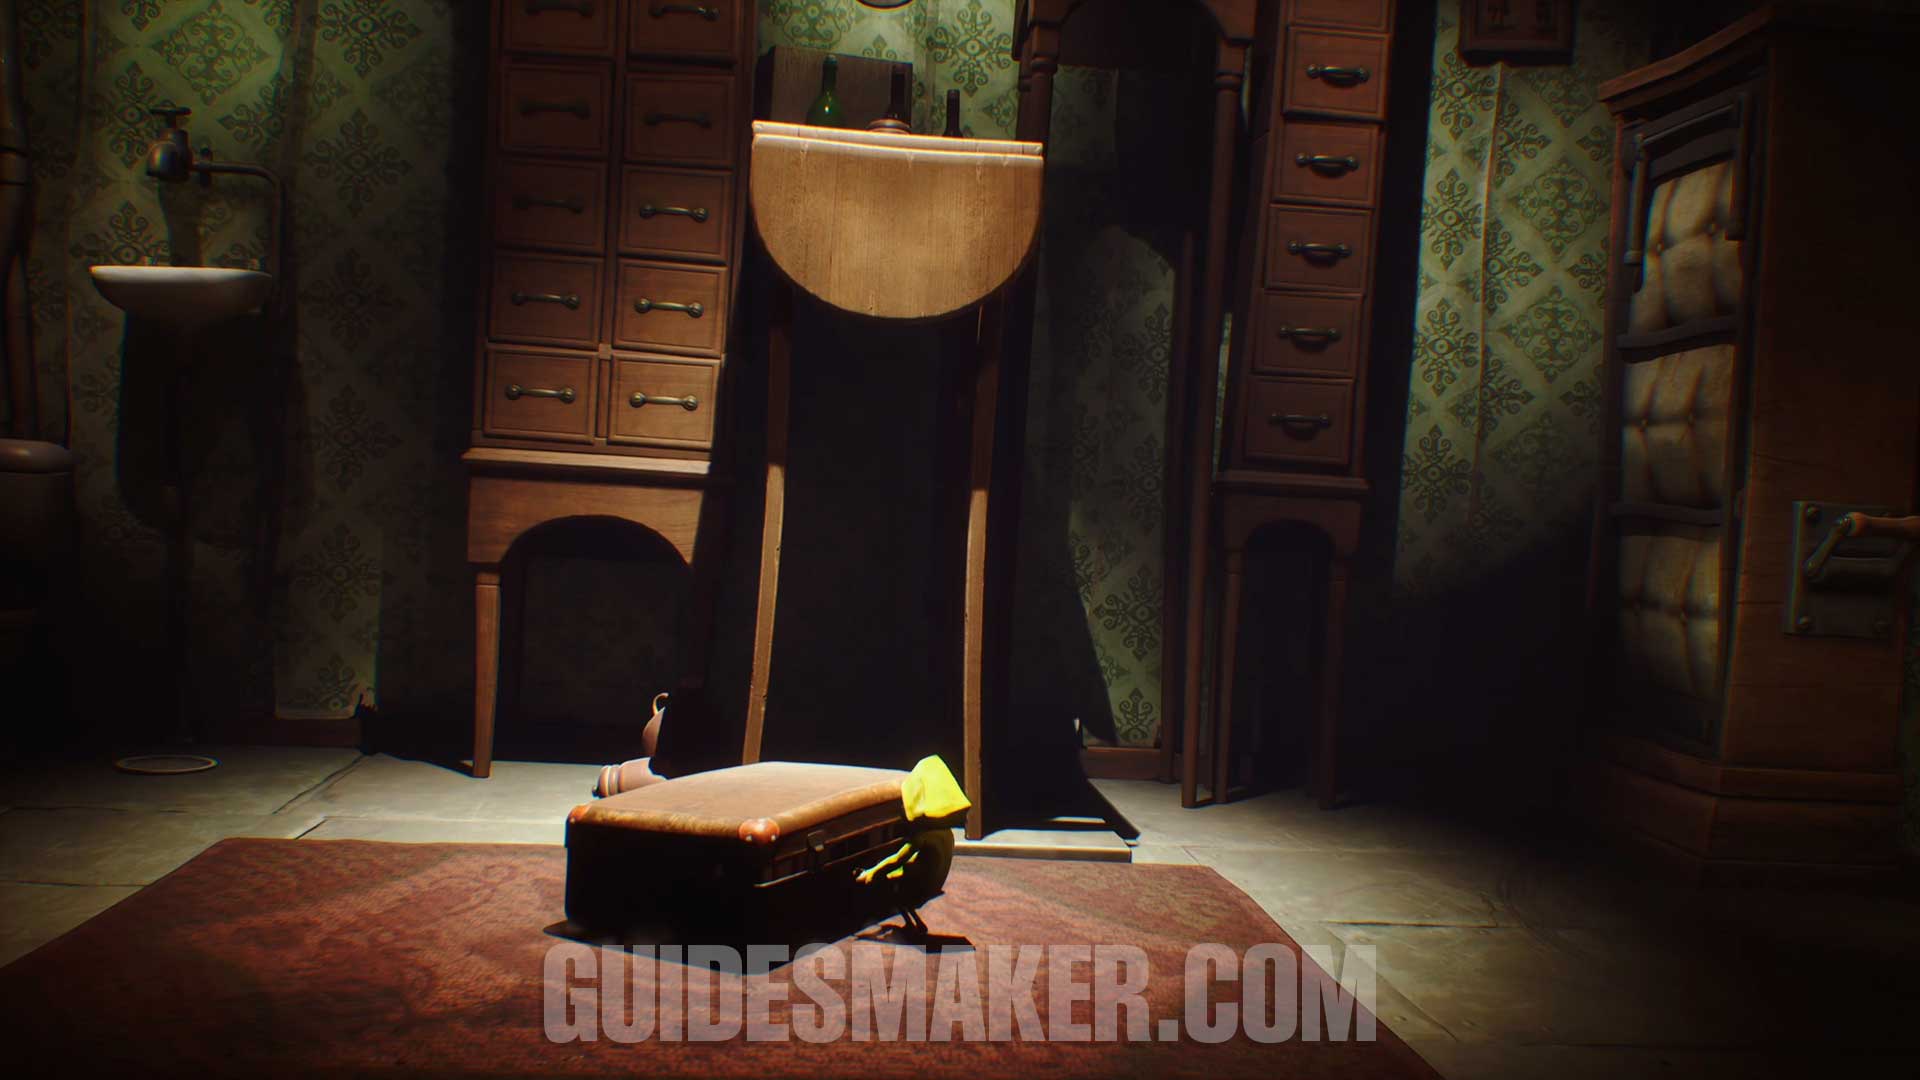
Statue #3
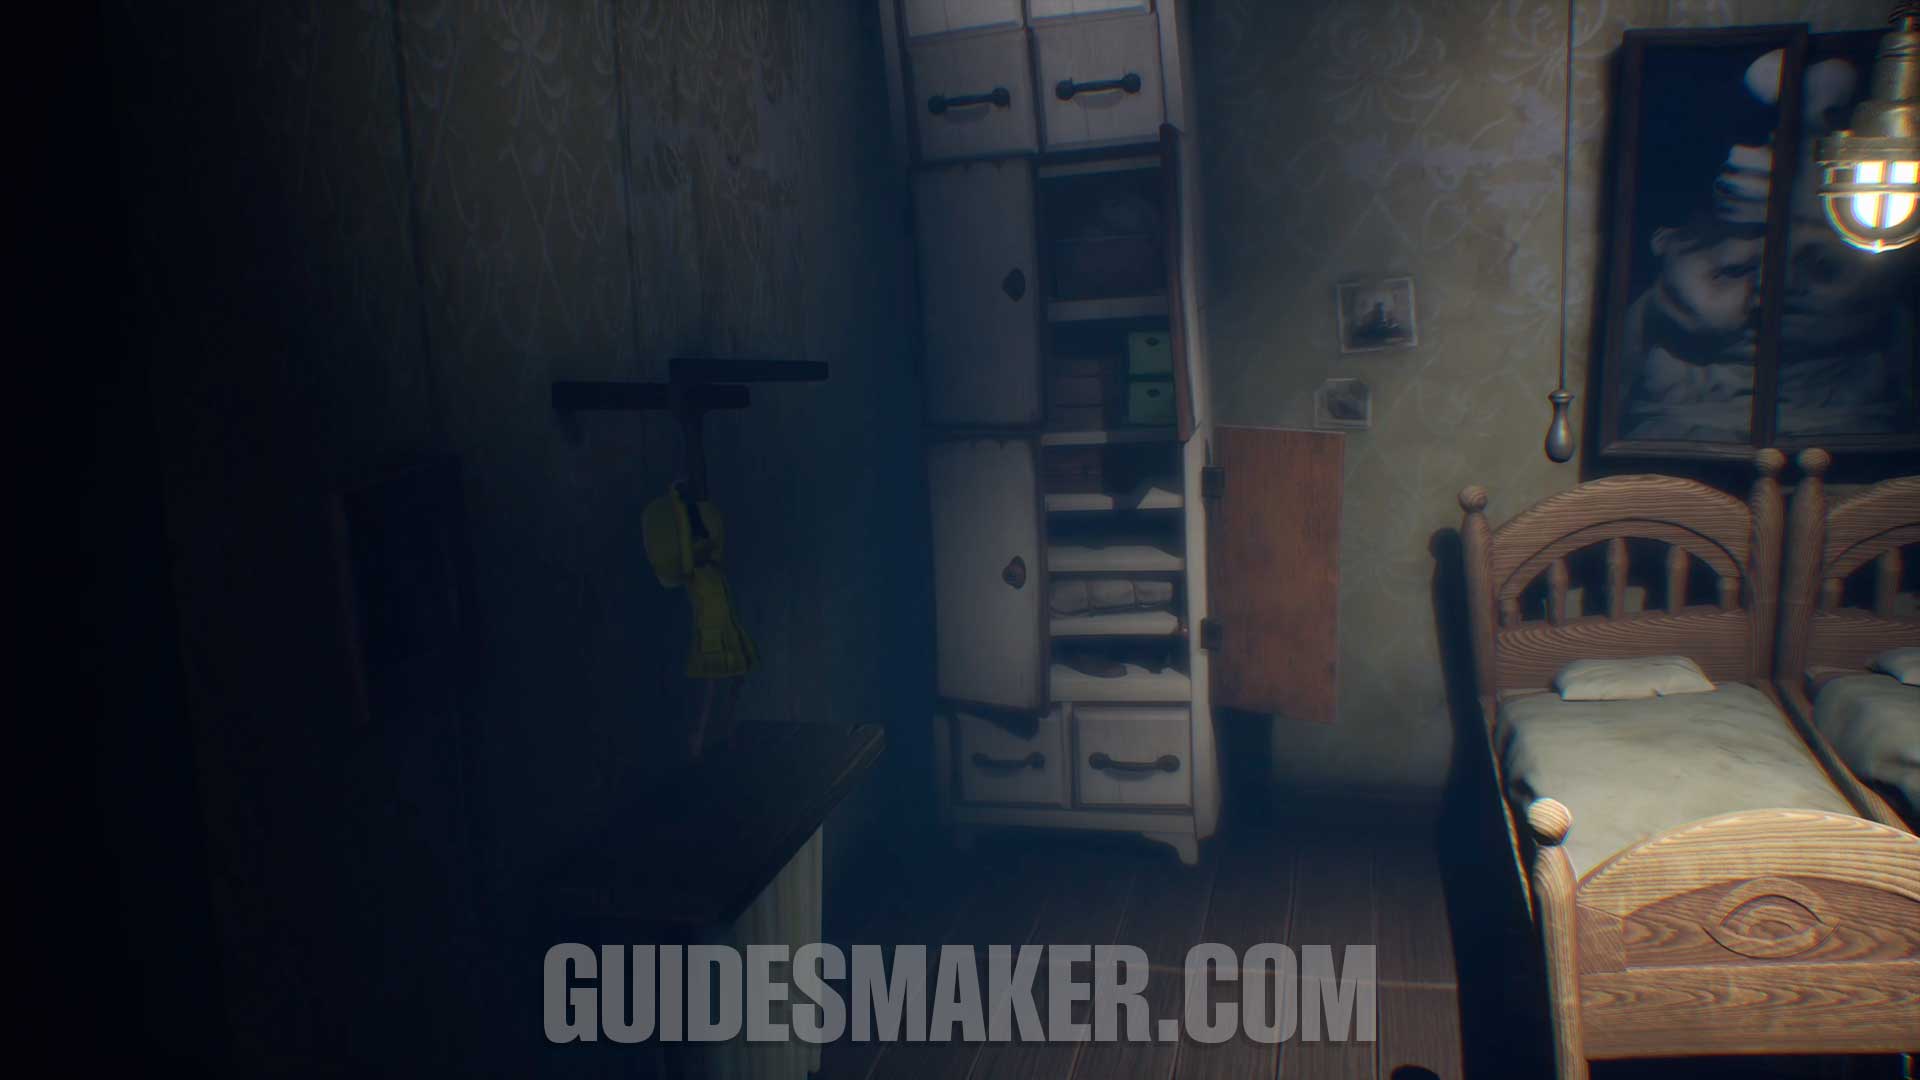
From the previous collectible, you will reach a room with a suitcase. Drag the suitcase and pull the lever to make the bed fall. Climb onto the bed and then onto the cabinets. This statue will be on a shelf on the left.
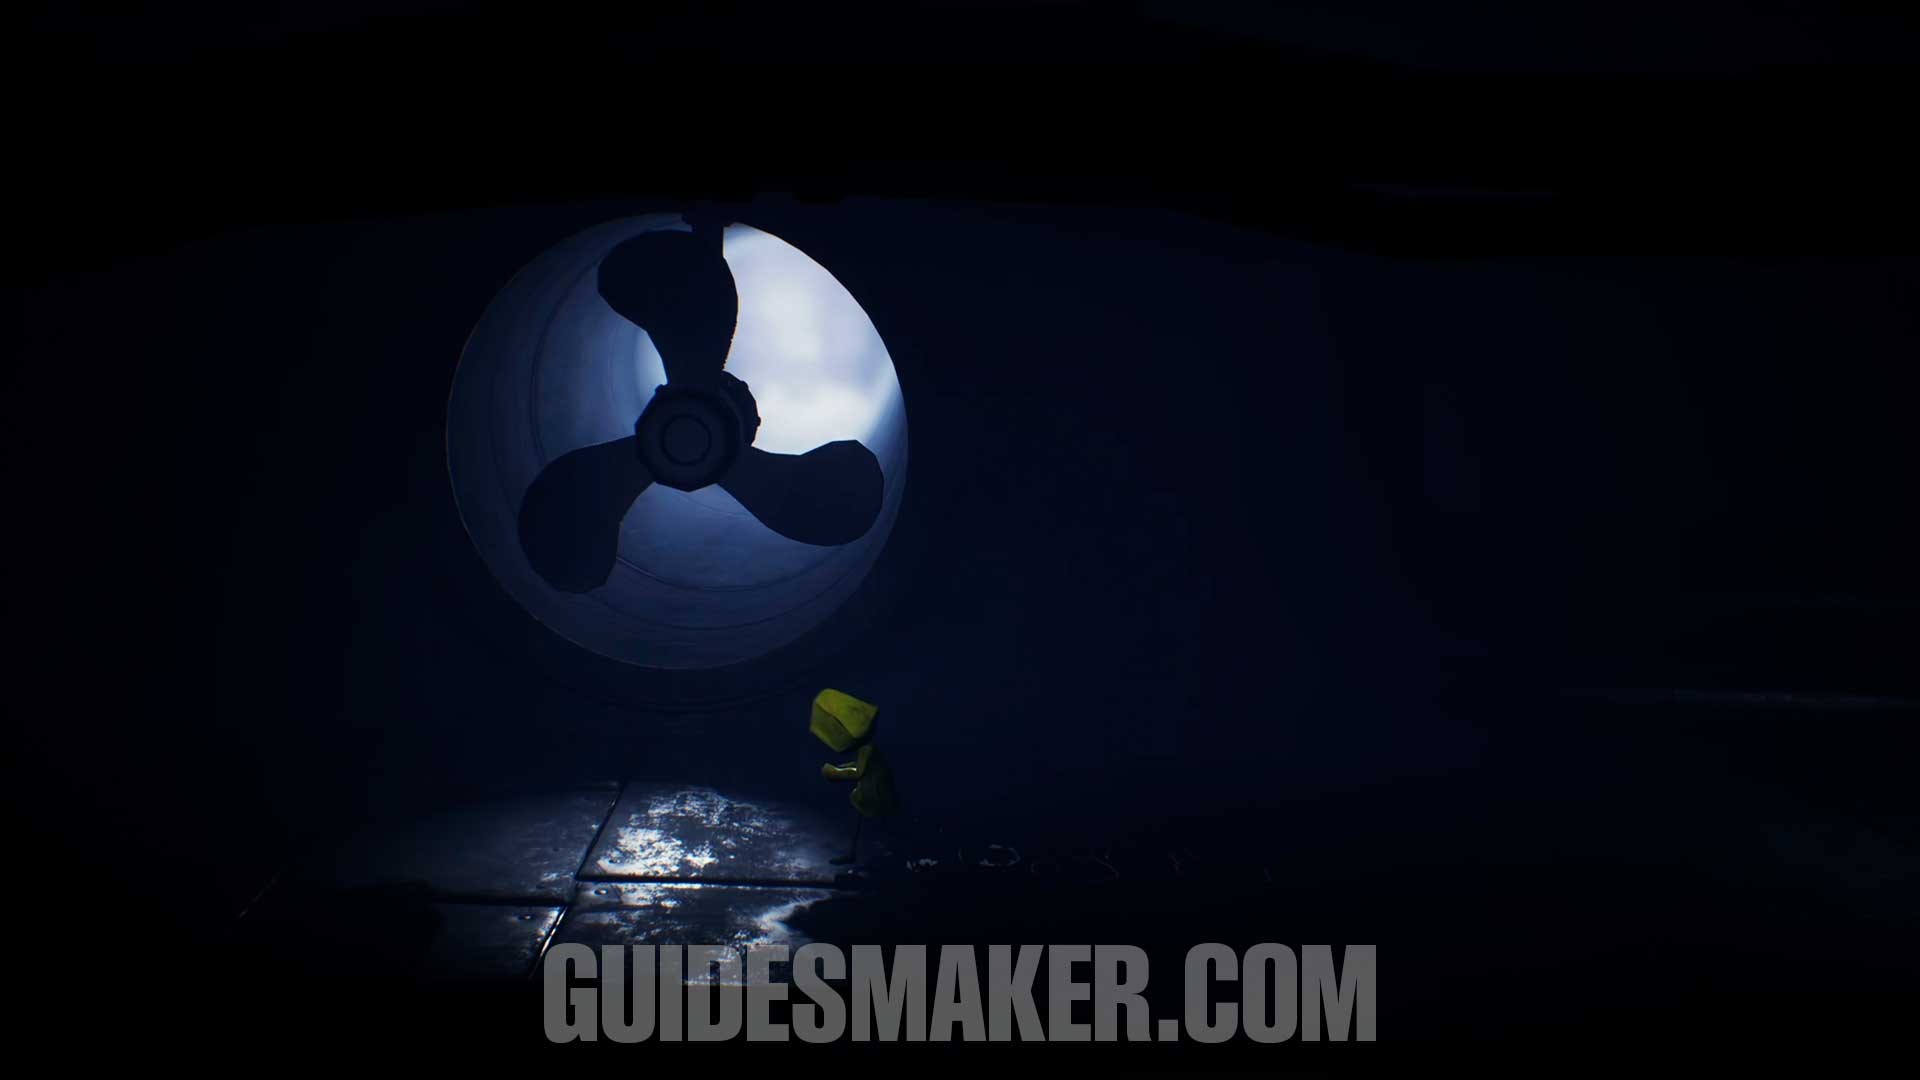
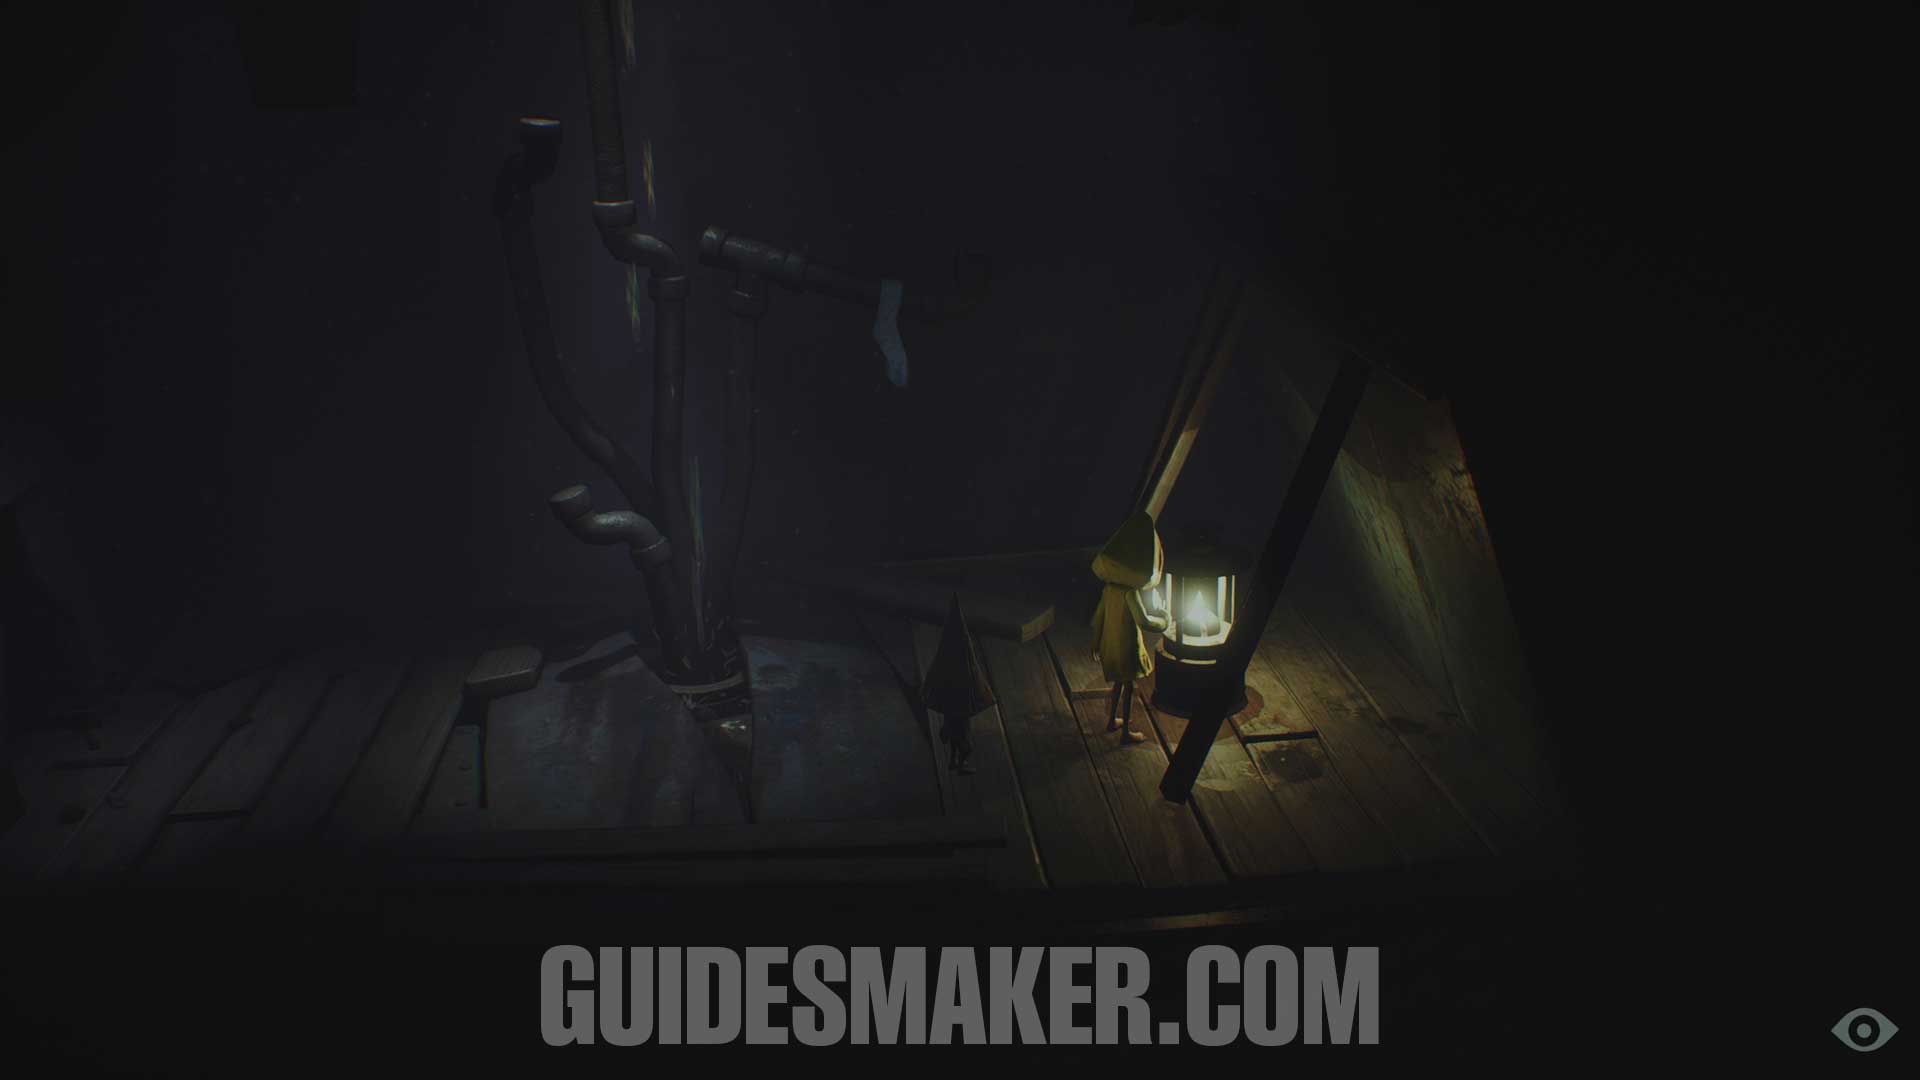
Light #12
After progressing a bit further through Chapter 2, Six will start to feel hungry again. At this point, you will pass by a spinning fan and then go under a duct. The light point will be directly in front of you right after passing under the duct.
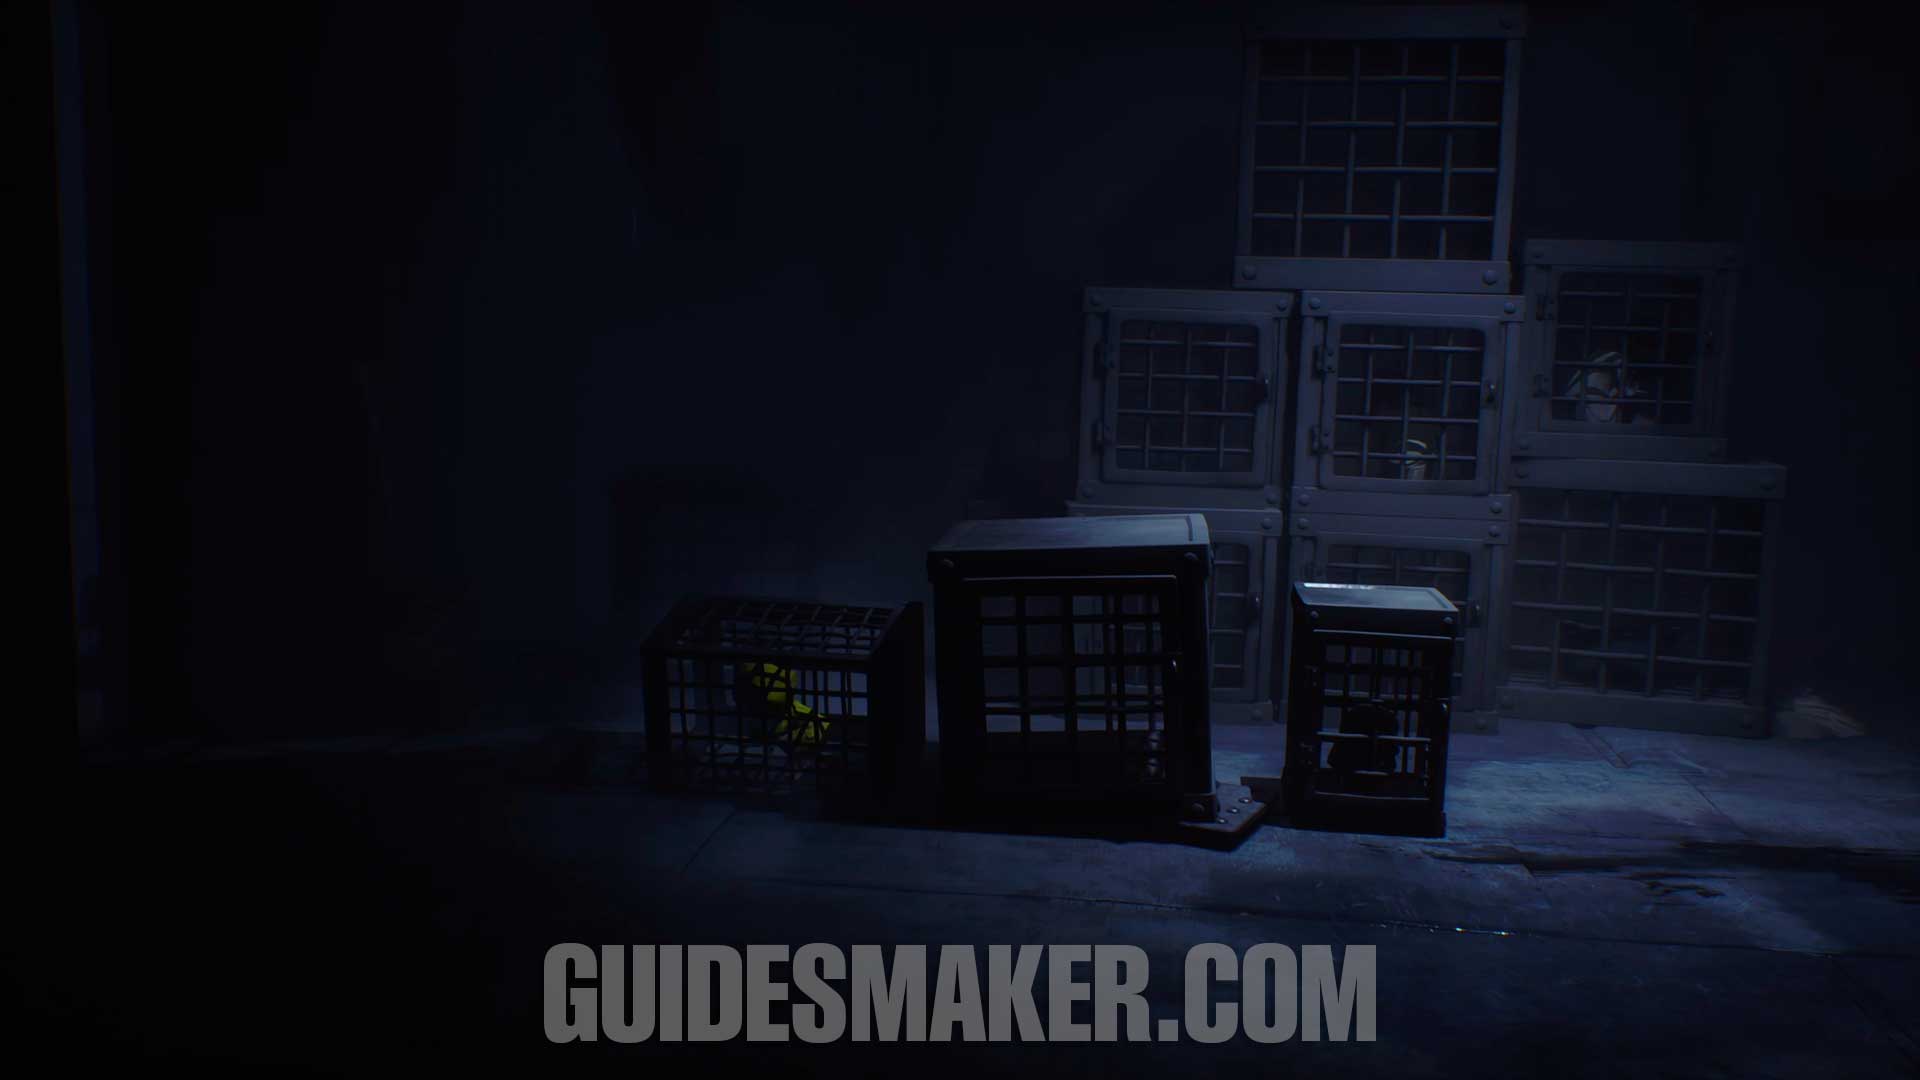
Light #13
After being captured, you will be locked in a cage. To escape, struggle until the cage falls to the floor. After getting out of the cage, go left and squeeze through the gap to find this light point on the other side.
Light #14
From the previous collectible, pull the cage, climb on top of it, and grab the lever to open the door. After swinging across and passing through the door, climb up the closed door, and this light point will be right in front of you.
Light #15
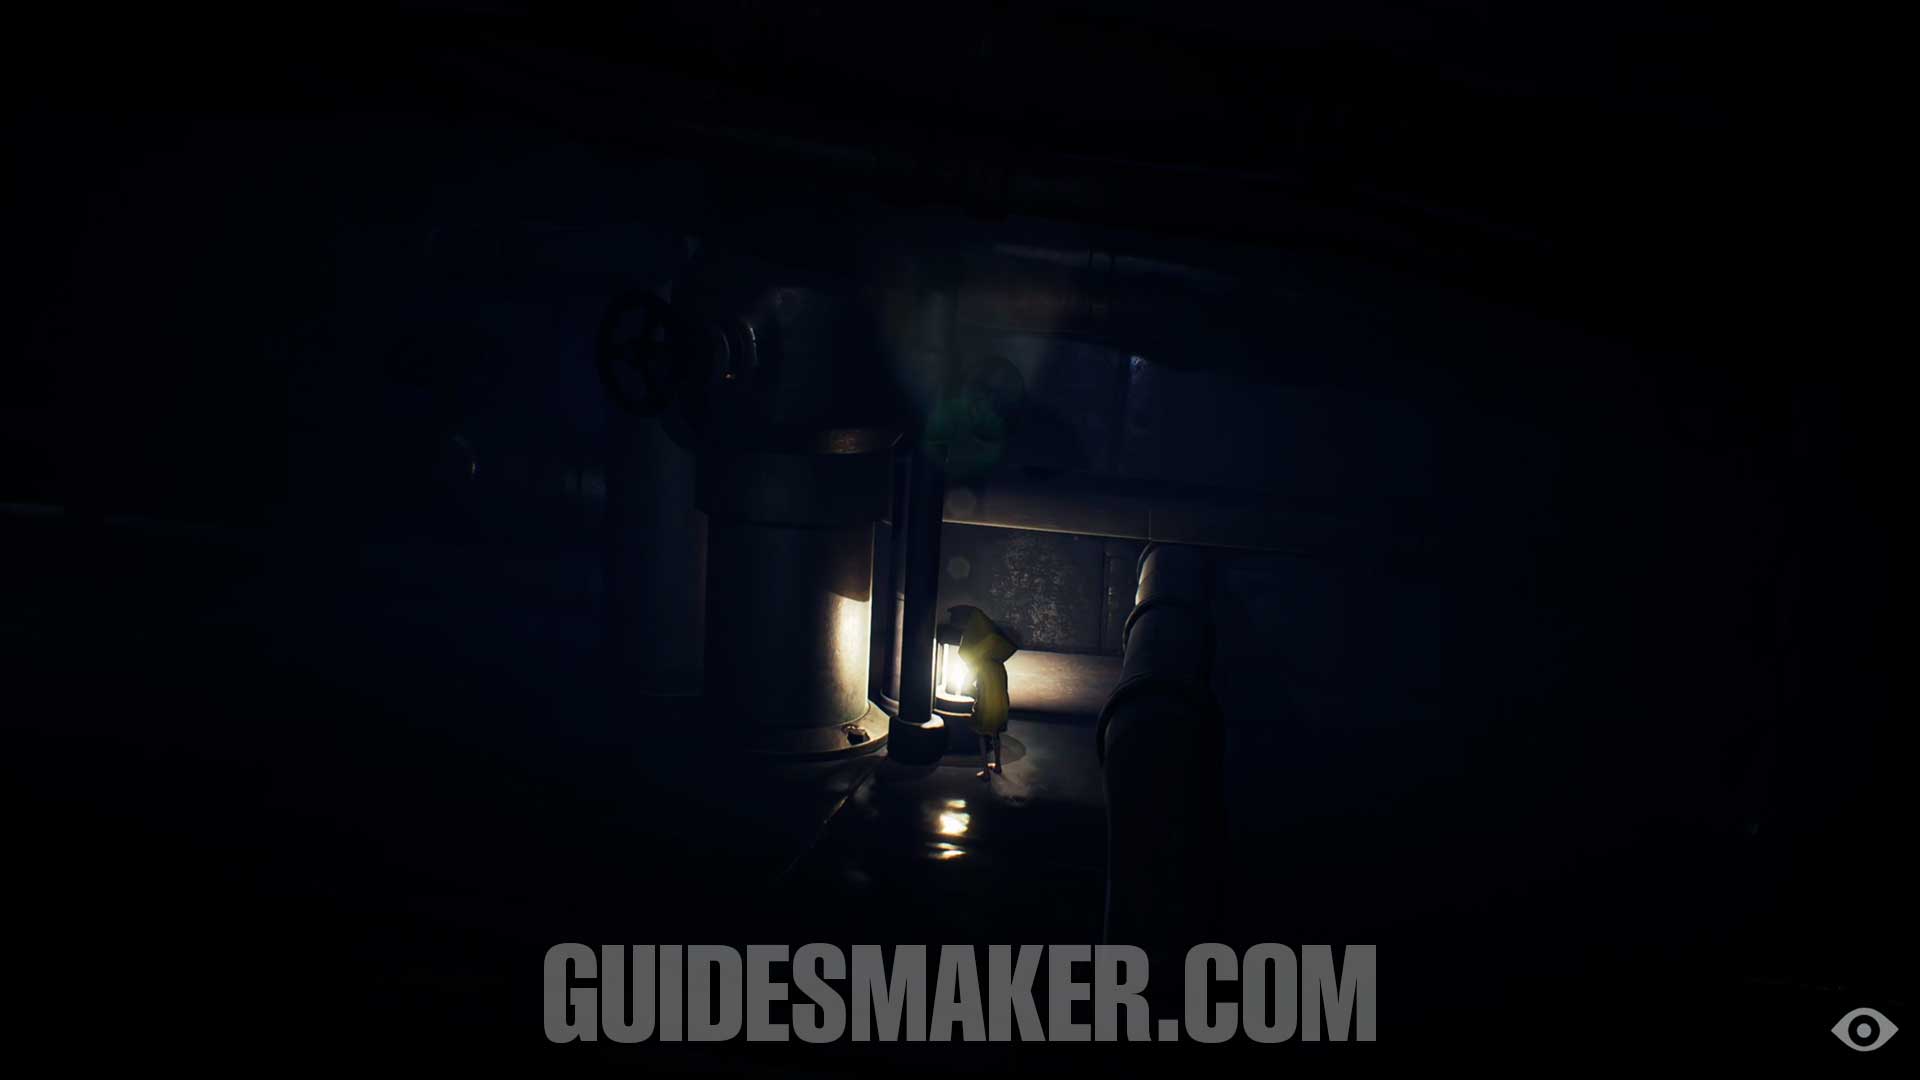
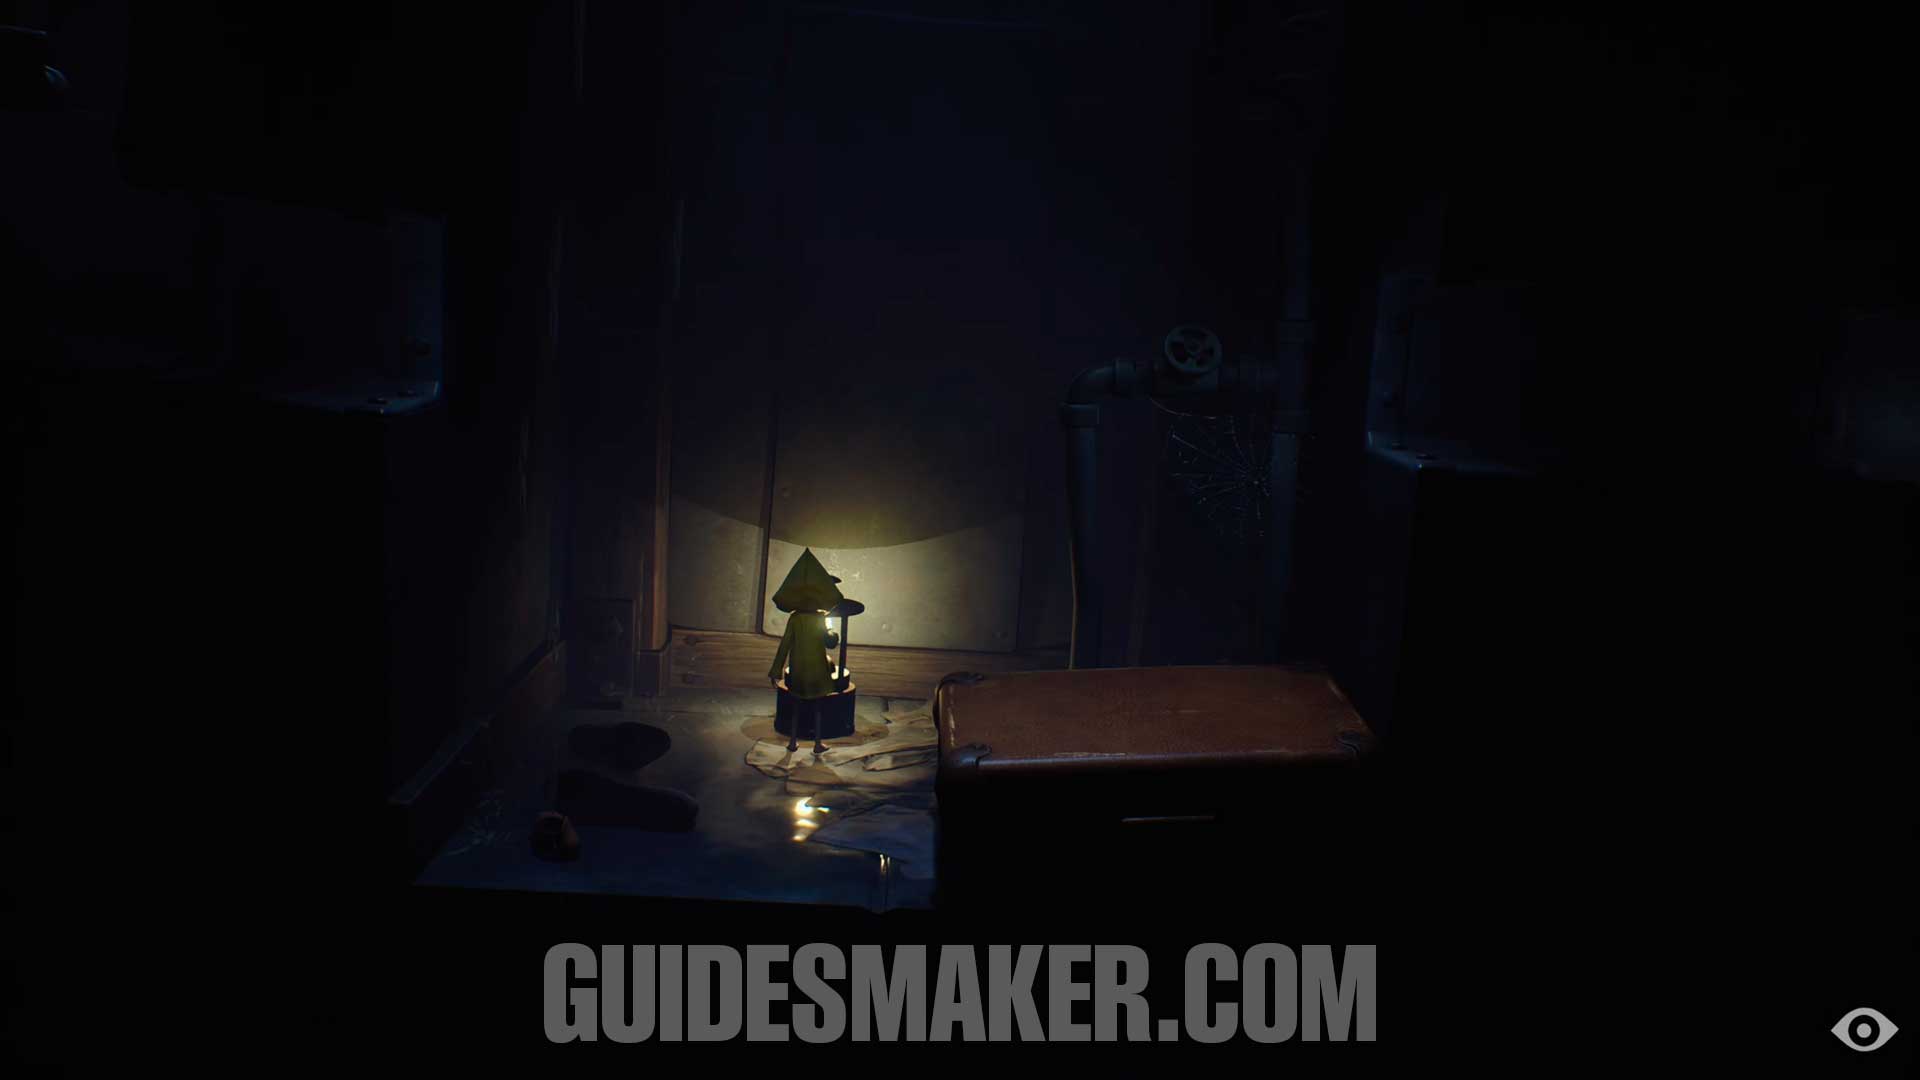
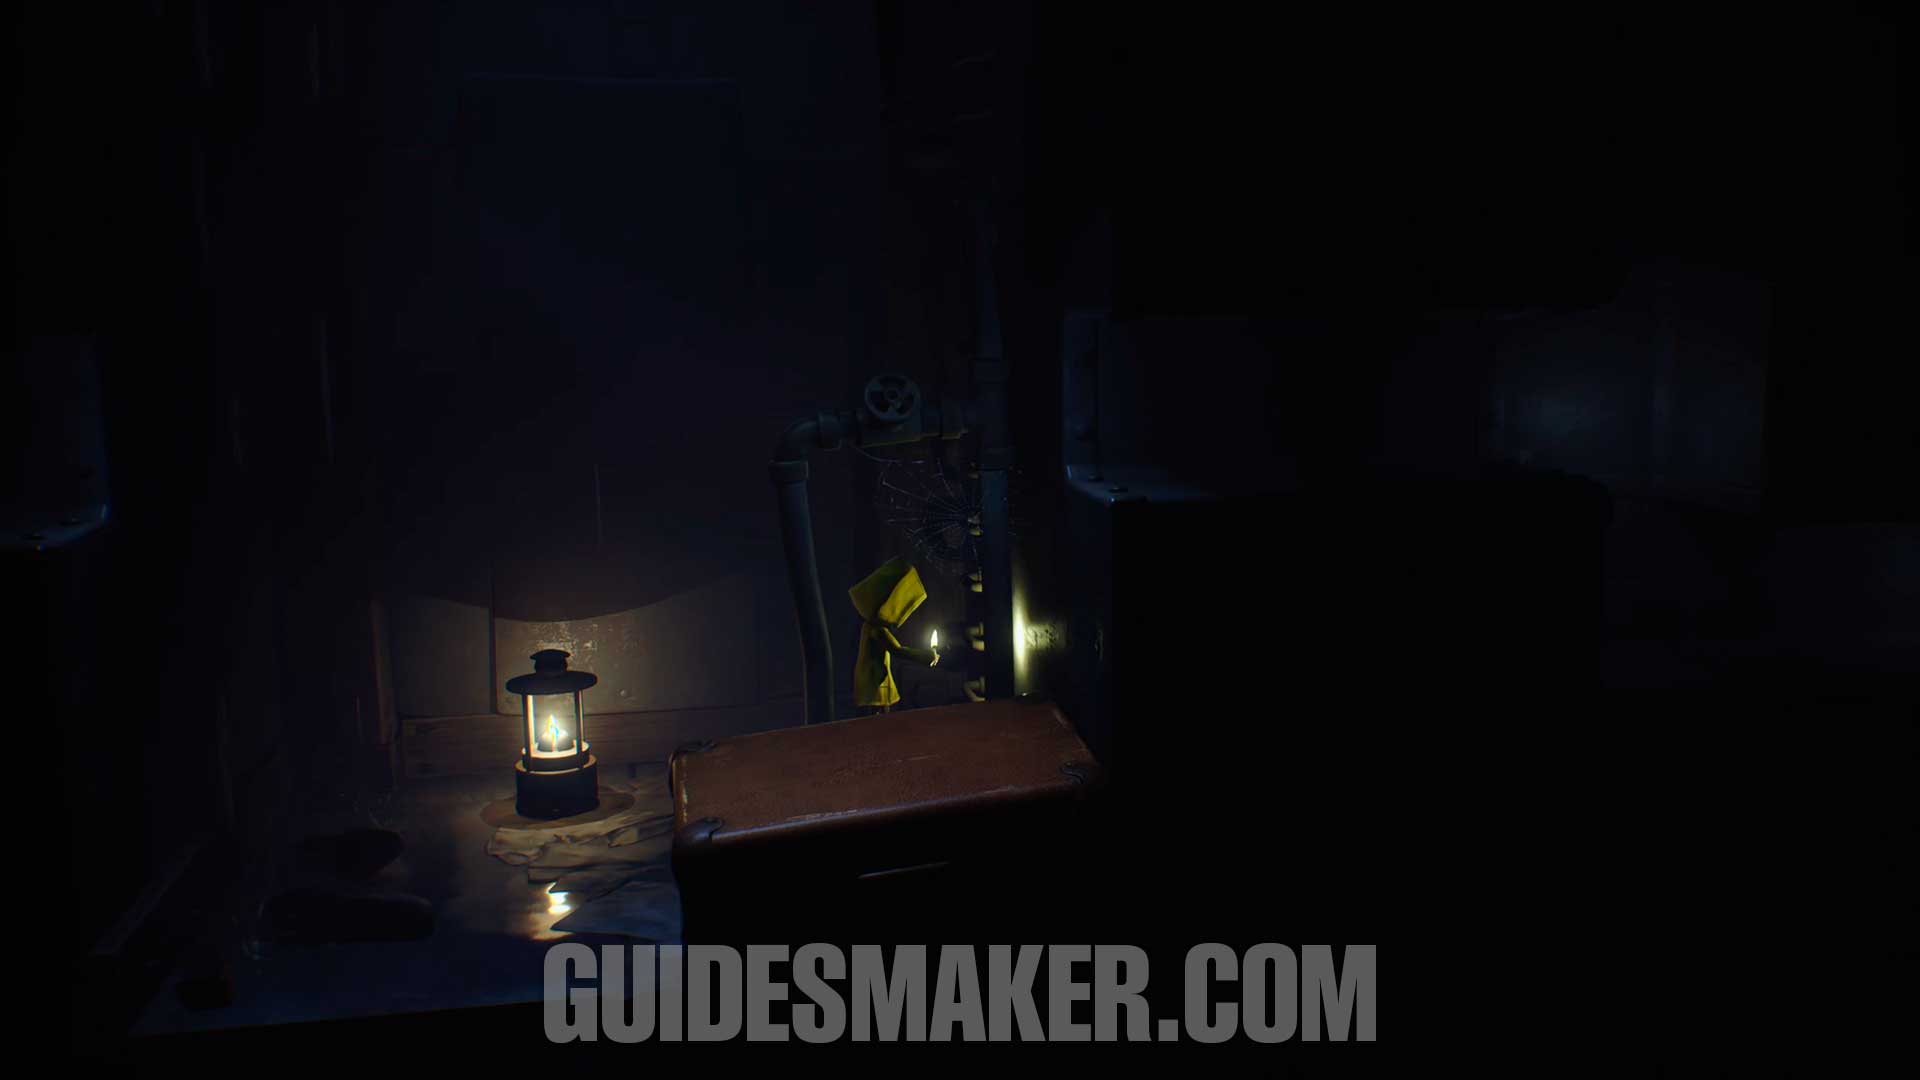
After turning the lever to open a compartment in the floor, you will fall into the ducts. Upon exiting the first section of the ducts, this light point will be next to a suitcase.
Gnome #5
Directly from the previous collectible, go up the stairs and you will see a gnome sitting on a duct. Go through the duct where it is to find it.
Statue #4
After dragging the toy box, you will be directly below the floor. Continue forward to find this statue at the end of this area.
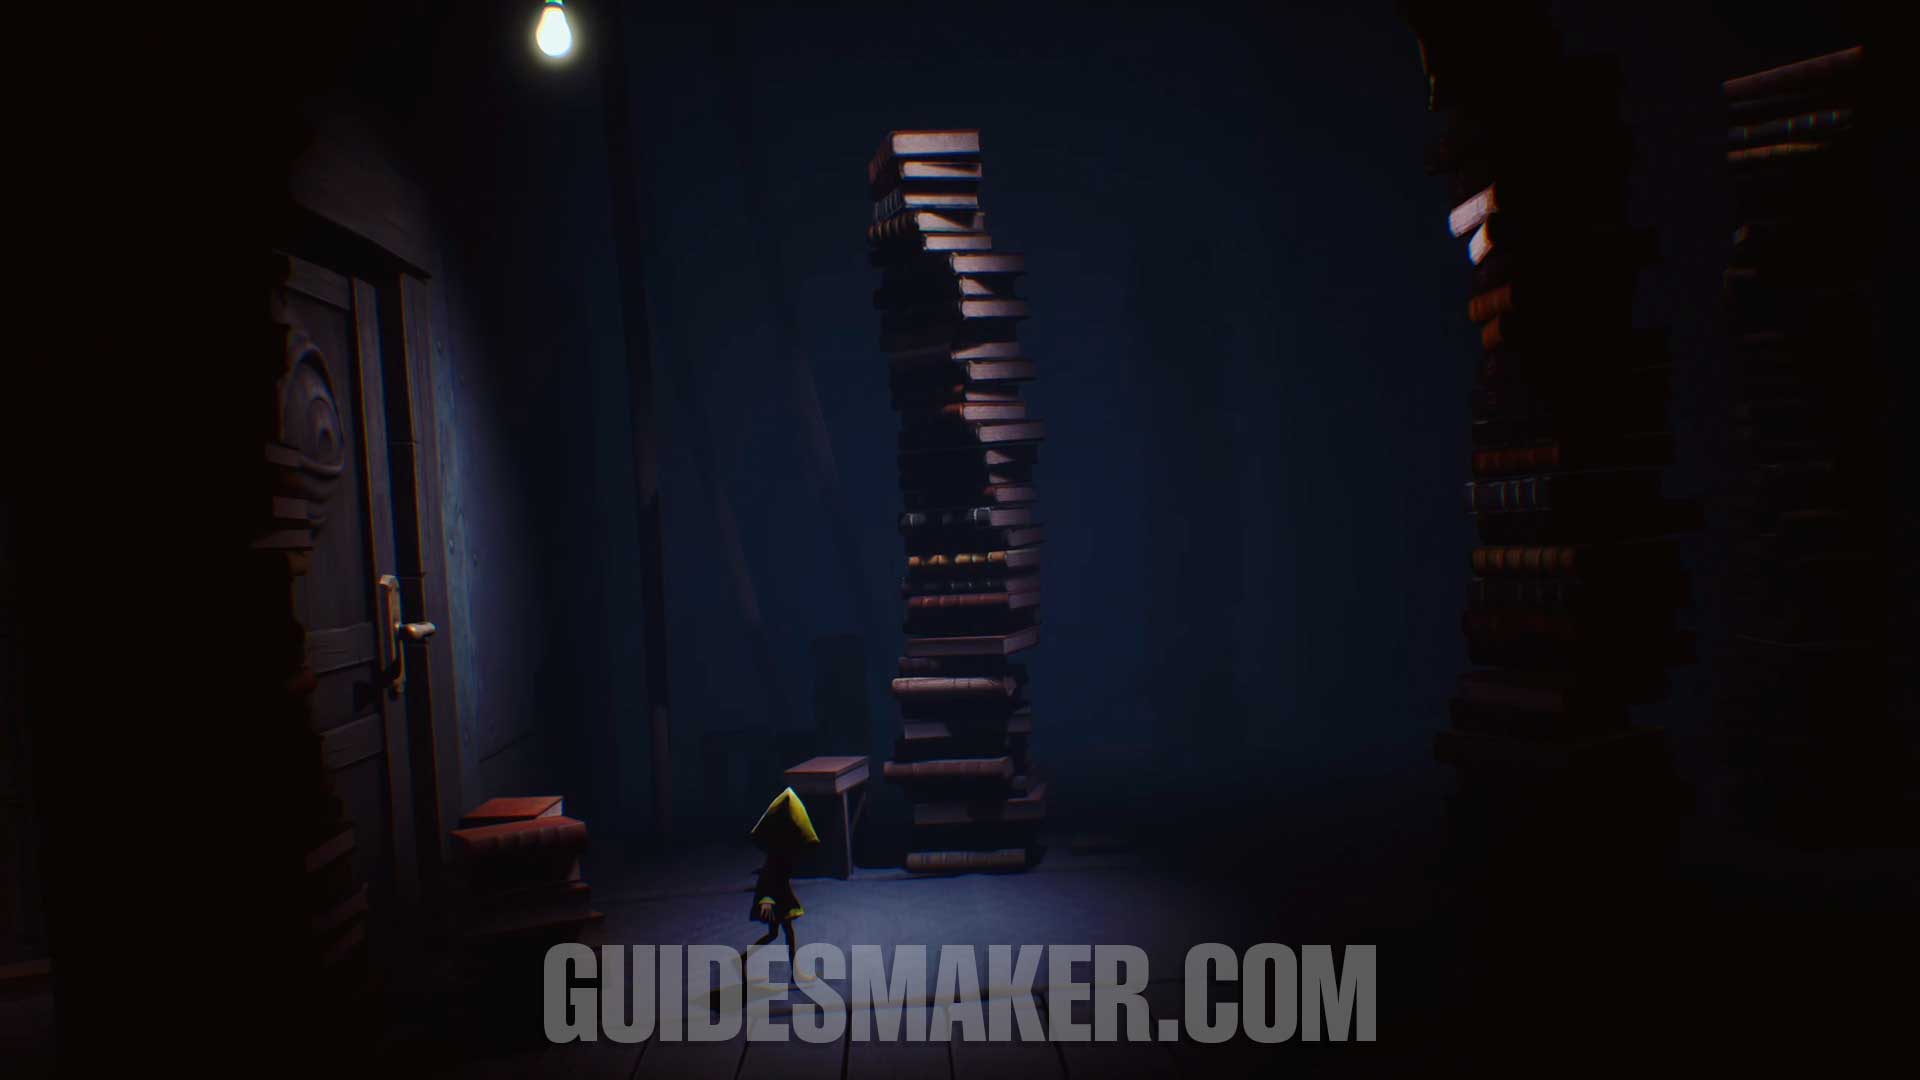
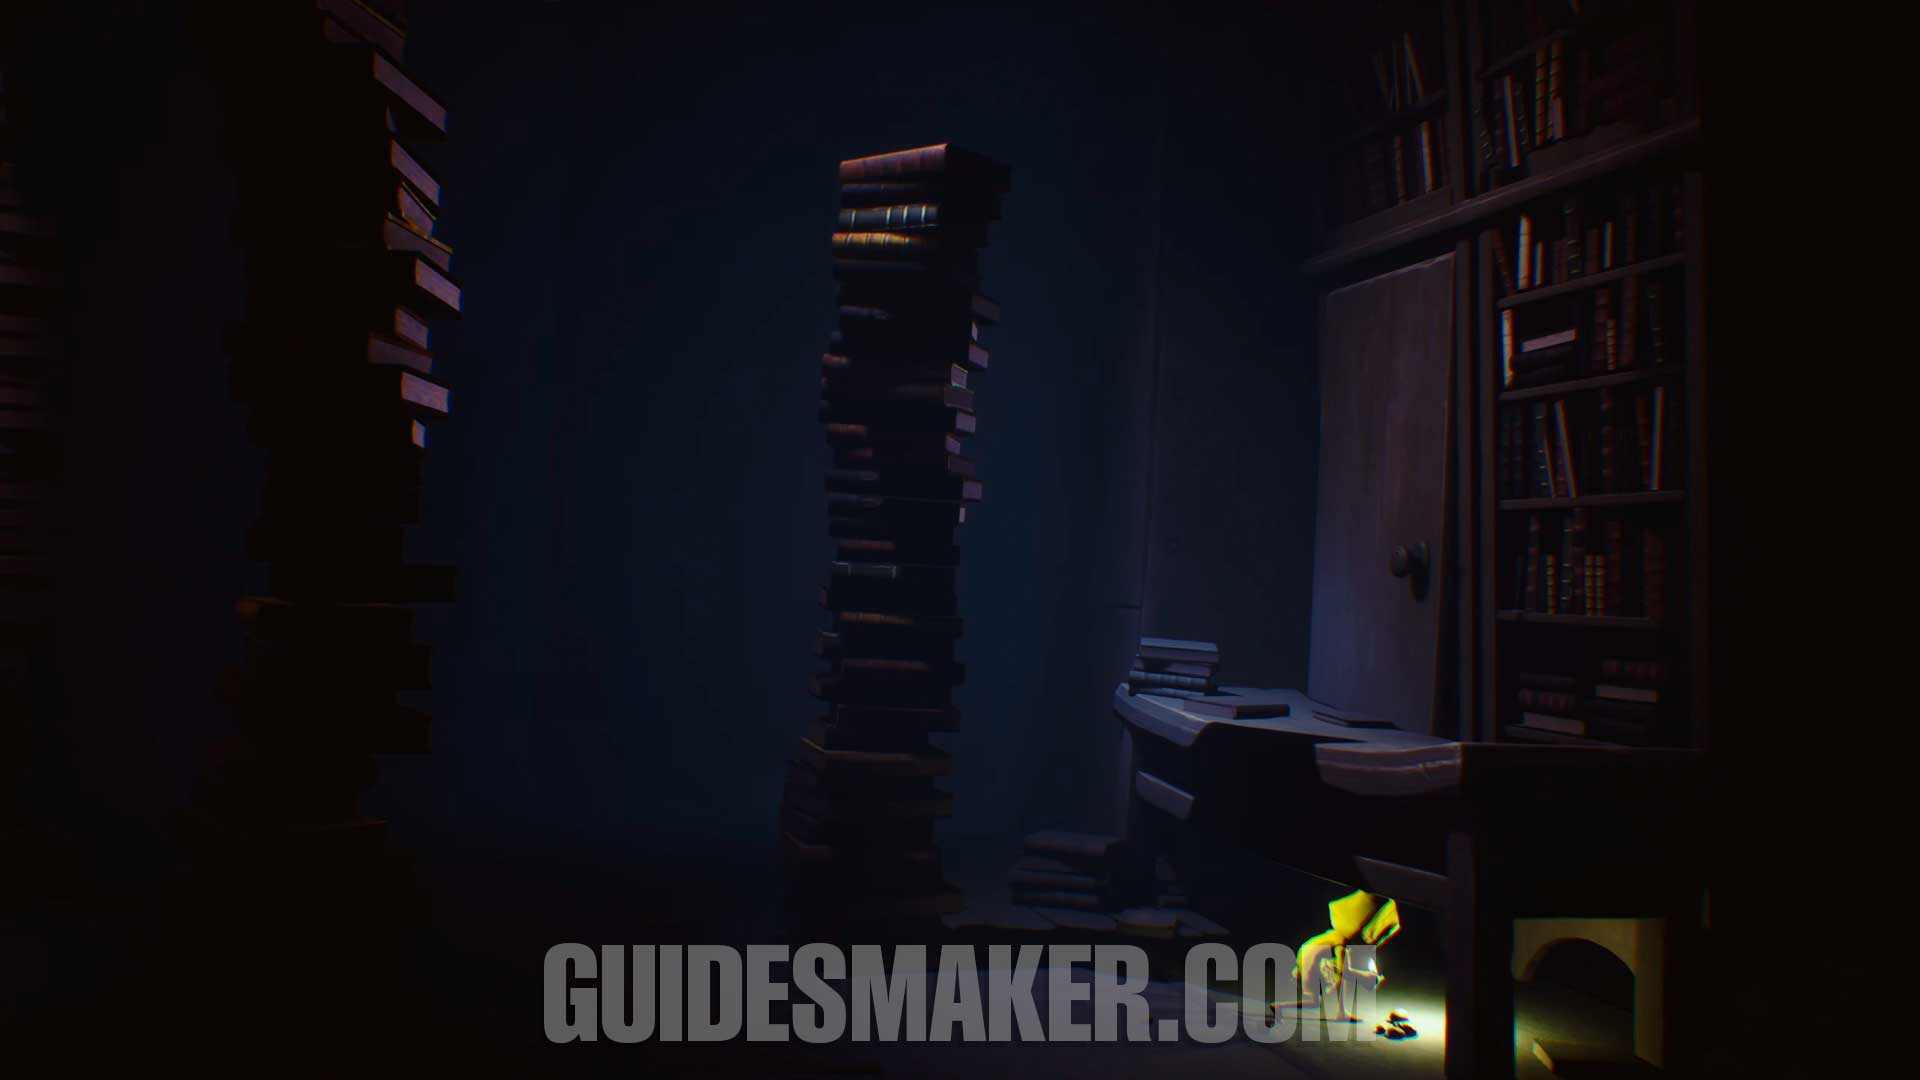
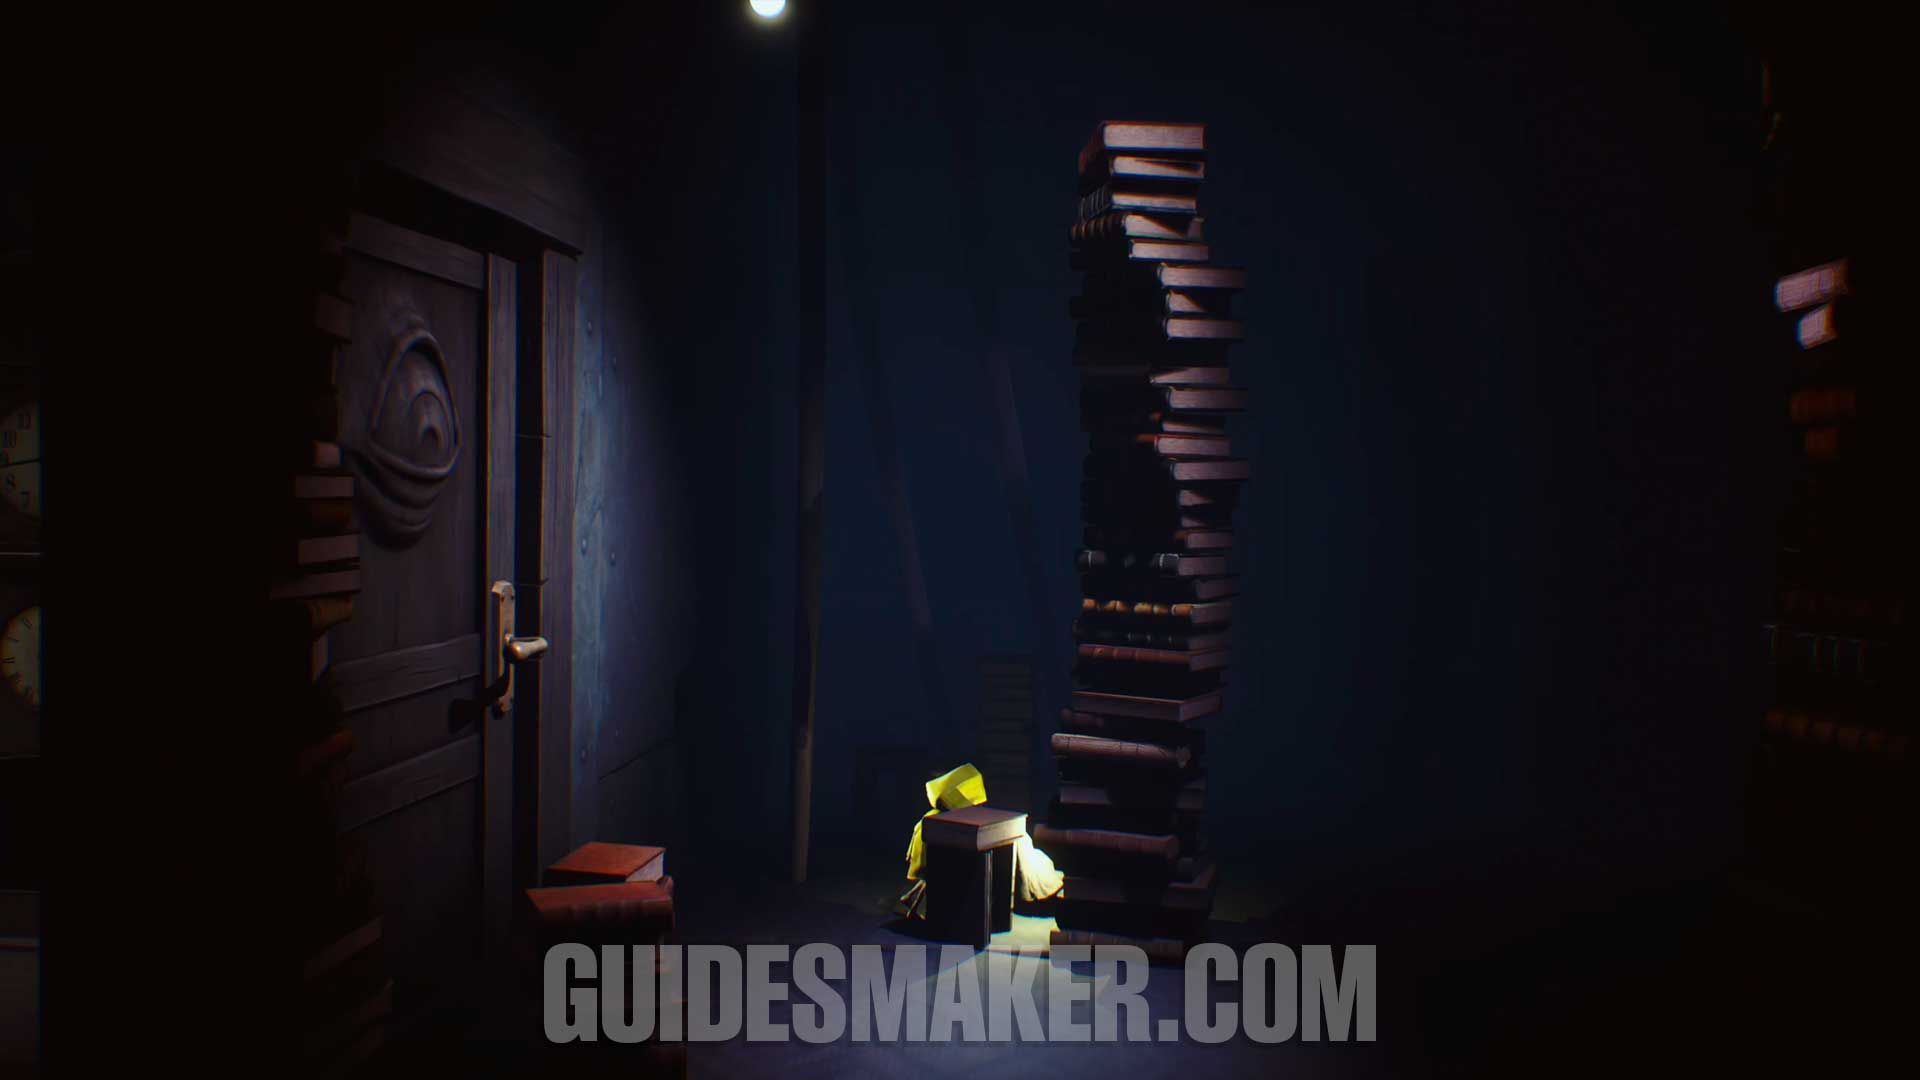
Gnome #6
When you reach the room with the stacked books, go under the bench to make the gnome run out. Right after that, you can find it at the first pile of books.
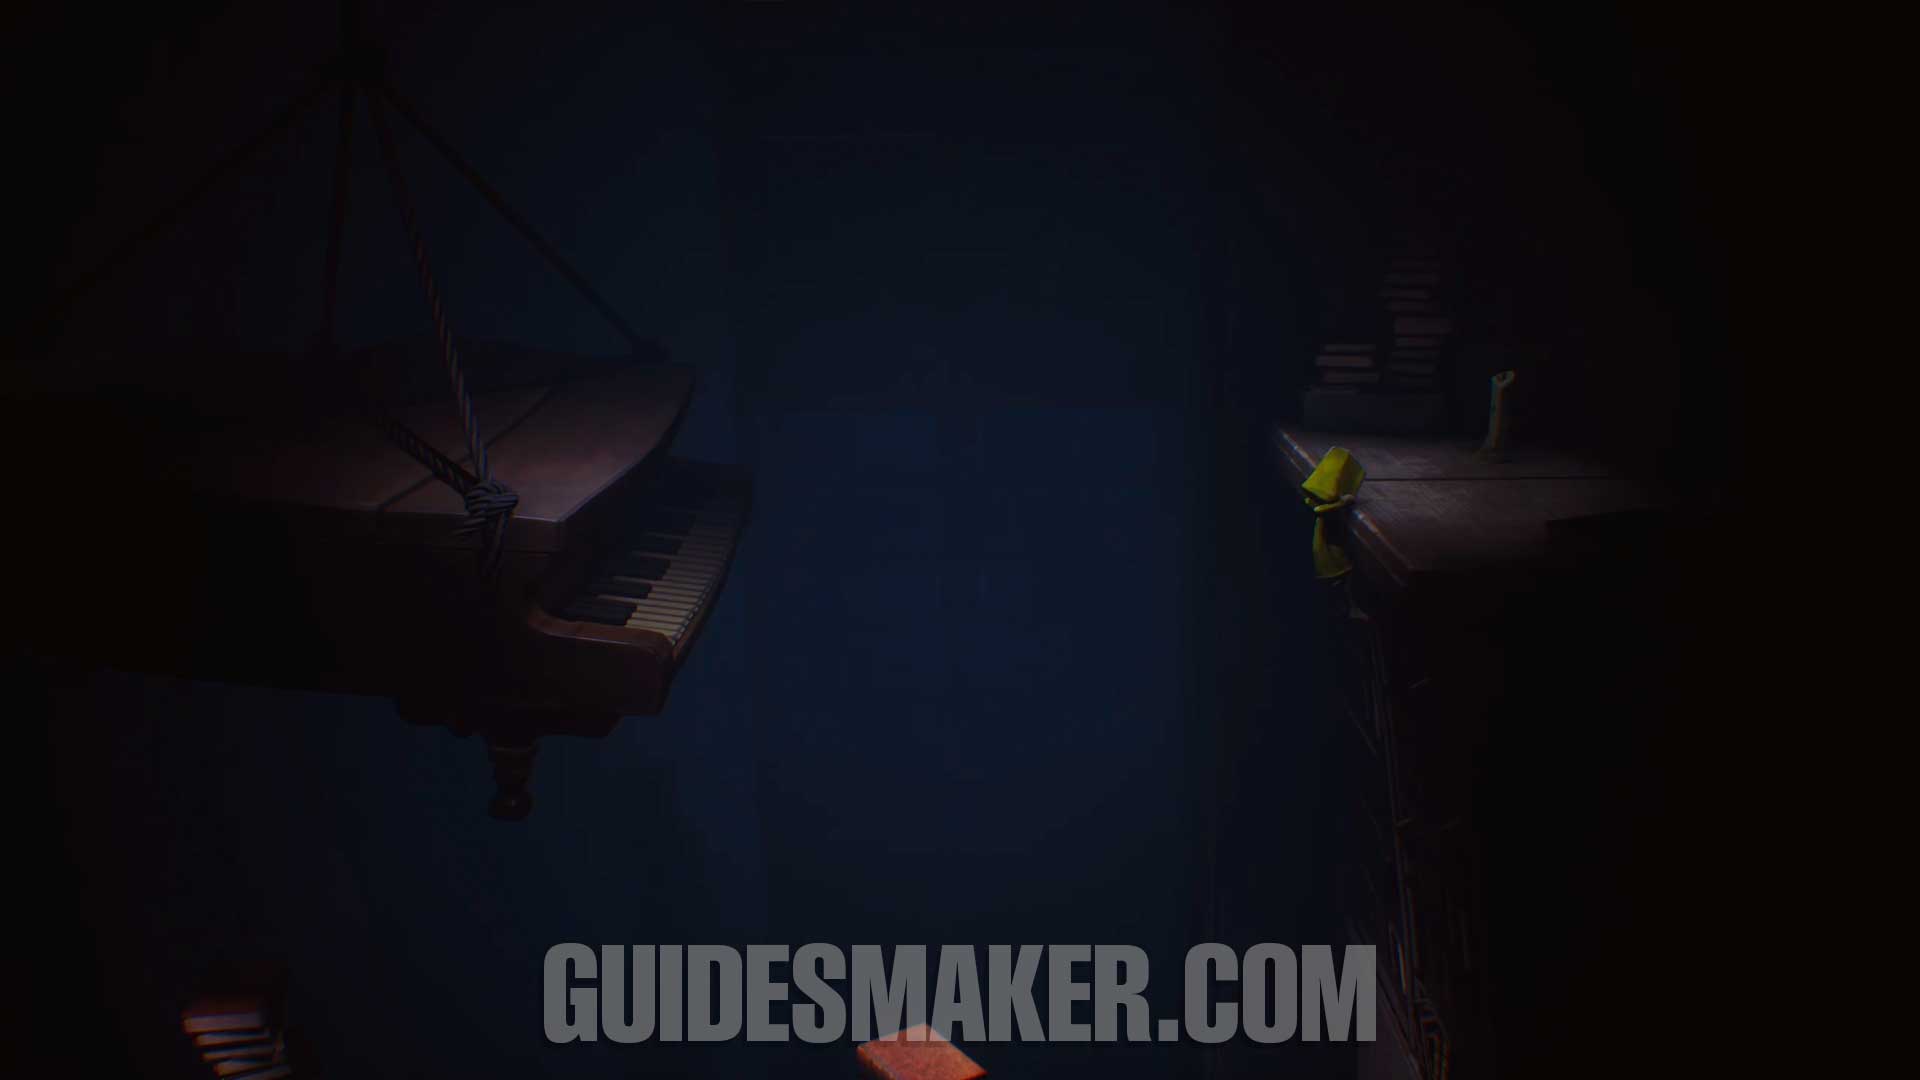
Light #16
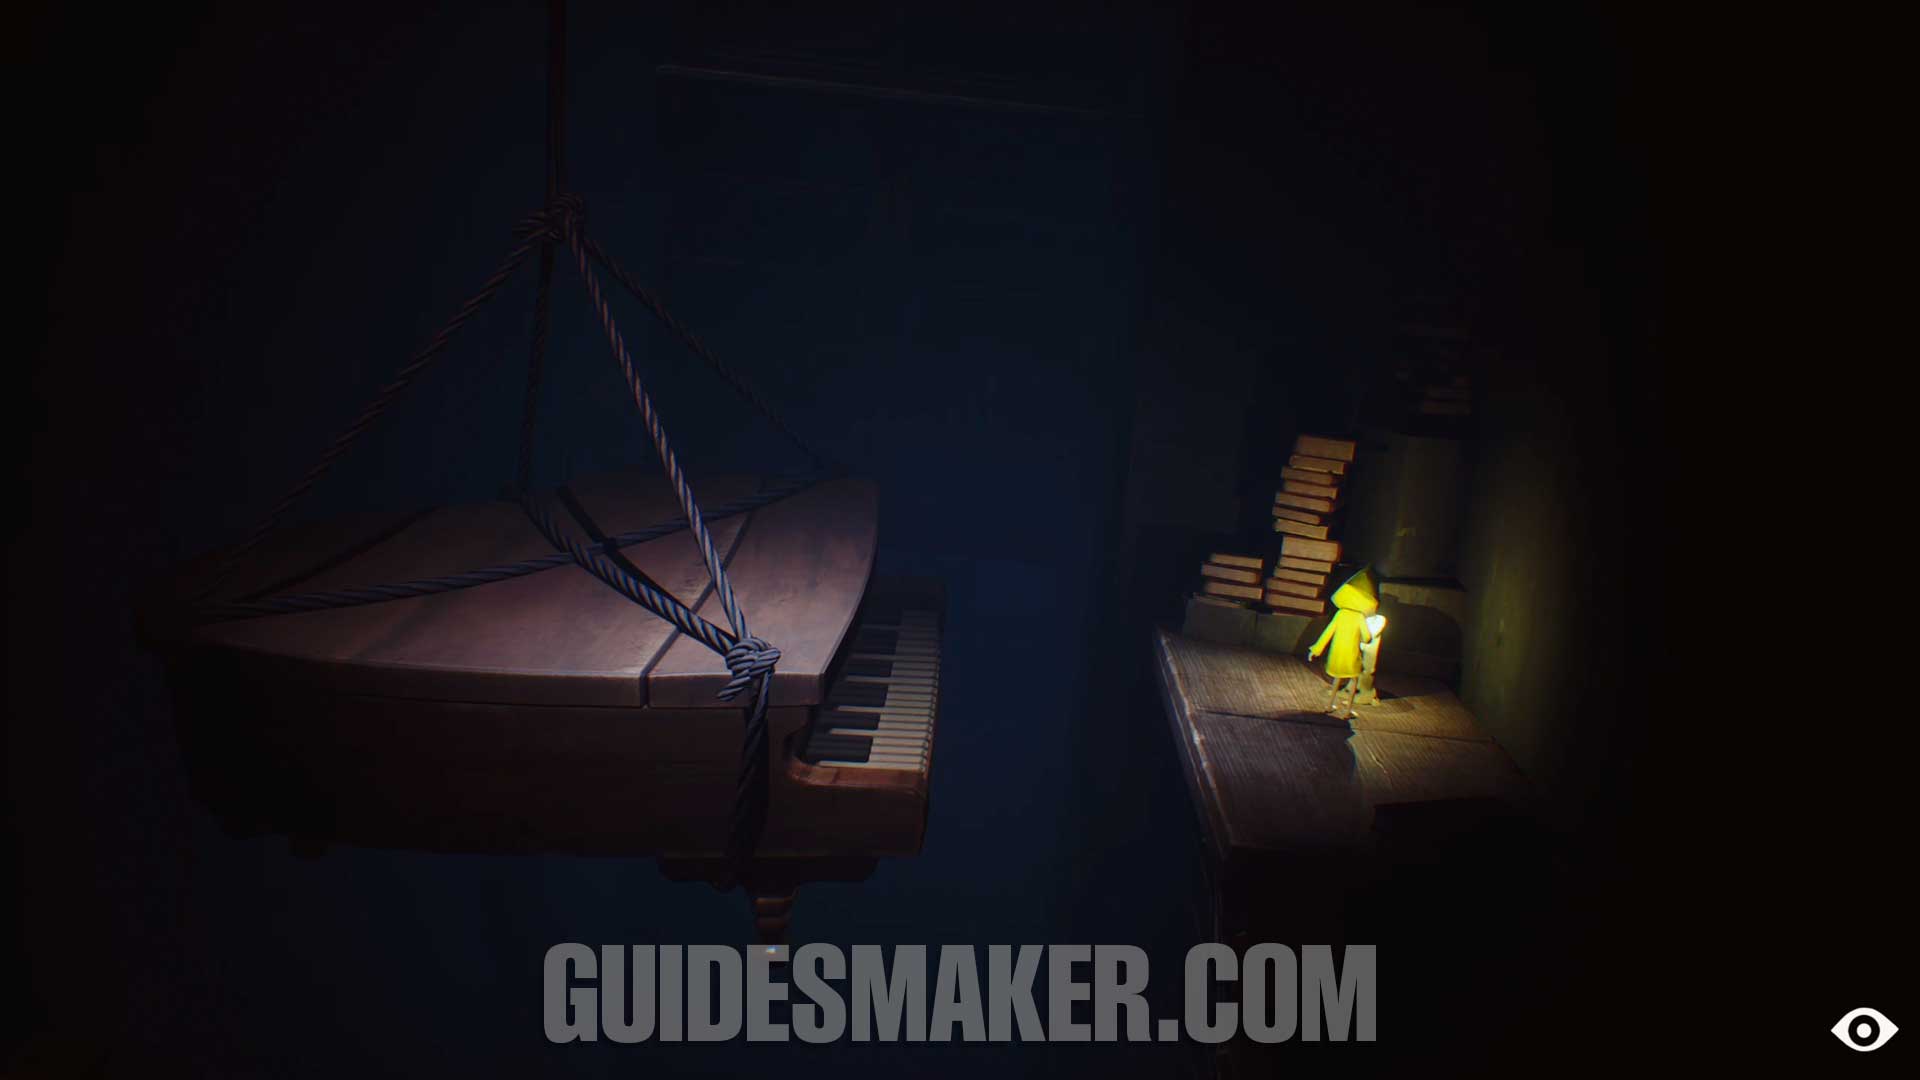
From the previous collectible, after climbing the bookshelf, this light point will be right in front of the hanging piano.
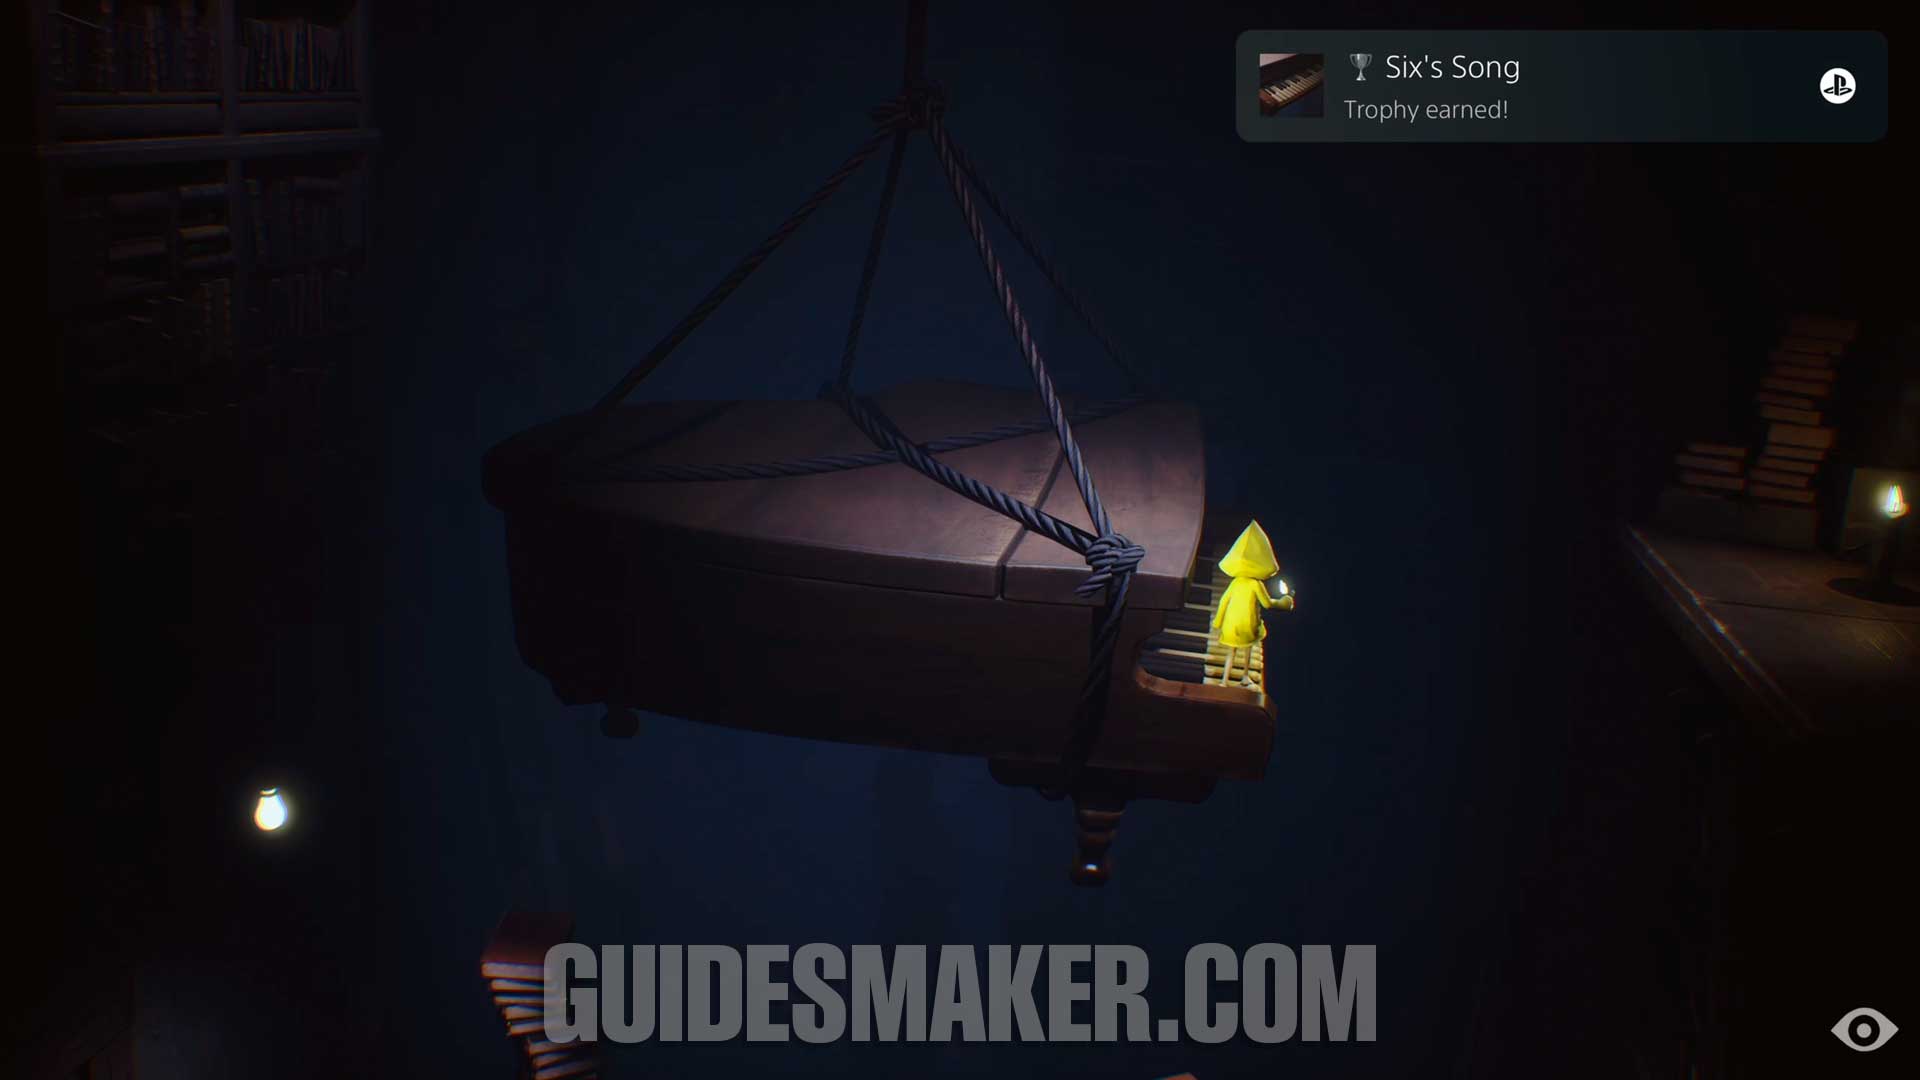
Trophy: Six's Song
From the previous collectible, walk across the piano keys from one side to the other to get the trophy.
Light #17
After passing the piano, climb up the stacks of books and several platforms to find this light point.
Light #18
From the previous collectible, climb down the bookshelf and this light point will be at the bottom of it.
Light #19
After getting the lever to raise the piano, go across the piano and this light point will be right in front of you.
Light #20
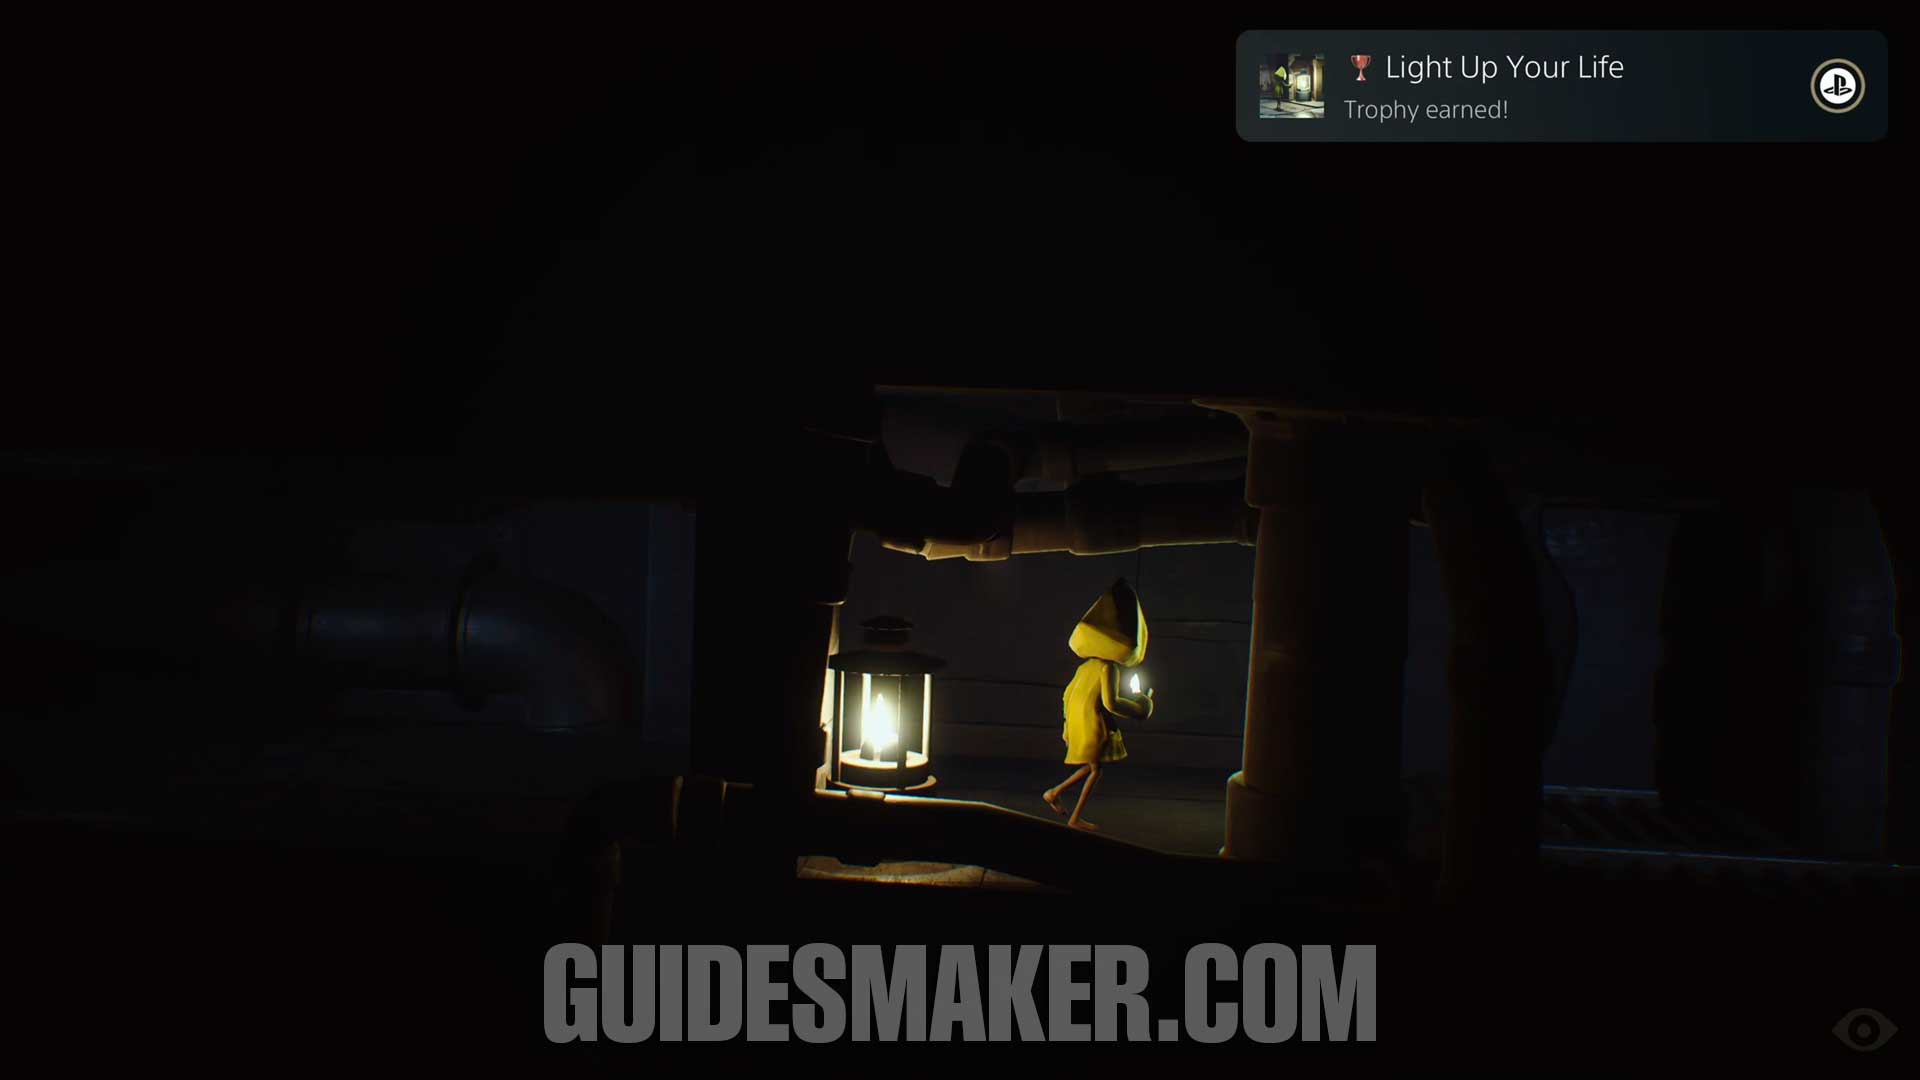
After passing through a section where you have to push a cart and open a door, you will be inside the ducts again. This light point will be right in front of you, before the monster in this area appears. If you have lit all 20 light points up to this point, you will receive the ‘Light Up Your Life’ trophy. In total, there are 30 light points in the game; the other 10 are optional and will be shown in the next chapters.
You can access the Chapter 2: The Lair video guide here.
CHAPTER 3: THE KITCHEN
Statue #5
At the beginning of Chapter 3, you will push a platform to climb over it. After passing this platform, instead of continuing forward, turn left and drop into the hole to find this statue on top of a bench.
Trophy: Elusive
To get this trophy, you have to almost be caught by the monster several times. As soon as it’s about to capture you, use the slide to escape. Chapter 3 is the best place to earn this trophy.
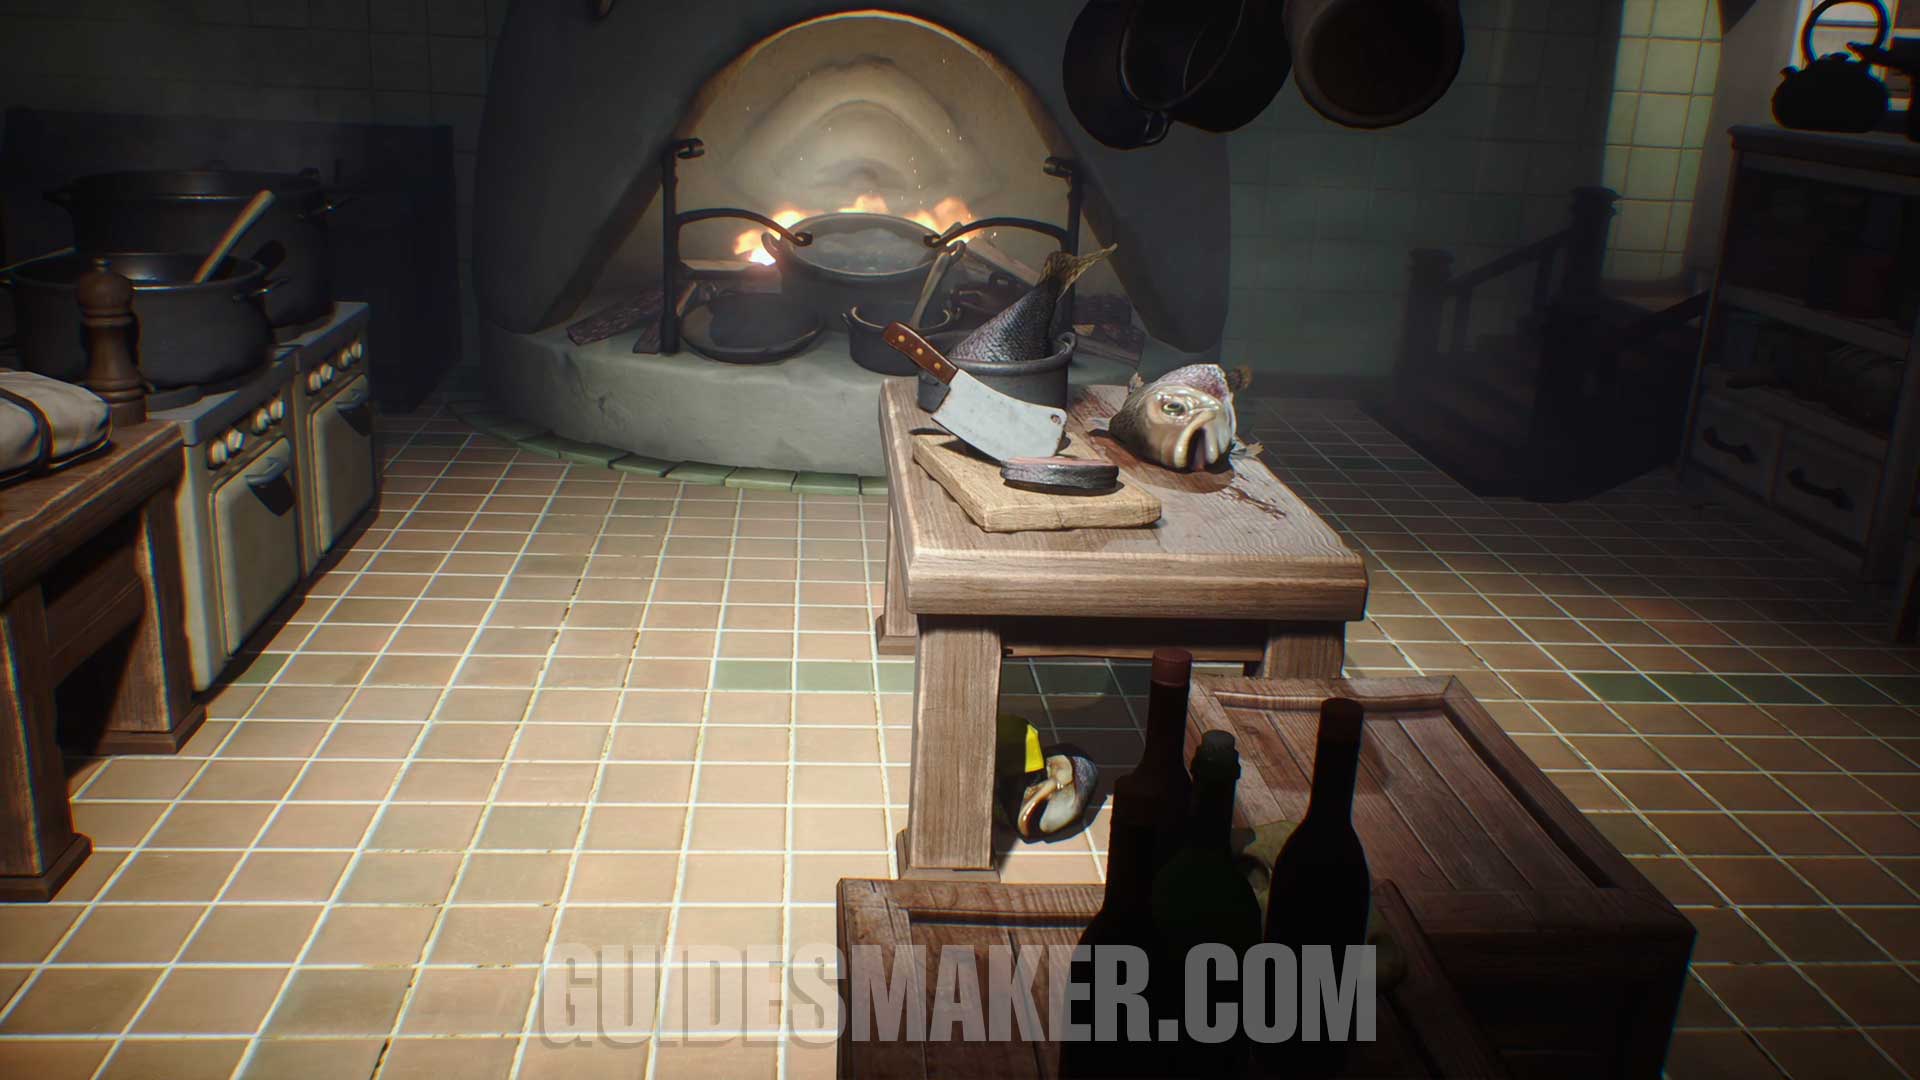
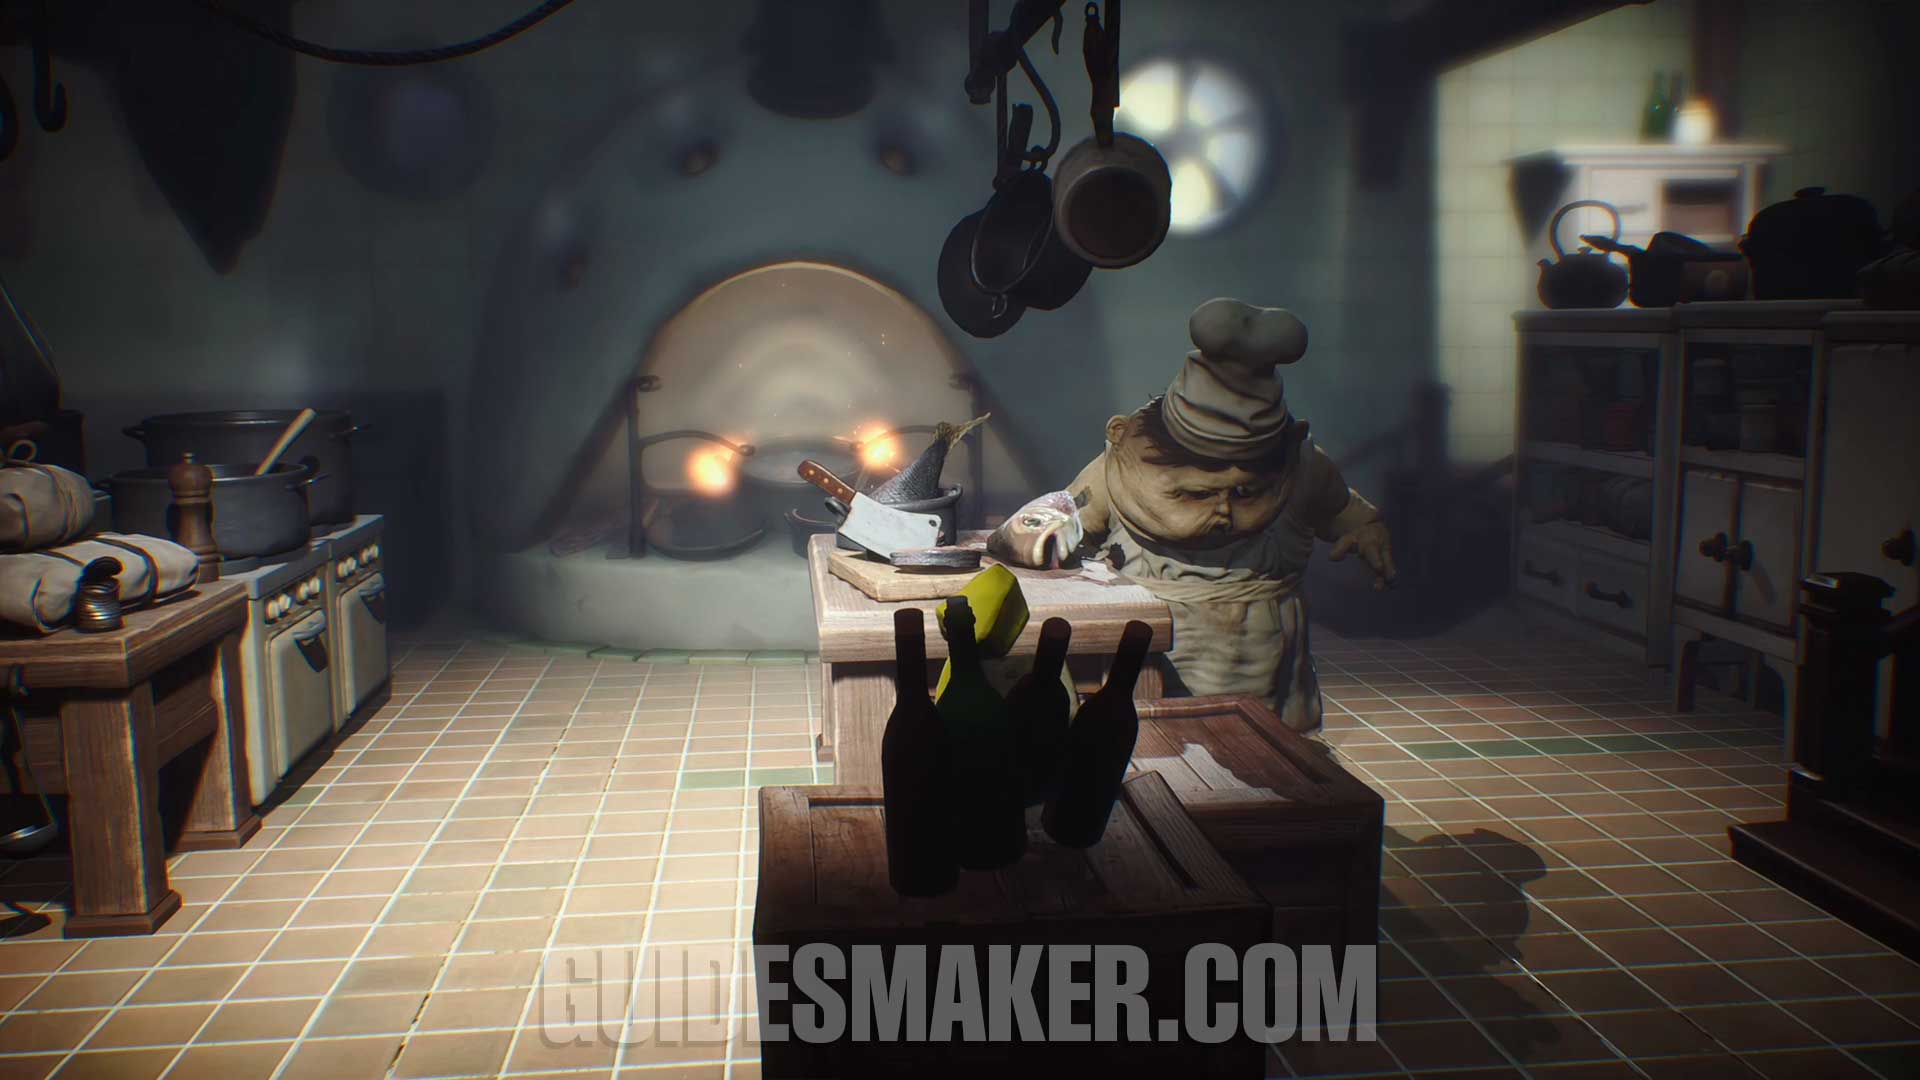
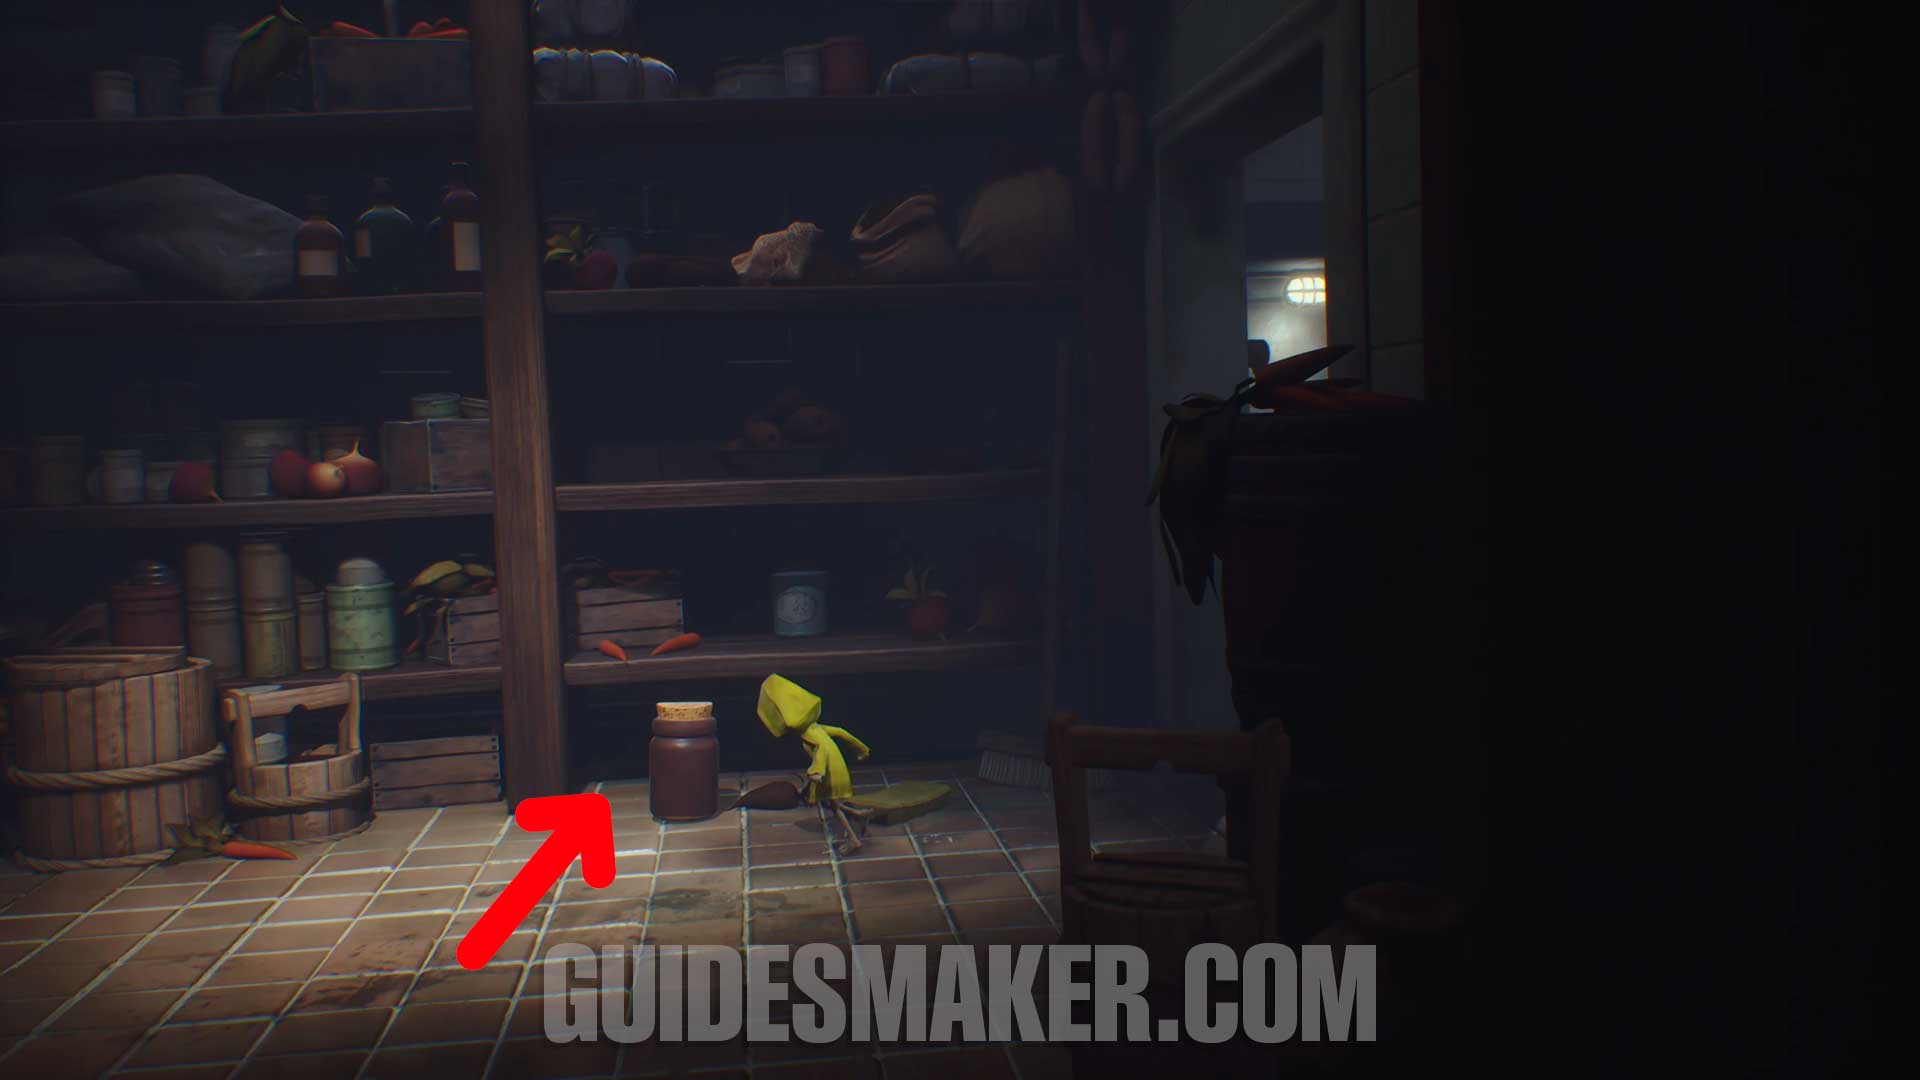
Trophy: Kitchen Hand
To get this trophy, you have to throw 3 different ingredients into the cauldron. Pick up the Carrot, the Fish Head, and the Cheese, and throw them into the cauldron to obtain the trophy.
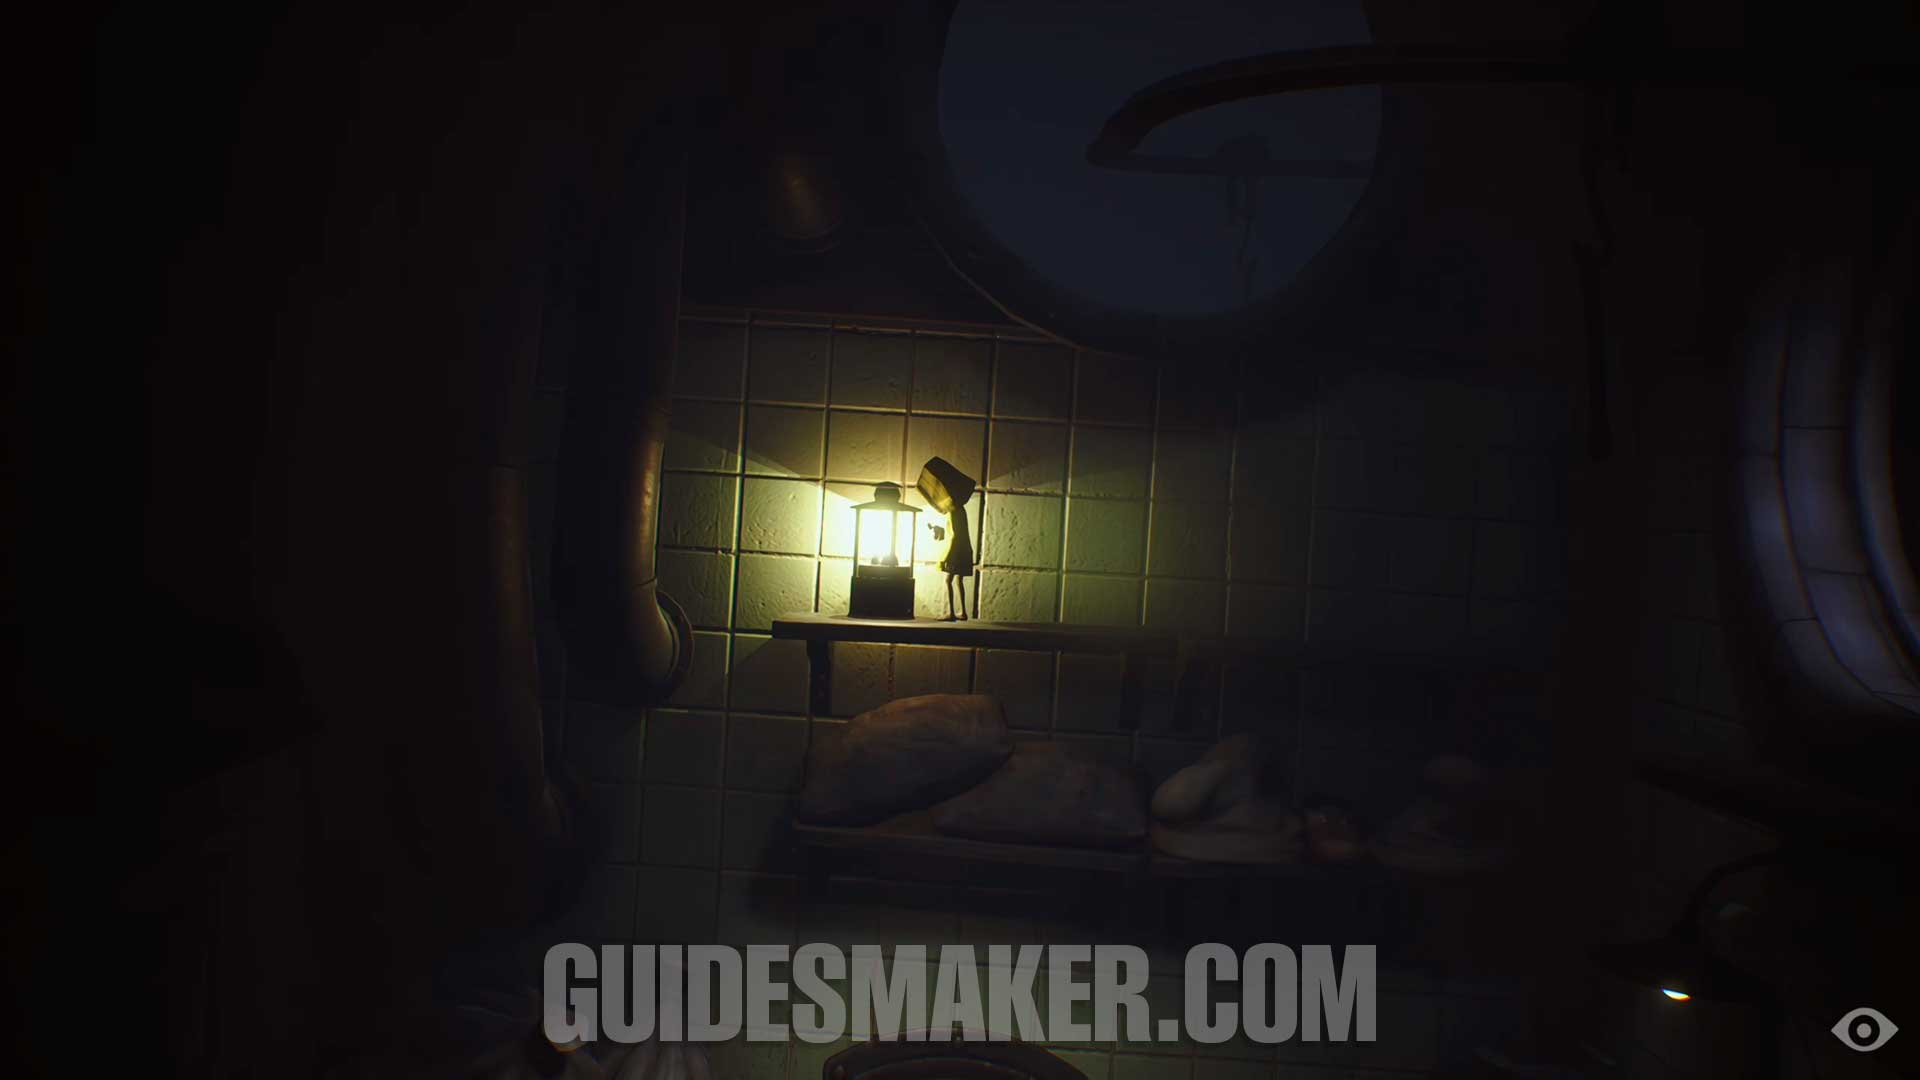
Light #21
When climbing the cabinet to proceed to the next area, this light point will be directly in front of you.
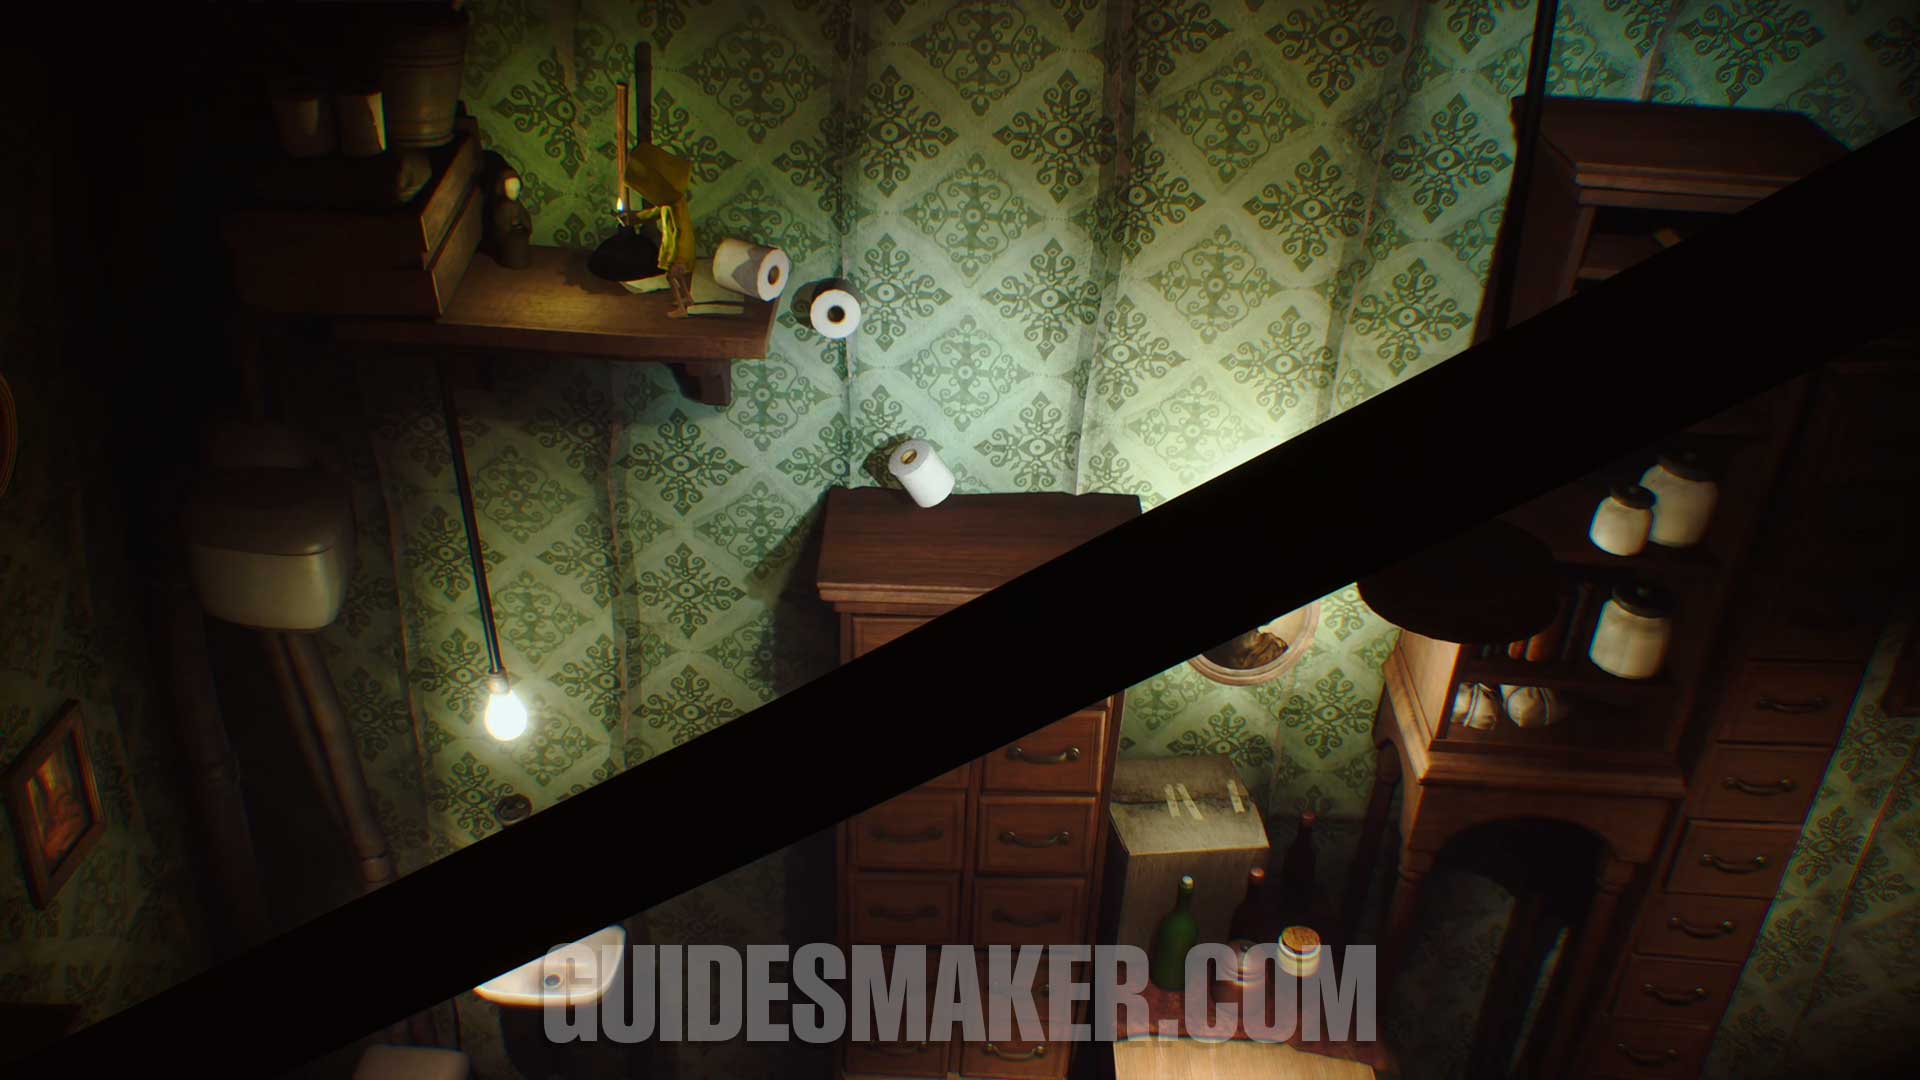
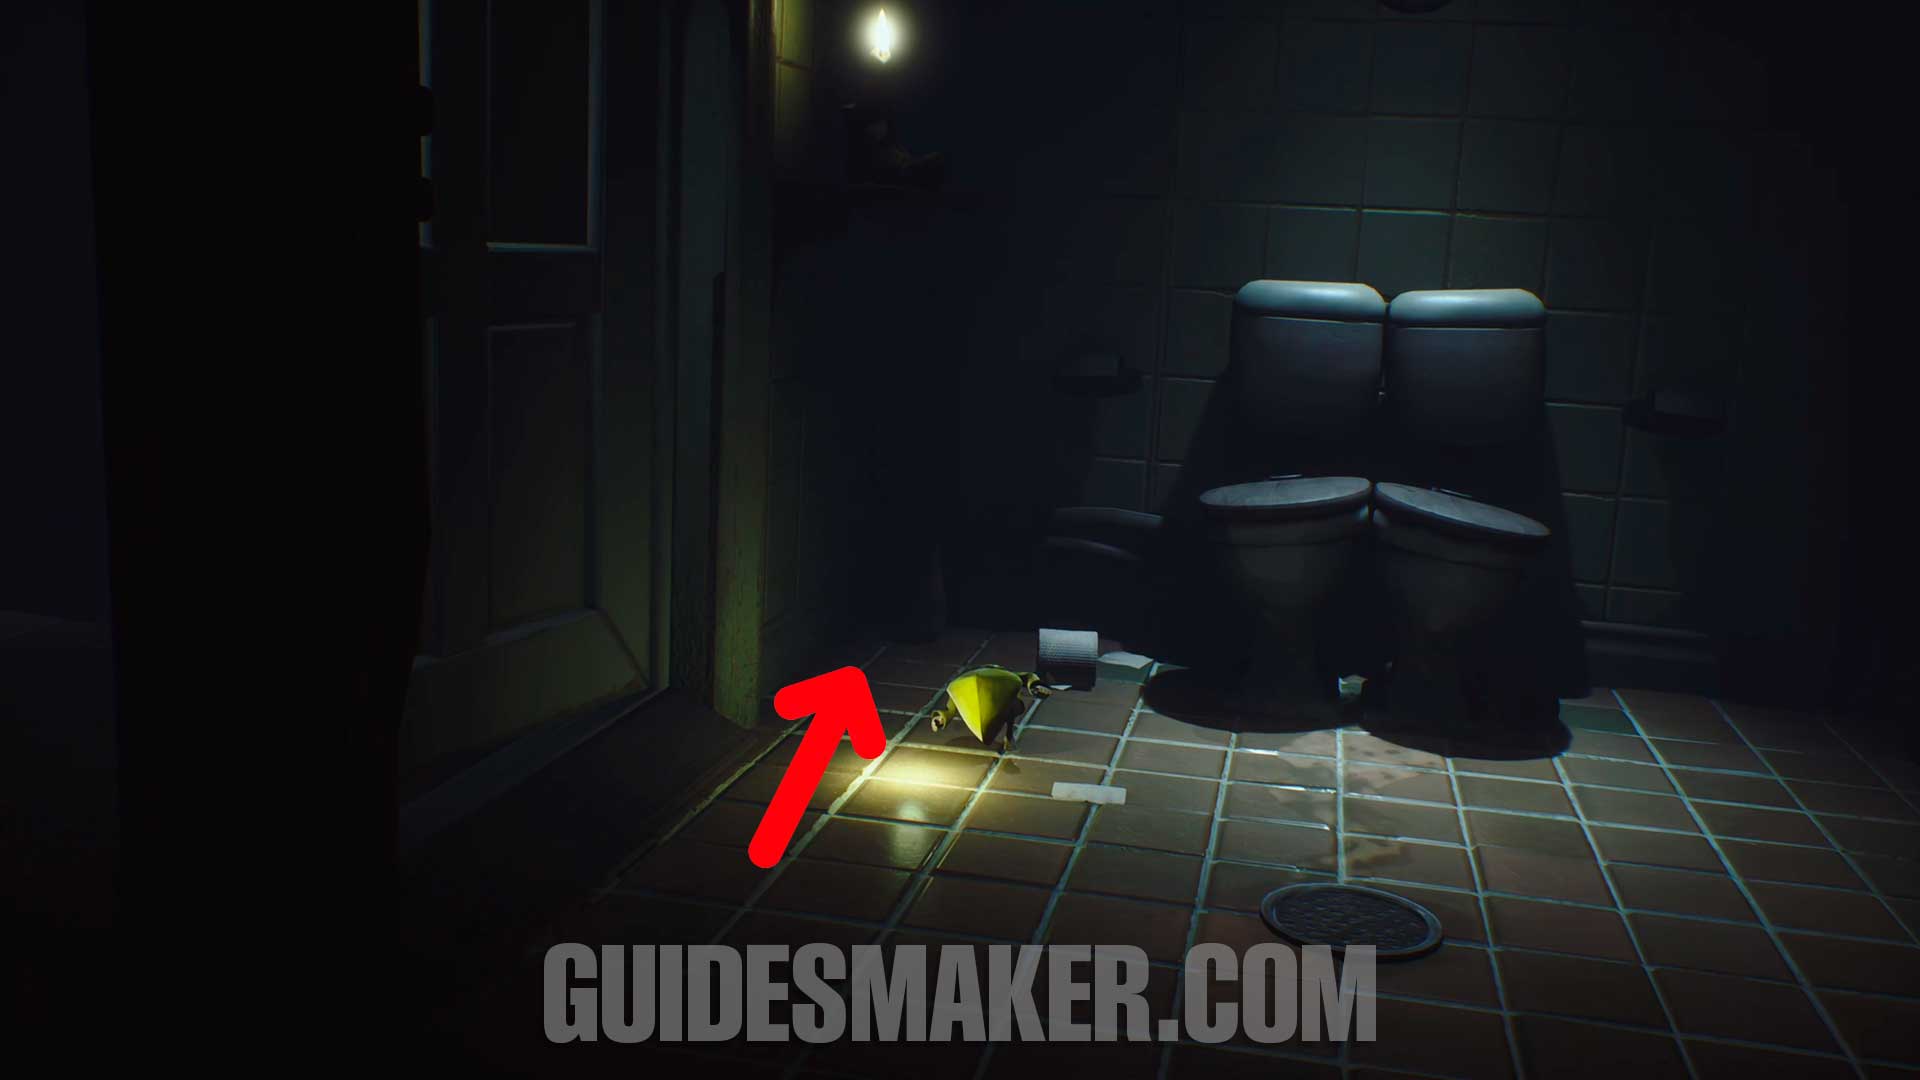
Light #22 + Gnome #7
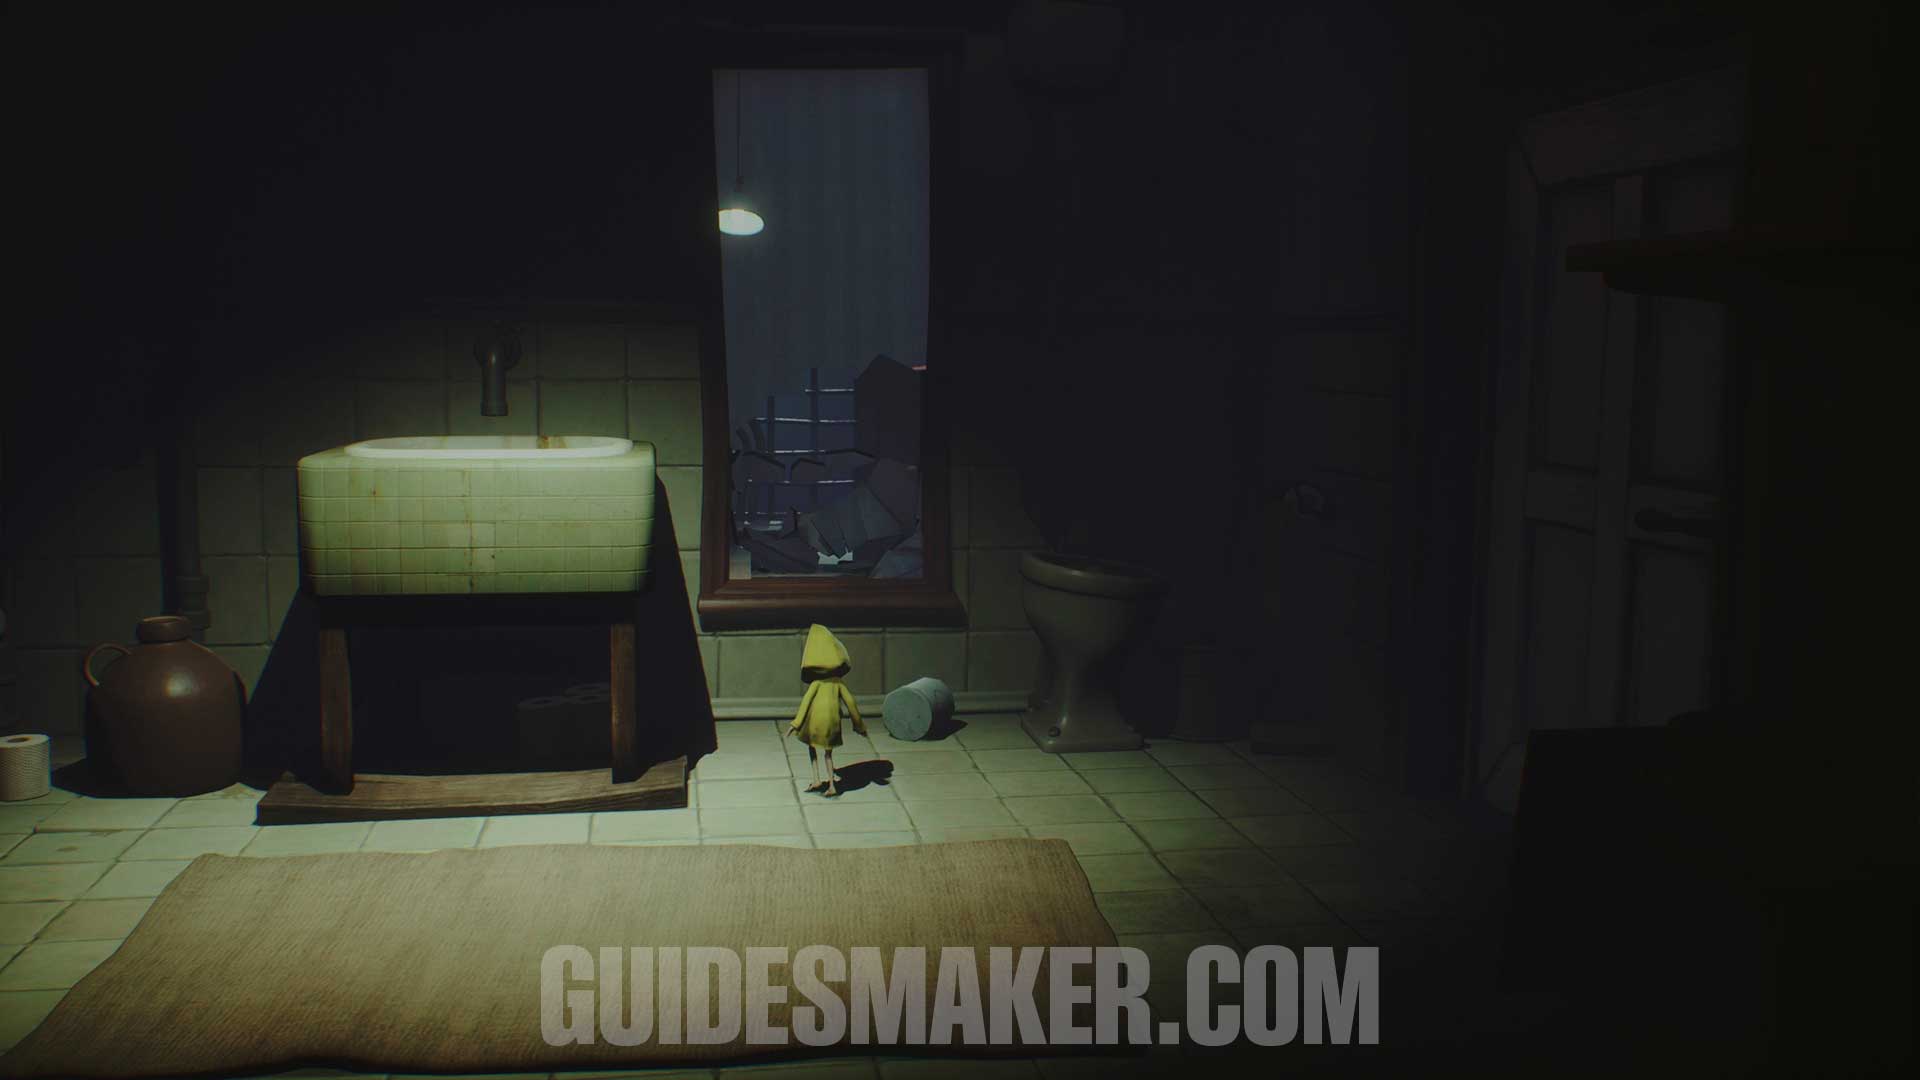
After getting the key to open the elevator, instead of proceeding with the story via the elevator, go back to the bathroom and light the light point. Right below it, you will find another Gnome.
Gnome #8
After entering the elevator and returning to the lower part of this area, this gnome will be inside a pot. Break the pot to find it.
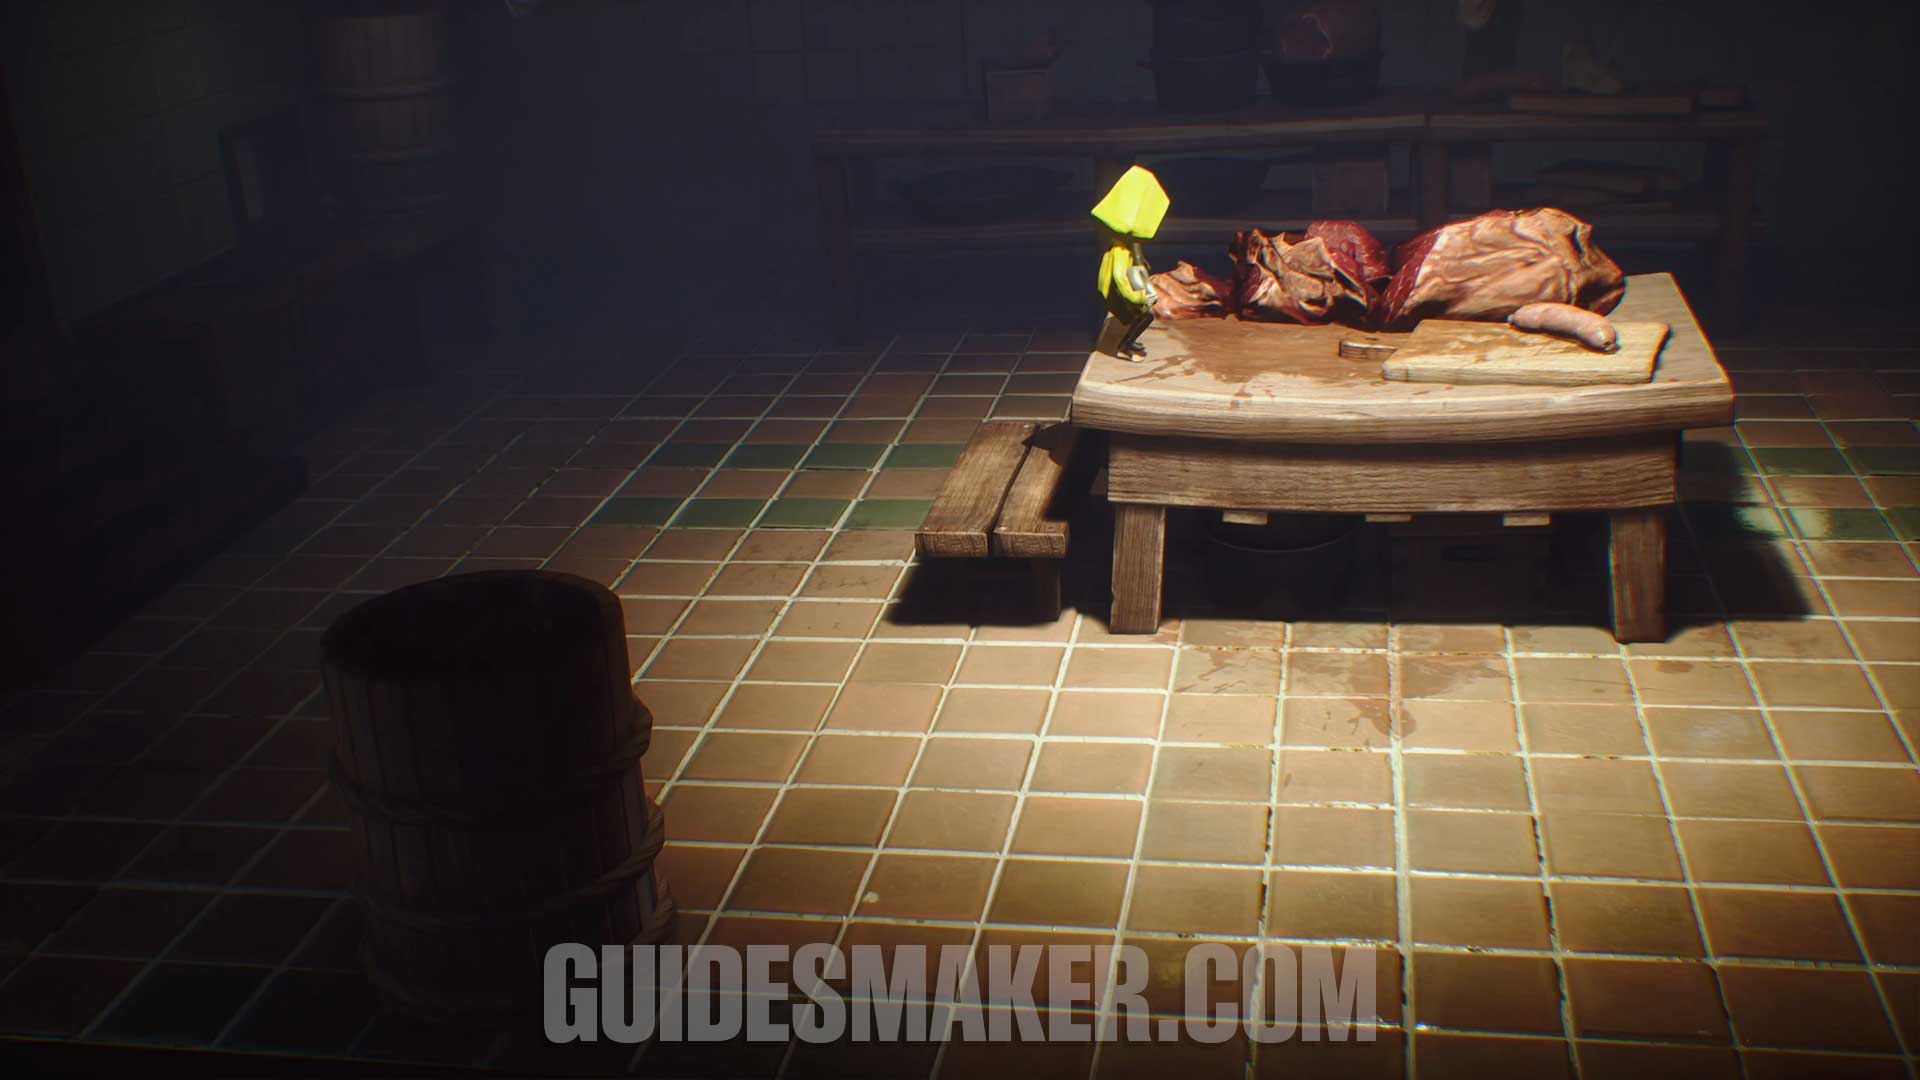
Gnome #9
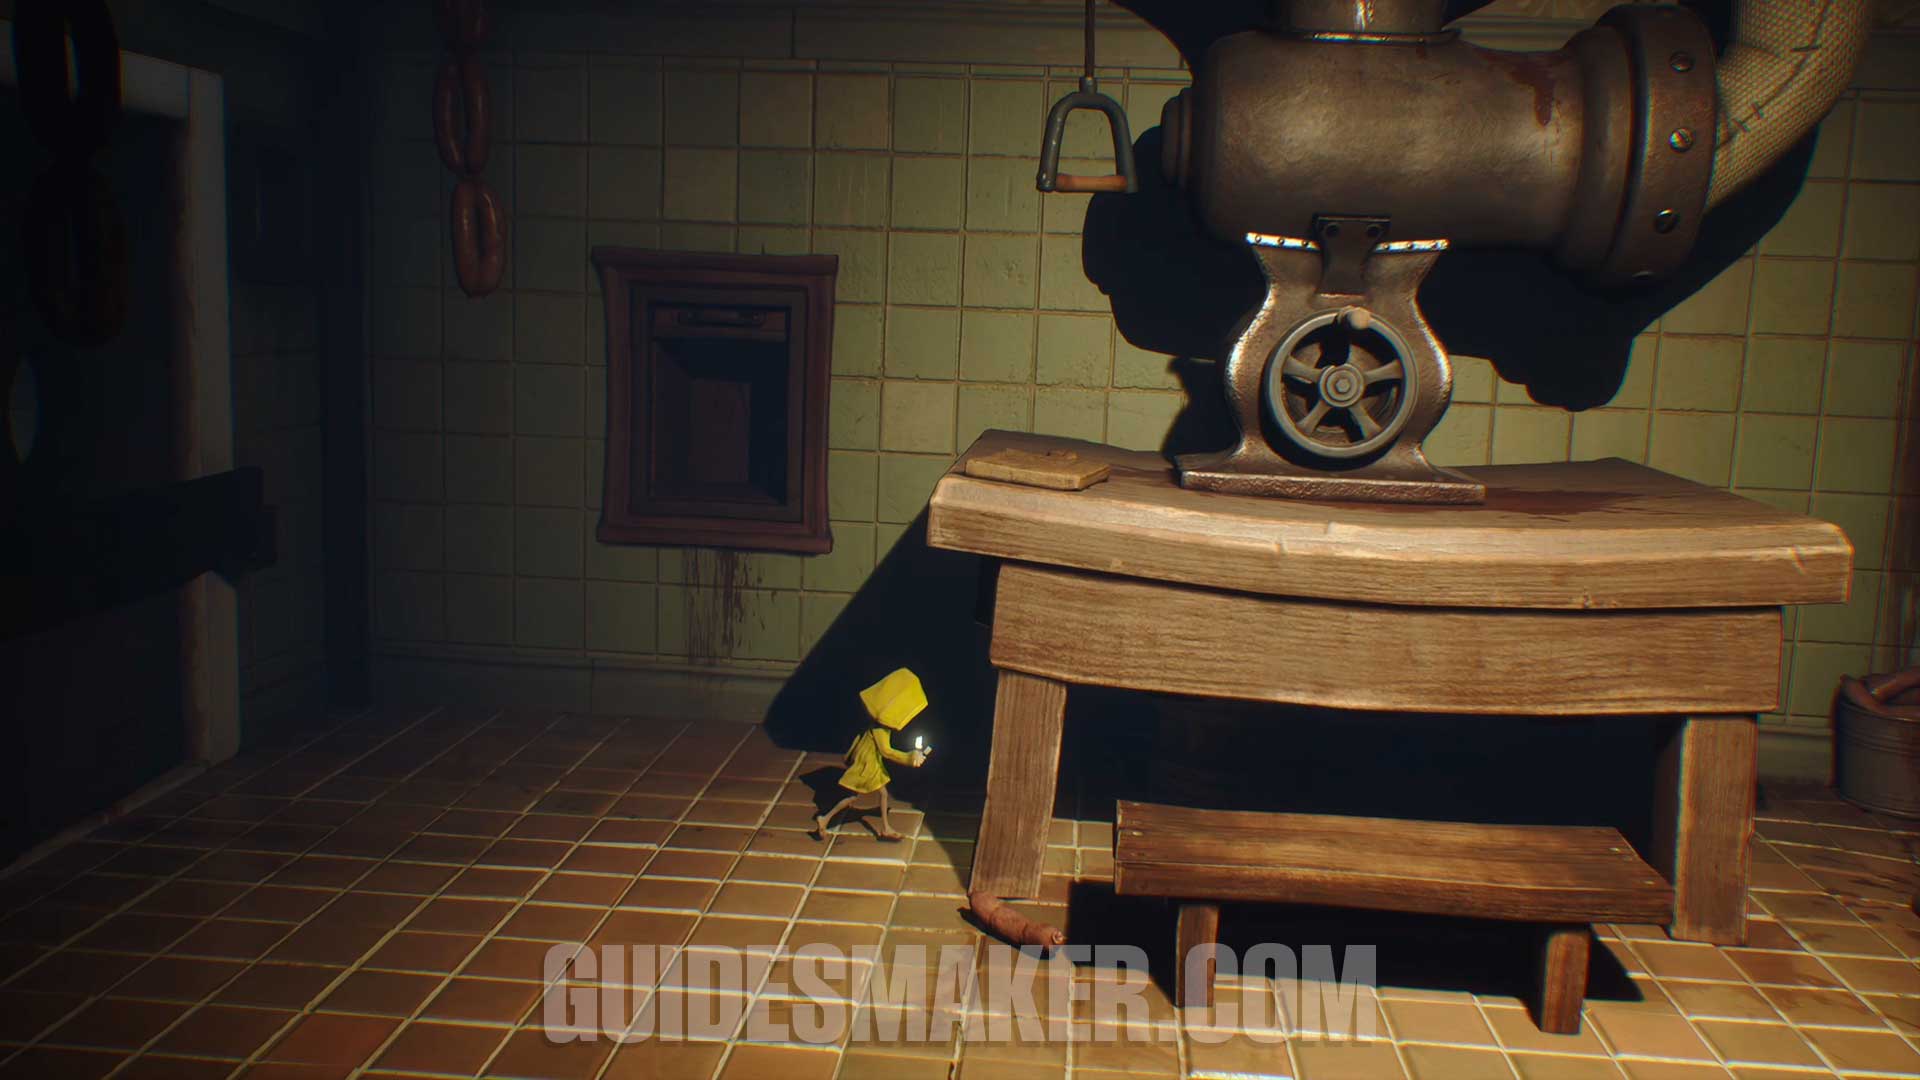
After using the key on the door, you can find the next gnome under the meat grinder.
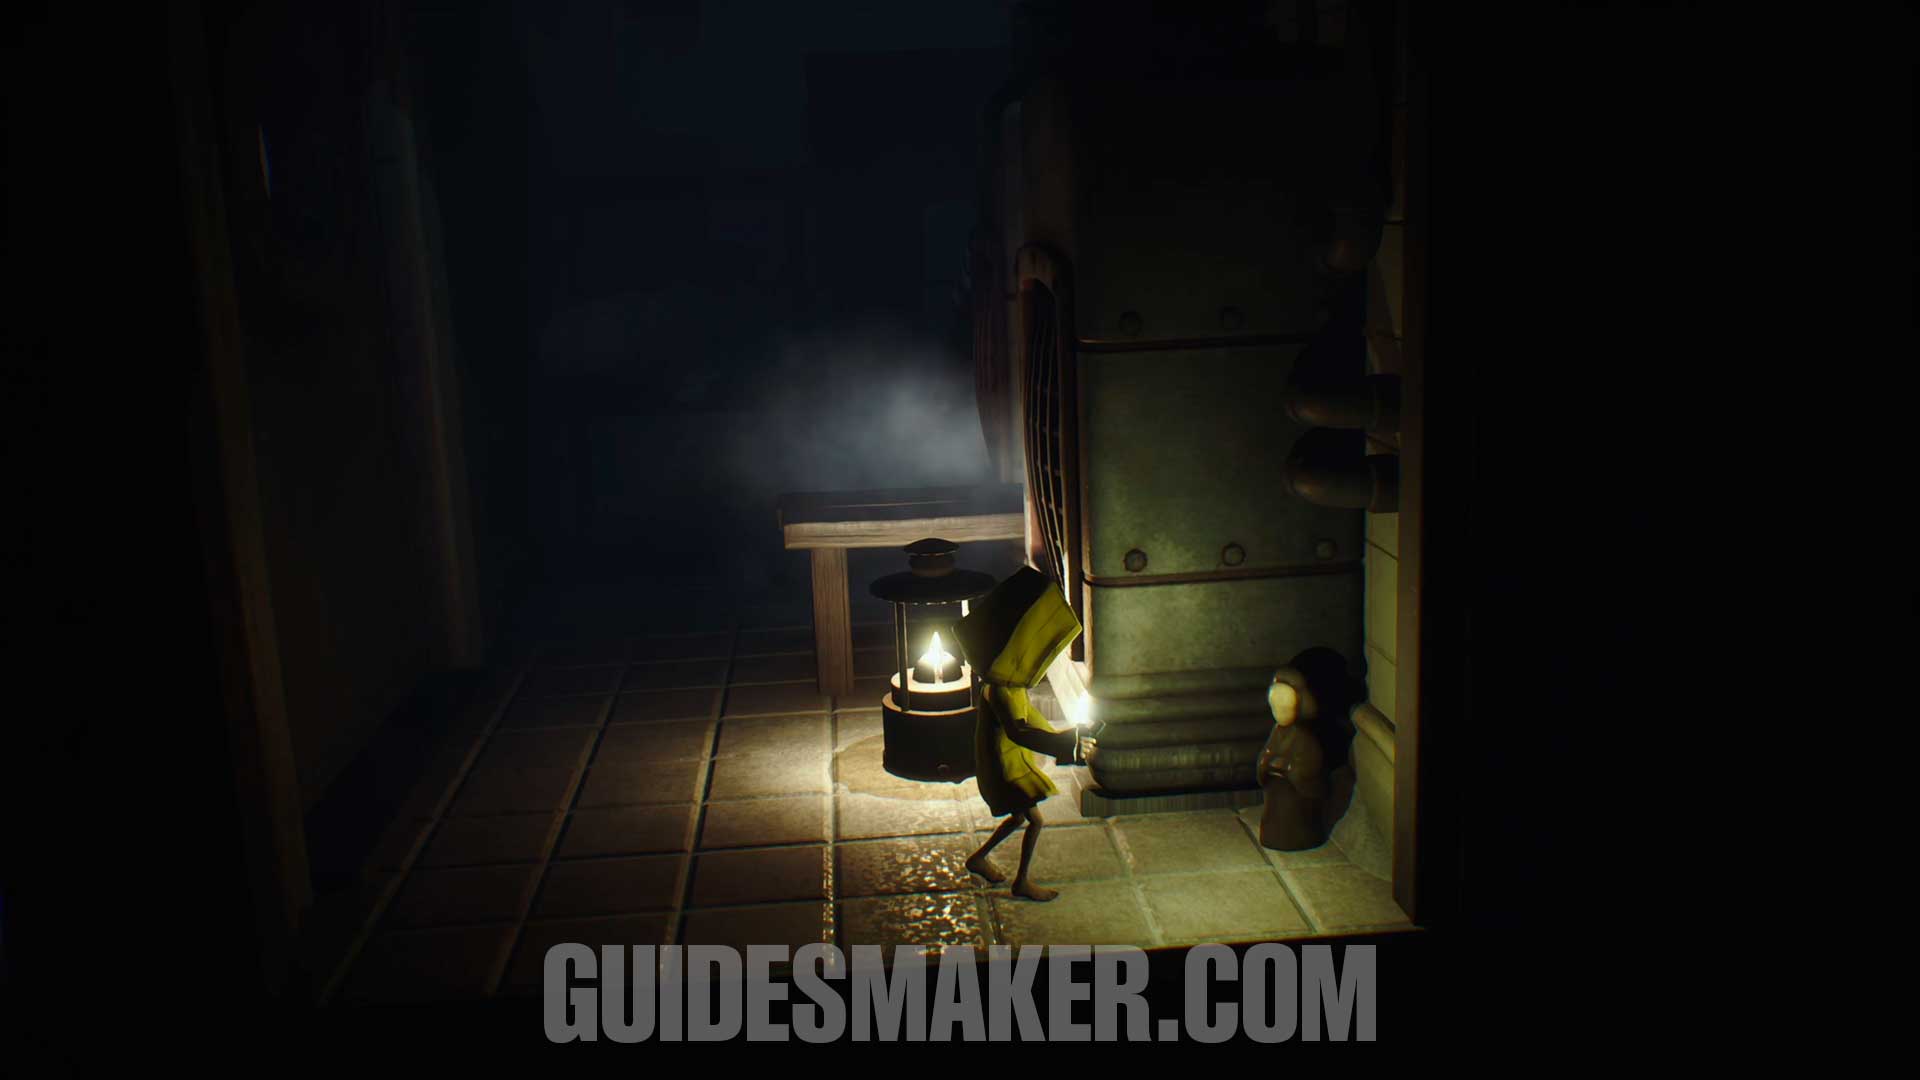
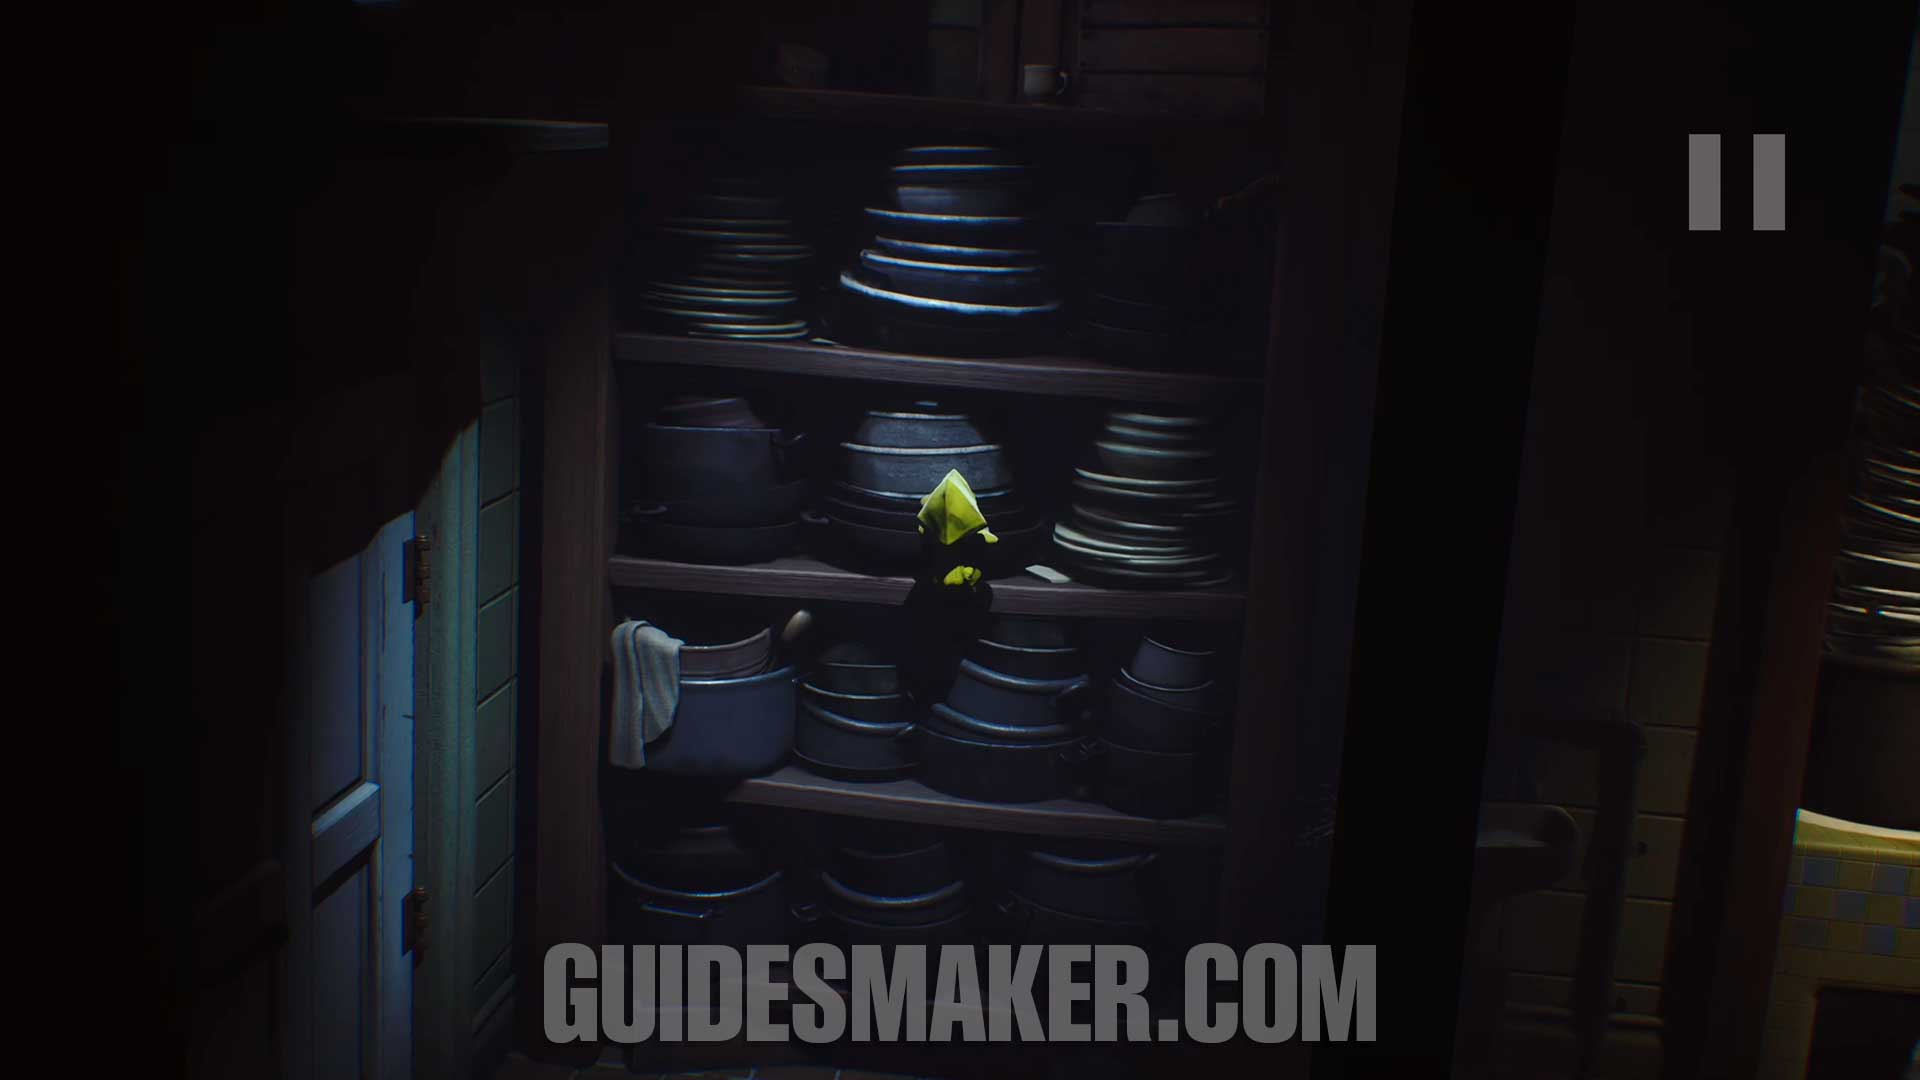
Light #23 + Statue #6
After using the key on the door, you can find the next gnome under the meat grinder.
Light #24
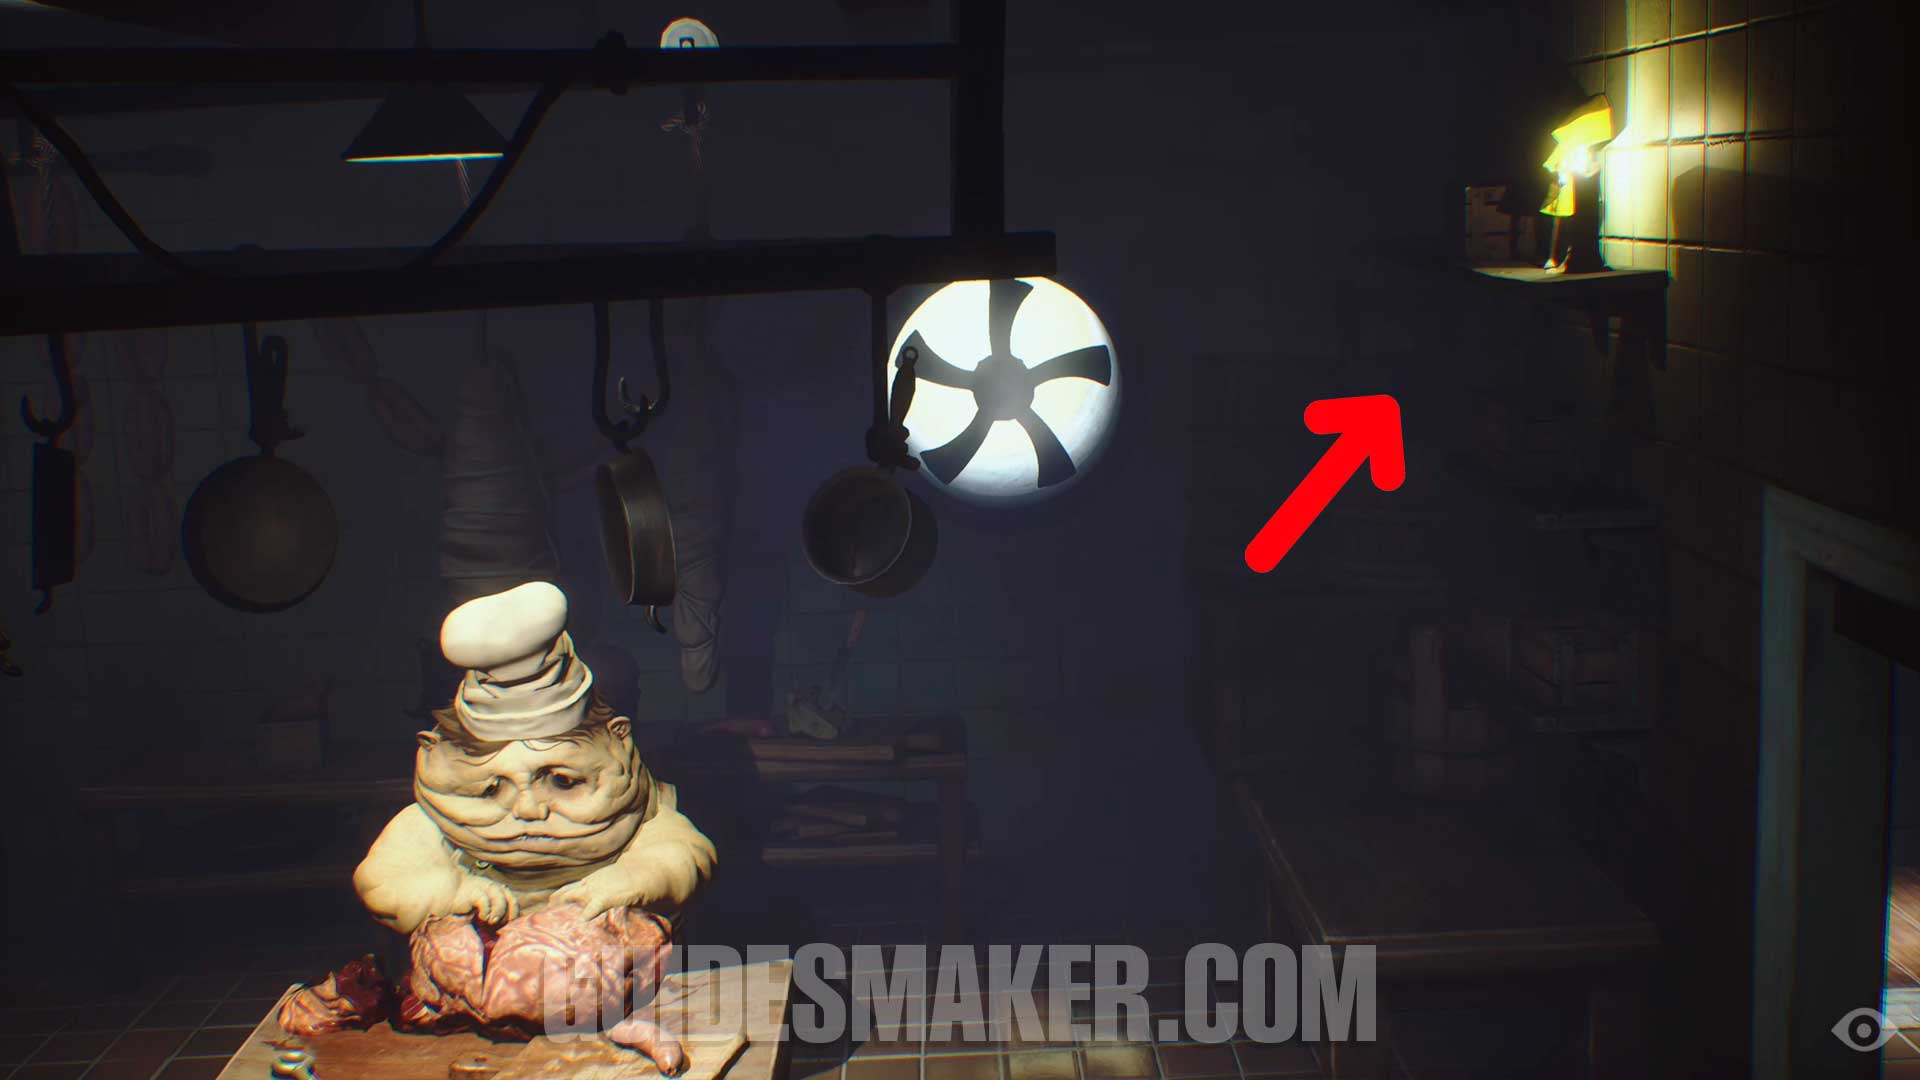
After taking the elevator up again, you will have to hide from the monster. After that, climb onto the shelves on the right side of the kitchen to activate this light point.
Statue #7
After luring the monster to get the key on the kitchen table, take the elevator down, and after falling through the duct, you can find this statue in the left corner.
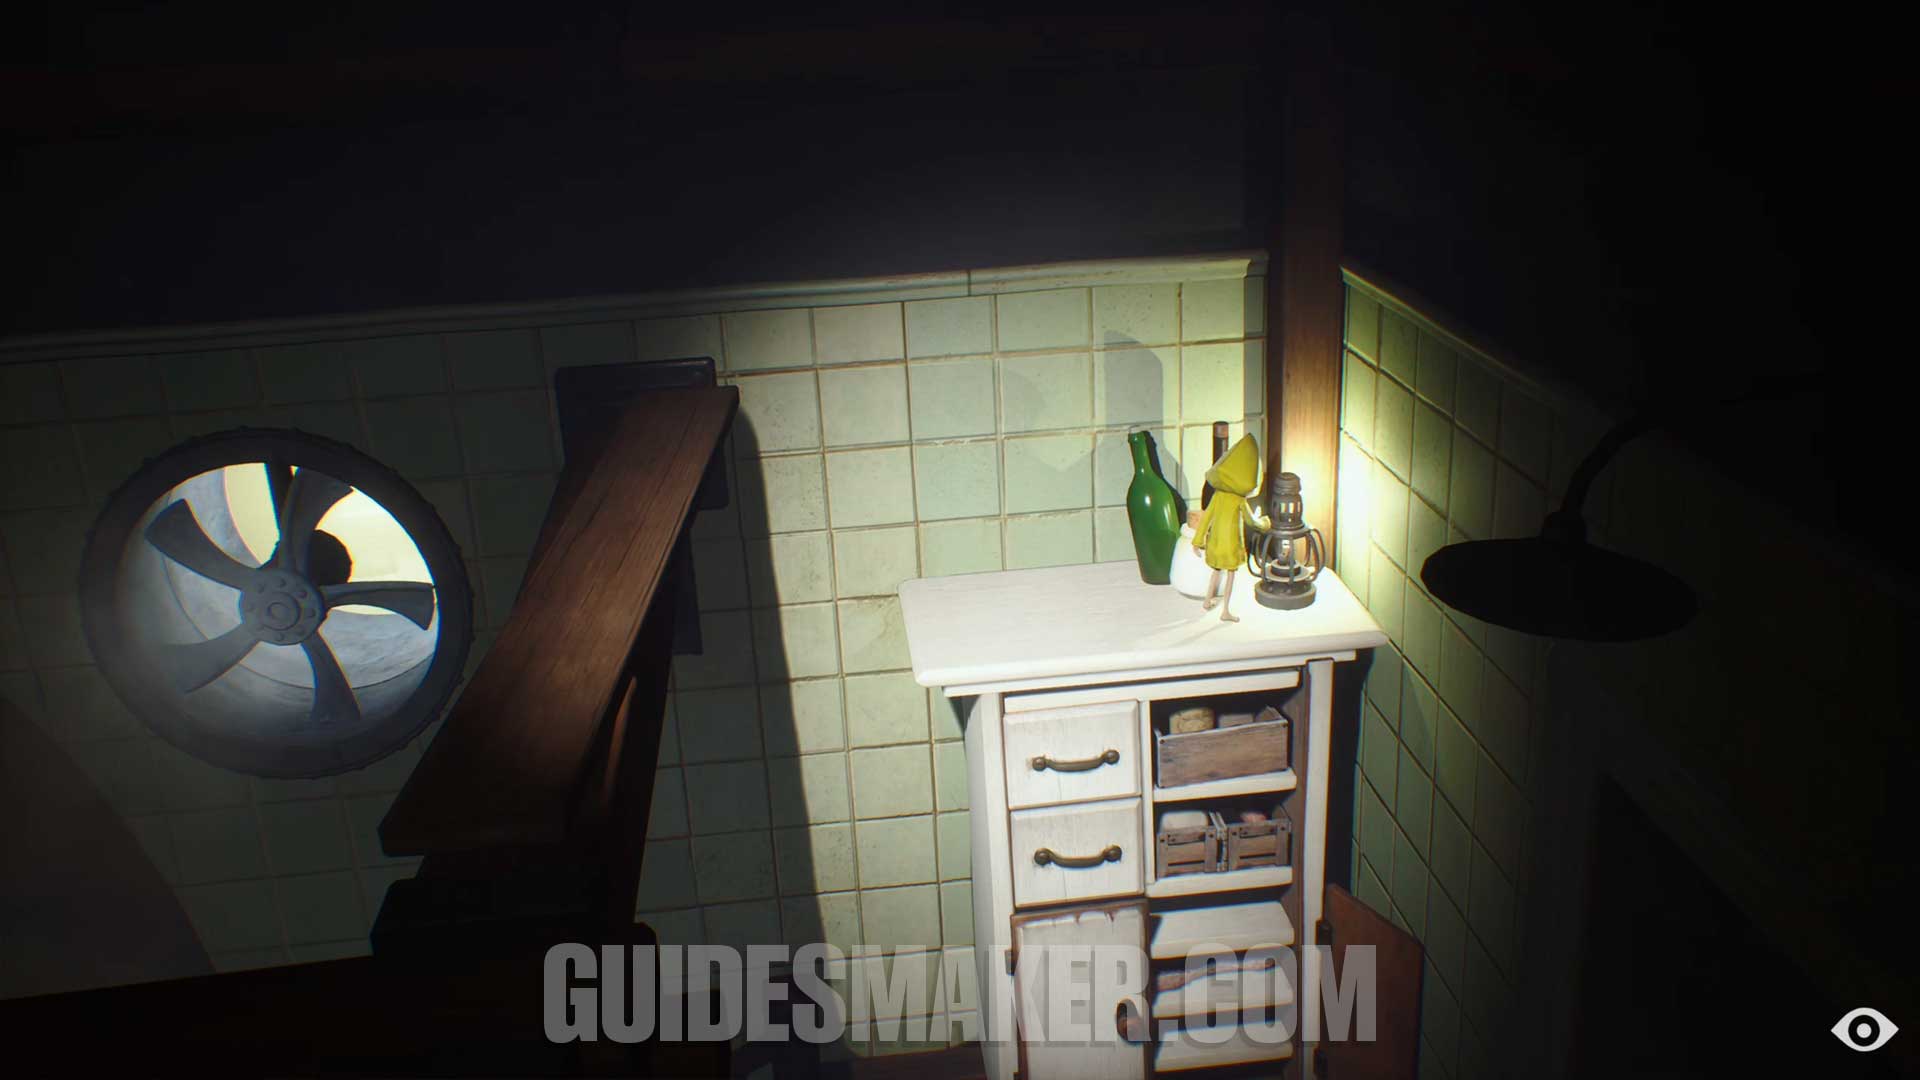
Light #25
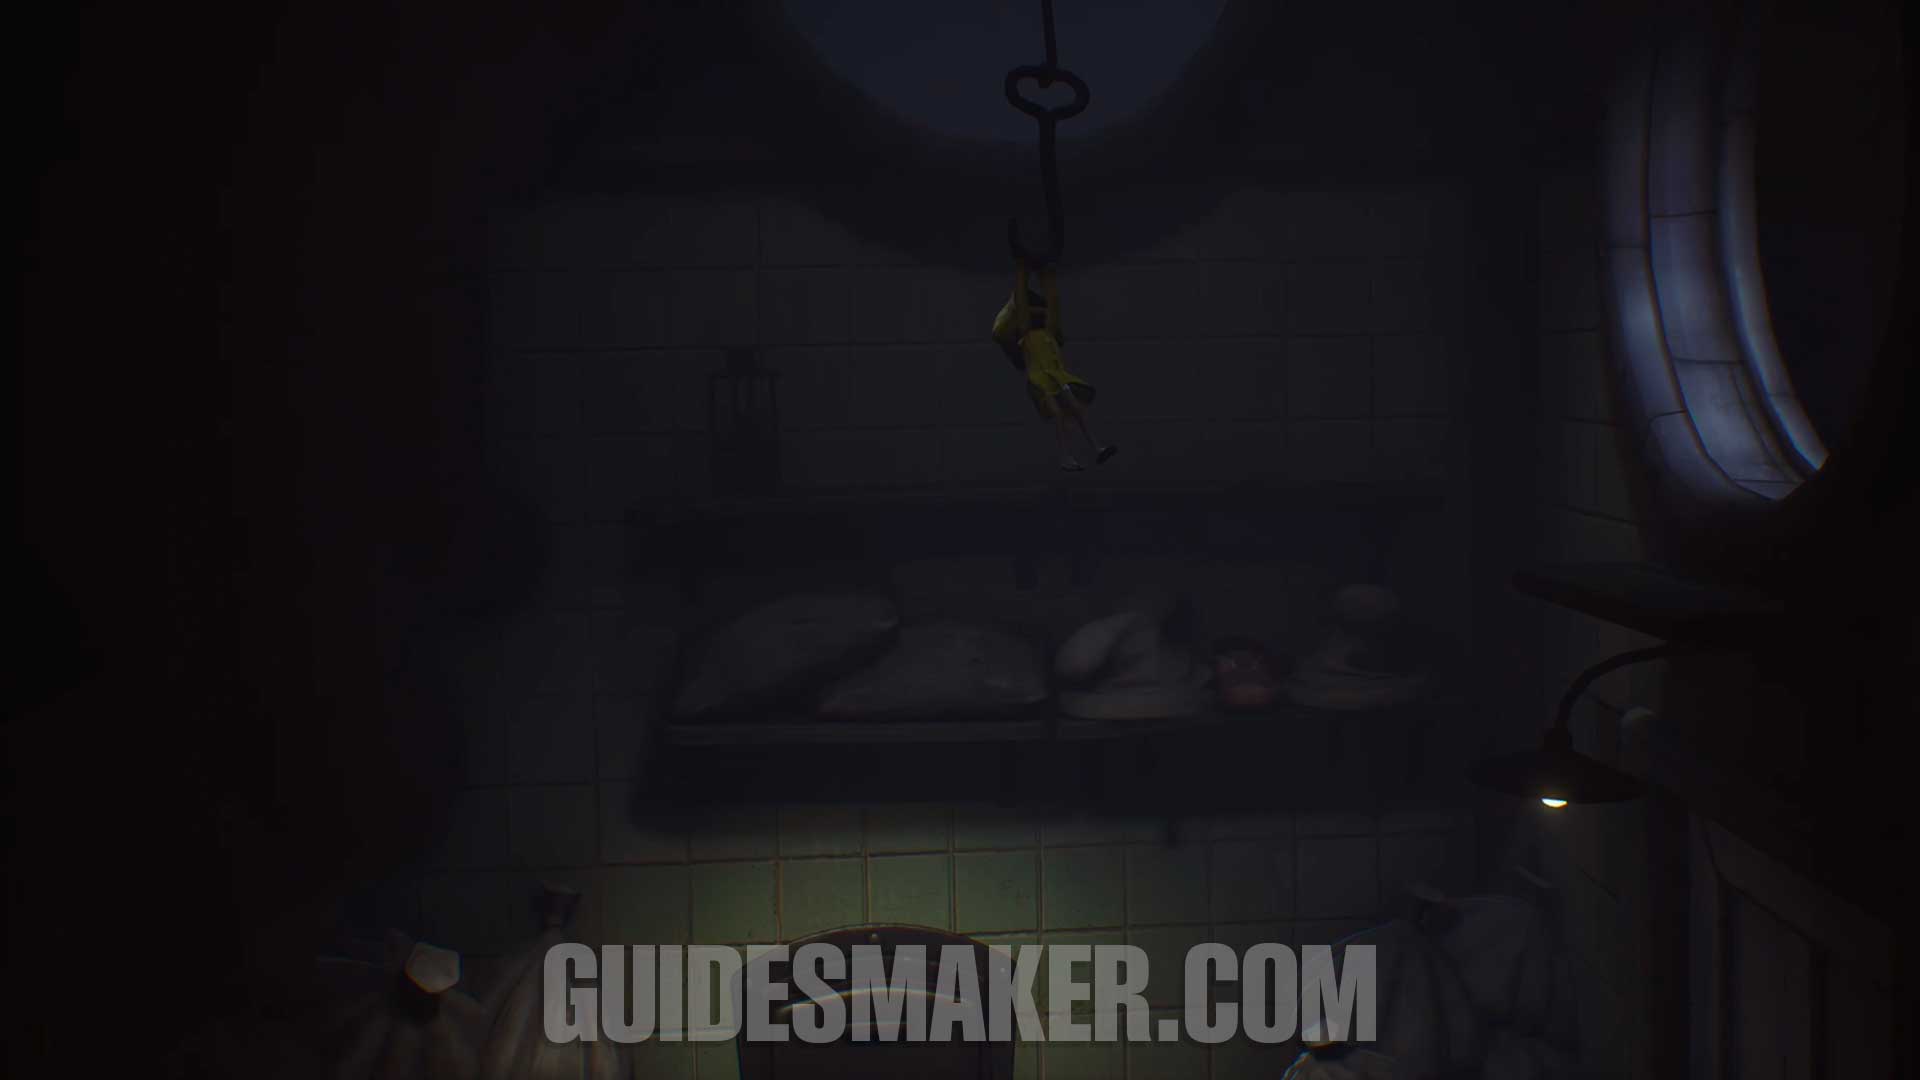
Directly from the previous collectible, climb the cabinet with the plates and hang from the hook to reach this light point.
You can access the Chapter 3: The Kitchen video guide here.
CHAPTER 4: THE GUEST AREA
Light #26 + Gnome #10
At the beginning of Chapter 4, instead of going right, go left and light the Light point. You’ll also find a gnome in this area.
Light #27 + Gnome #11
After climbing to the top of the ship using the chain, you’ll reach the mess hall. The natural path would be to climb onto the table, but first you’ll see a gnome running into a hole in the wall. Pull the bench and crawl through the hole to find another Light point and the gnome inside.
Light #28
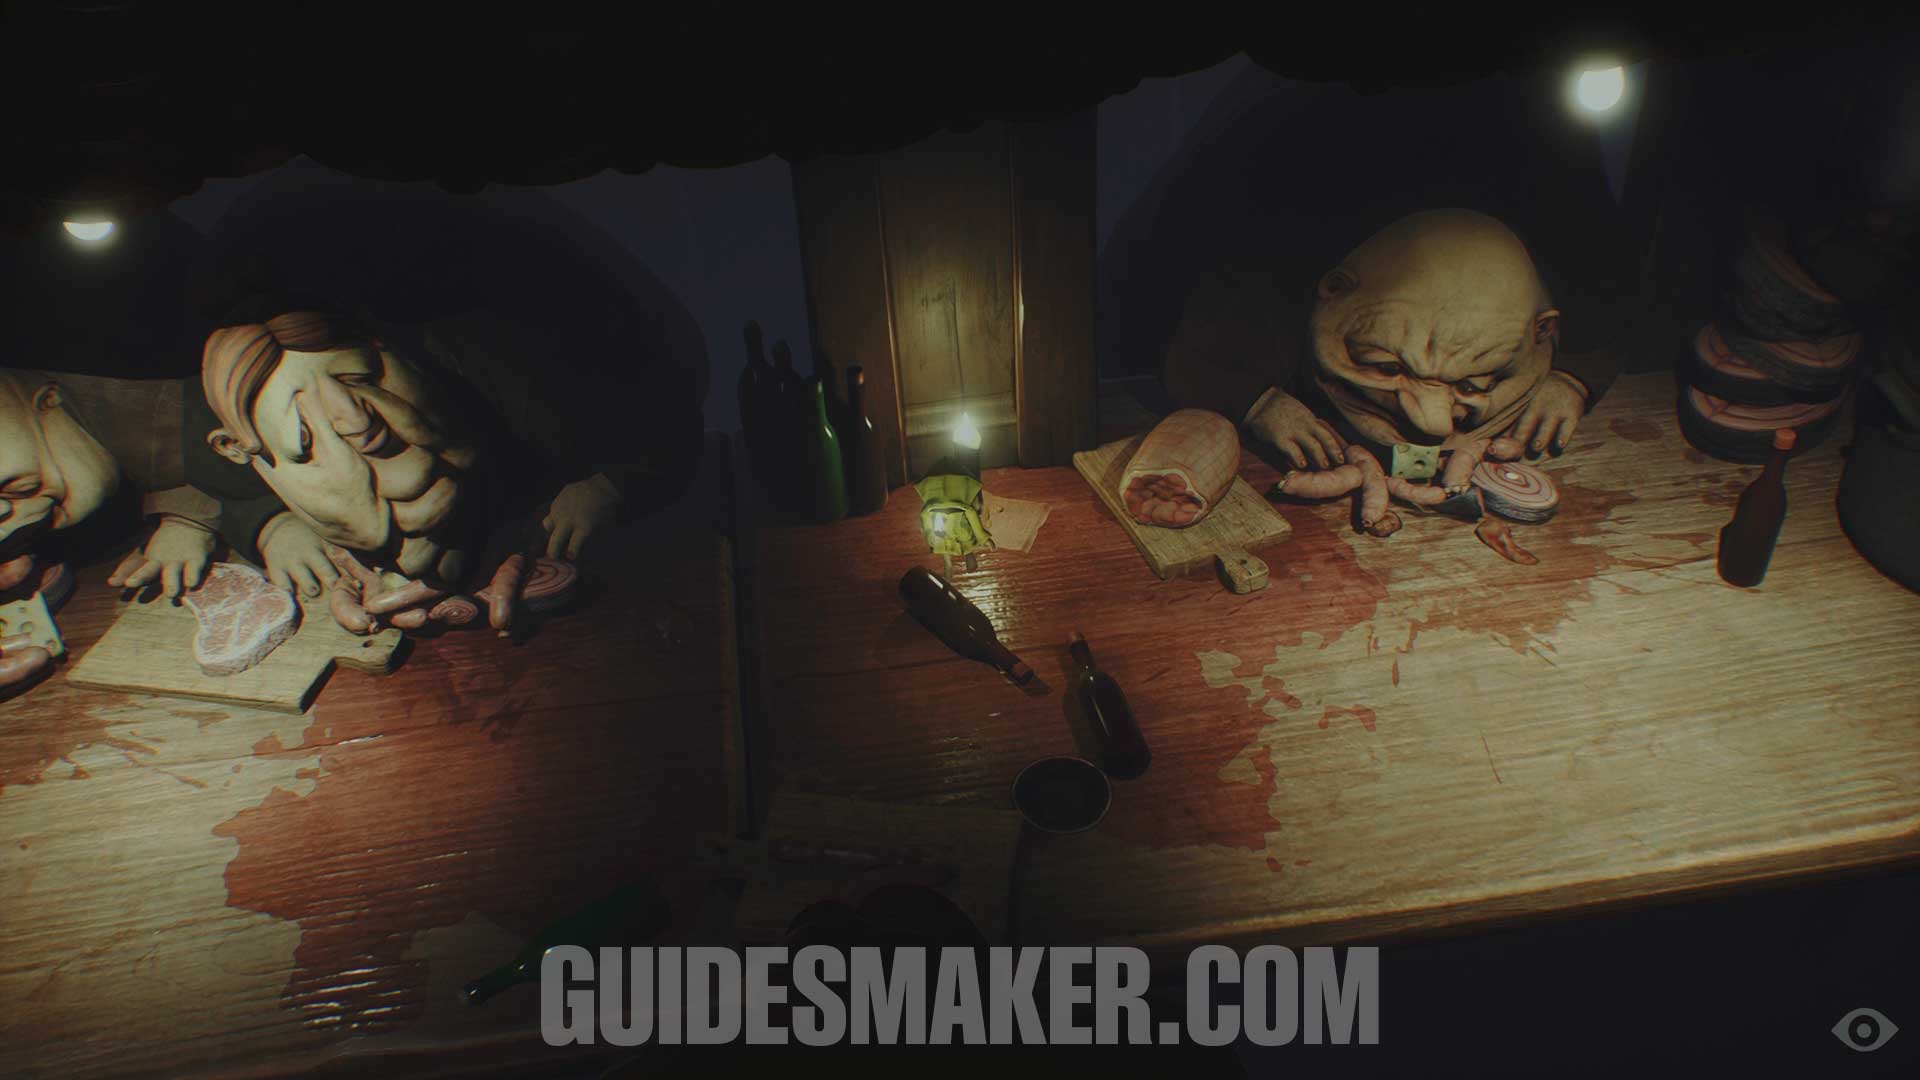
Directly from the previous collectible, climb onto the table, and this Light point will be next to the two monsters.
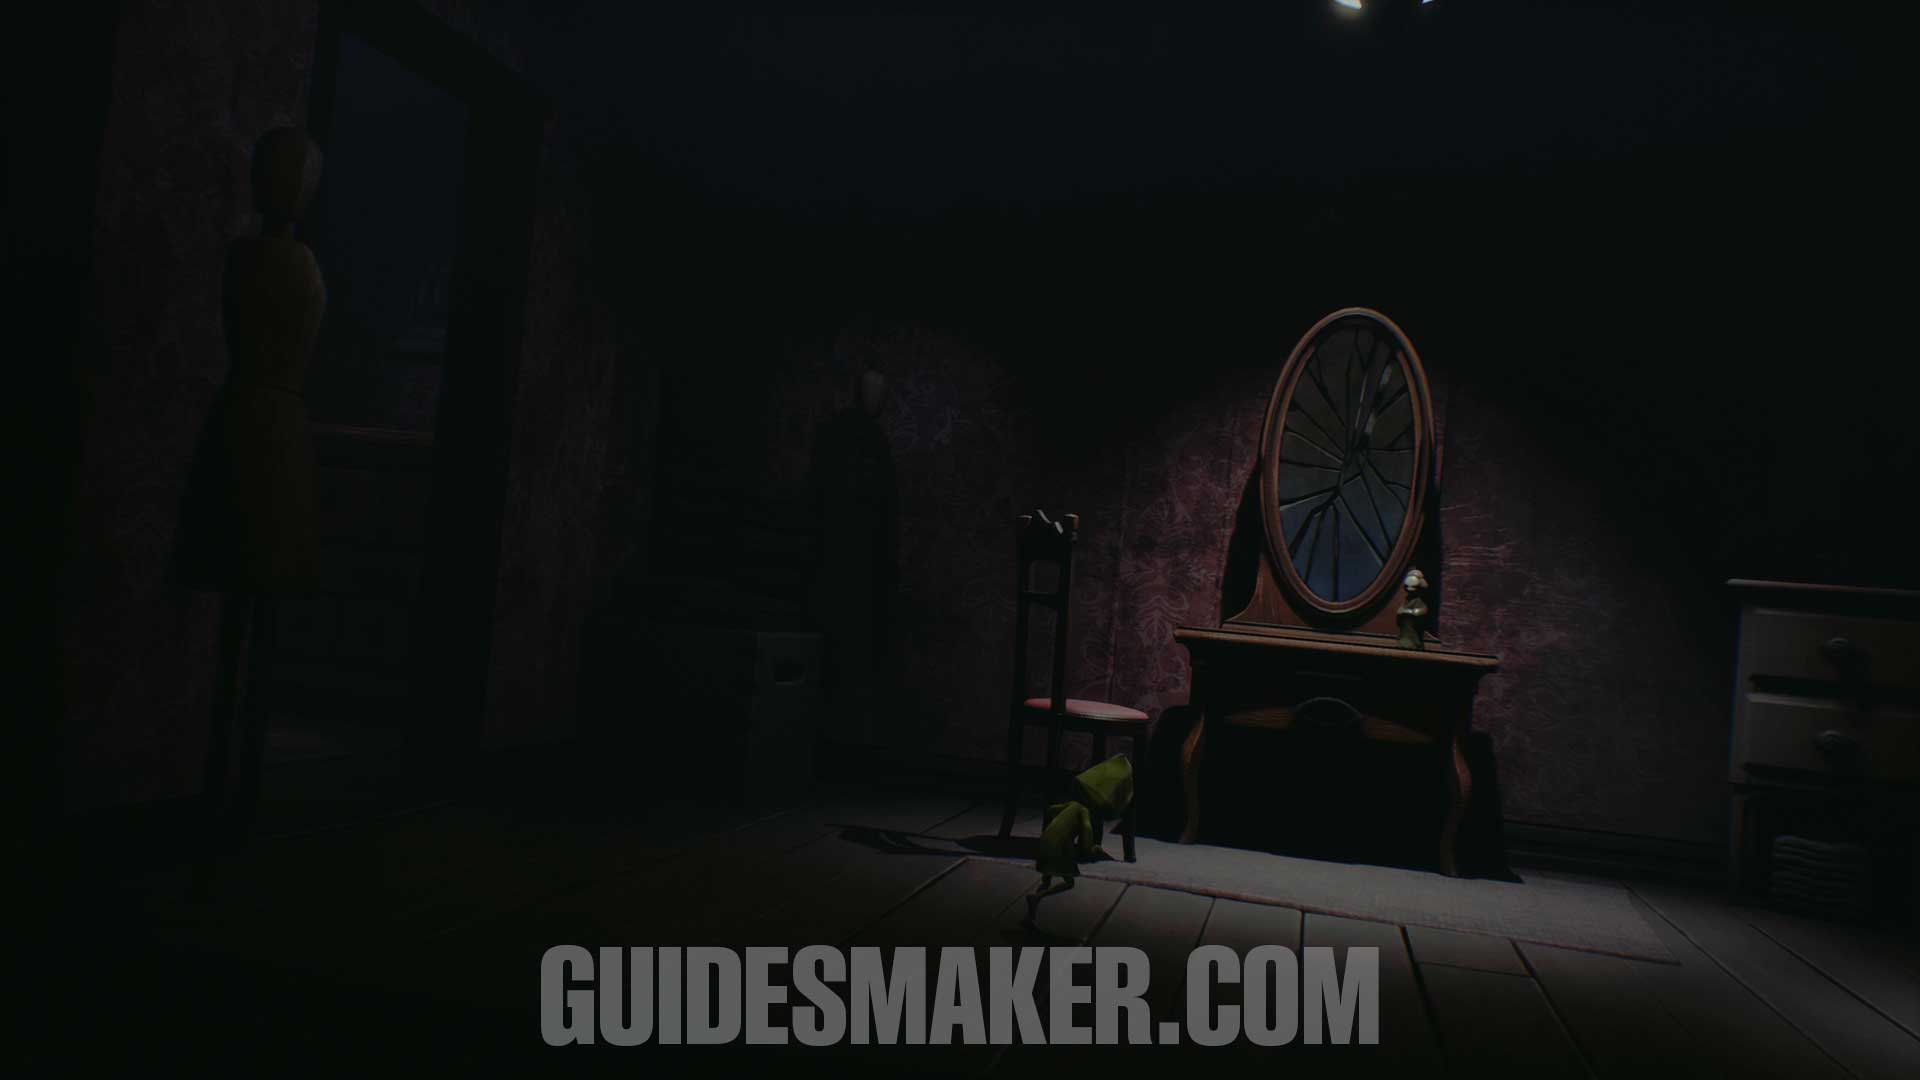
Statue #8
After breaking the mirror and climbing onto the pipes, get down on the table to pick up this statue.
Gnome #12
After using the elevator and moving up to the next area, squeeze through the door crack to find this gnome inside.
Light #29
Directly from the previous collectible, before proceeding, this Light point will be on the right.
Light #30
After escaping the enemies chasing you, this light point will be directly in front of you.
Gnome #13
This is the last gnome you find in the game, and you come across it automatically as part of the story. If you’ve found all the others, you’ll unlock the “Little Lost Things” trophy here.
Statue #8
From the previous collectible, go up the stairs and instead of heading toward the elevator where the Lady enters, go left to find this statue.
You can access the Chapter 4: The Guest Area video guide here.
CHAPTER 5: THE LADY'S QUARTERS
Statue #9
At the beginning of Chapter 5, you’ll enter the Lady’s room. After breaking the vase to get the door key, you’ll head back the way you came—this statue will be on the shelf; break it. If you’ve broken all the other statues, you’ll get the Rascal trophy here.